
Dining Lighting
Choose dining pendants from the table footprint and the seated view, not from room size alone. The table is the visual anchor. Fixture width, number of pendants, hanging height and light spread should work with that rectangle while keeping faces and views across the table clear.
Measure table → mark fixture centerline → choose one fixture or a series → mock up the apparent size → test seated sightlines → check ceiling height and electrical position → evaluate light after dark.
1. Measure the table at its normal size
Record the tabletop width and length, including leaves if they are used frequently. A fixture that works over the table in its smallest configuration can look undersized when the table is extended.
For an irregular or round table, mark the actual occupied footprint rather than converting it to a generic rectangle.
2. Decide between one fixture and several
A single chandelier or wide pendant creates one focal point. A pair or linear series can spread light along a long table and visually follow its length.
If using multiple fixtures, judge the group as one composition rather than sizing each pendant independently.
3. Mock up the fixture width
Use cardboard, paper or tape to represent the fixture outline above the table. Step back from the room entrance and sit at every chair.
The fixture should feel connected to the table but not so wide that people feel visually crowded under it.
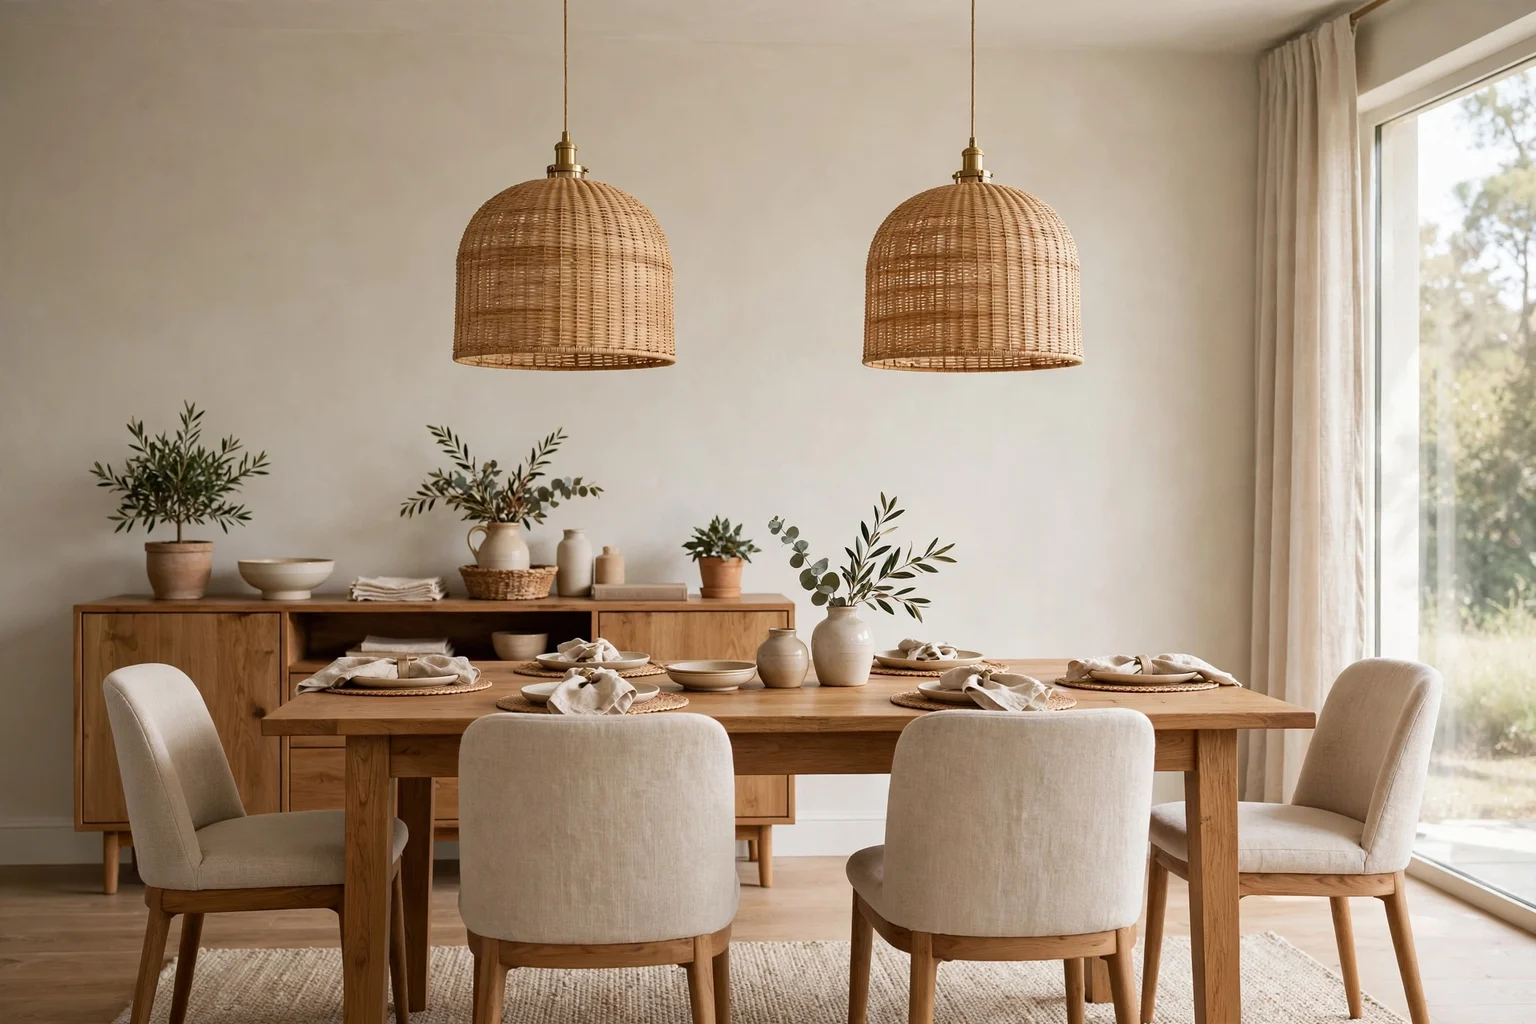
4. Test seated sightlines
Sit across from another chair and look through the proposed pendant zone. The shade should not block faces or require people to lean around it.
Wide opaque shades may need a different height from narrow open fixtures even when their overall diameter is similar.
5. Coordinate the light spread
A beautiful fixture can still leave the table dim if its light is narrowly directed. Check how the shade, diffuser and bulb distribute light across the full eating surface.
Layer the pendant with softer ambient light so the dining area does not become an isolated bright pool in a dark room.
6. Account for ceiling height
Higher ceilings can support a larger visual drop, while lower ceilings reduce the space available above heads and sightlines. Use the fixture’s adjustable stem or cable range in the planning.
For sloped ceilings, verify the canopy and suspension system are designed for that condition.
7. Center on the table, not blindly on the room
If the table is intentionally offset for circulation, the pendant often looks more resolved when aligned to the table rather than the geometric room center.
Confirm that the electrical point can be moved or use an appropriate swag solution before assuming the furniture must move.
8. Test nighttime glare and dimming
Sit at the table after dark and look toward the bulbs or diffuser. Bright exposed sources can be uncomfortable at close range even when the room needs more light.
A compatible dimmer can make the same fixture useful for homework, meals and softer evening settings.
Planning table
| Check | What to measure | Why it matters |
|---|---|---|
| Table | Finished width and length | Sets visual anchor |
| Fixture group | Overall apparent width/length | Controls proportion |
| Sightline | Seated eye-to-eye view | Prevents obstruction |
| Ceiling | Finished height and slope | Controls suspension |
| Light spread | Illuminated table area | Ensures useful task light |
Related Dwelanor guides
- Kitchen & Dining Design Guide — coordinate layout and lighting
- Home Lighting Guide — layer task and ambient light
- Dining Table Size & Spacing Guide — size the table and clearances
- Dinner Party Candle Guide — add lower evening light
- Breakfast Nook & Banquette Guide — plan smaller dining zones
- Interior Color Palette Guide — coordinate fixture finish and materials
Bottom line
Dining pendant placement works when the fixture reads as part of the table composition, illuminates the eating surface and stays out of seated sightlines. Mock up size and height before the electrical position is finalized.