
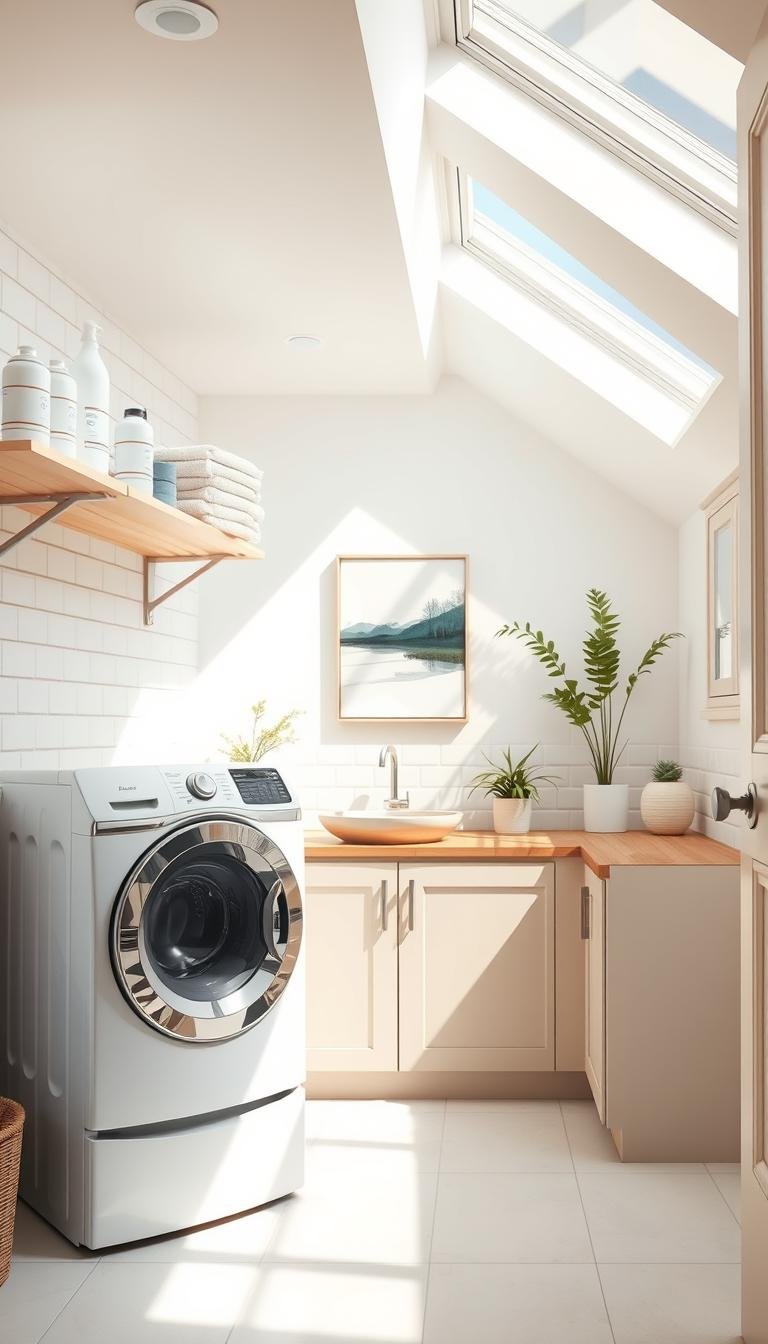
A laundry room should make washing, drying, folding and putting things away easier before it tries to look decorative. Start with the appliance footprint and workflow, then add storage, drying space, a work surface and finishes that can handle moisture and repeated cleaning.
The useful sequence is appliances → access and services → workflow → work surface → drying → storage → lighting → finishes → decorative layer.
1. Start with the appliances and required services
Measure the actual washer and dryer, including doors, hoses, vents and manufacturer-required clearances. Check the route used to move appliances into the room and the access needed for servicing.
Electrical, gas, drainage, water supply and dryer venting must follow the appliance instructions and local requirements. Do not build cabinetry so tightly around machines that service access or ventilation is compromised.
2. Protect the working route
A laundry room can be small and still work well if doors, baskets and appliance fronts do not collide. Open every appliance and cabinet while testing the layout.
In a laundry closet, check whether bifold, hinged or sliding doors block controls or baskets when open.
3. Add a folding surface where it saves steps
A worktop above front-loading machines or beside the dryer can create a dedicated folding zone. Choose the height and depth around the machines and user’s comfort rather than assuming one standard dimension.
Protect appliance ventilation and access if a counter spans above them, and follow manufacturer clearance requirements.
4. Plan drying for the things that should not go in the dryer
Air-drying is easier when the room has a designated rack, rail or hanging zone. Wall-mounted and fold-away racks can work particularly well in small rooms because they release space when not in use.
See wall-mounted drying racks for small laundry rooms for the focused guide.
5. Put detergent and treatment products near the washer
Frequently used laundry products should be easy to reach but stored according to their labels and household safety needs. Closed cabinets can reduce visual clutter and keep products away from children where appropriate.
Do not decant products when doing so removes important safety, dosage or ingredient information.
6. Use vertical storage selectively
Upper cabinets can hold backups and infrequently used supplies, while open shelves work for attractive or frequently used objects. Keep heavy containers within safe reach and do not fill every wall merely to maximize capacity.
Use the Storage & Organization Guide for the broader system.
7. Make laundry baskets part of the layout
Baskets occupy real floor area. Decide where dirty, sorted and clean laundry wait during the cycle. A built-in hamper can be useful, but freestanding baskets are often easier to carry between rooms.
8. Add ironing only when it reflects the household routine
A fold-away ironing board can be useful in a narrow laundry closet, but only if there is enough safe working space around it. If ironing is rare, a portable board stored elsewhere may be a better use of the wall.
See fold-away ironing board planning for the specific option.
9. Lighting should reveal stains and controls
Laundry work benefits from clear general light and additional task light over deep counters or sinks where shadows form. Avoid relying on one dim ceiling fixture in a room where color and stains need to be seen accurately.
Use the Home Lighting Guide for the larger lighting strategy.
10. Choose surfaces for water and cleaning
Flooring, worktops and cabinet finishes should tolerate the room’s moisture and cleaning routine. Product suitability varies, so check the manufacturer’s guidance for the exact material.
The Materials & Finishes Guide explains how to compare performance before appearance.
11. A utility sink can be valuable when the work justifies it
A sink can support hand washing, stain treatment and messy household tasks, but it also consumes floor and counter area. Add one when those functions are frequent enough to justify the plumbing and space.
12. Small laundry rooms need fewer moving parts
In compact rooms, avoid storage that requires multiple doors or lids to be open at once. Pull-out baskets, simple shelves and one clear folding surface often work better than elaborate cabinetry.
13. Add decoration after the workflow is solved
Paint, hardware, baskets and art can make a utility room feel connected to the rest of the home. Keep the palette simple enough that product labels, laundry and equipment do not create visual chaos.
Laundry room checklist
- Appliance clearances and service access are protected.
- The wash-to-dry-to-fold route is simple.
- There is a realistic drying solution.
- Storage sits near the activity it supports.
- Lighting is strong enough for practical tasks.
- Surfaces suit moisture and cleaning.
- Baskets and doors do not block circulation.
Next: browse Laundry & Utility, the Storage & Organization Guide and Materials & Finishes Guide.
