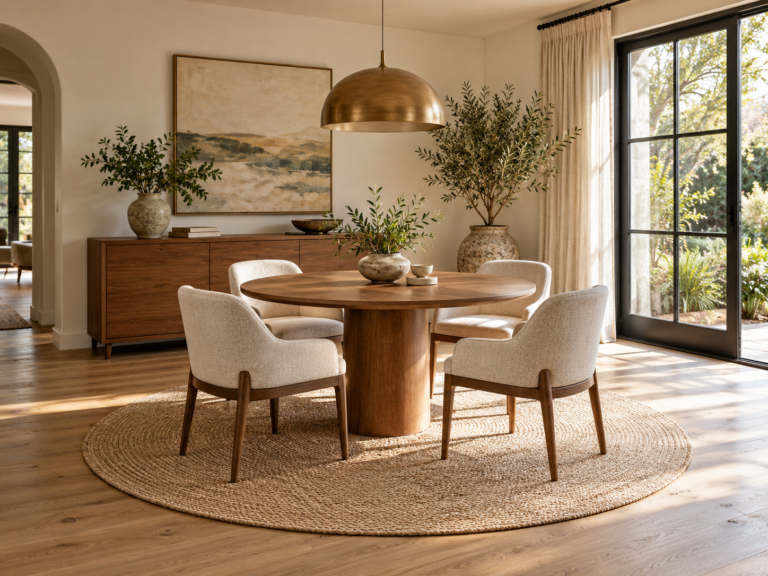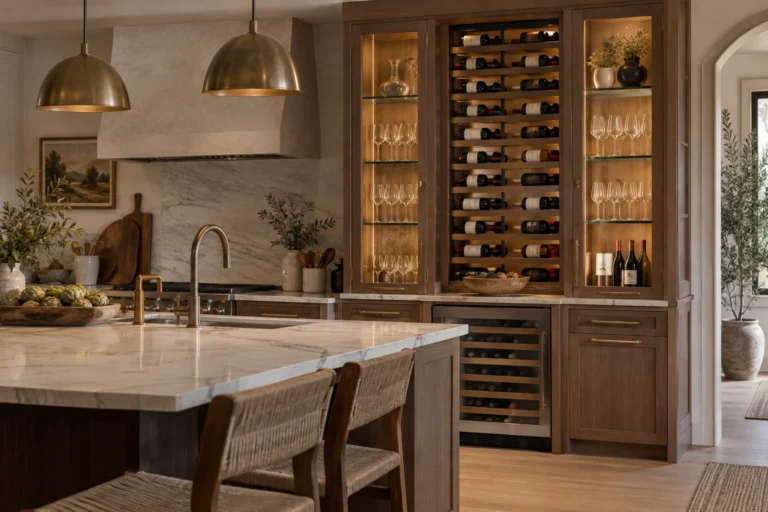
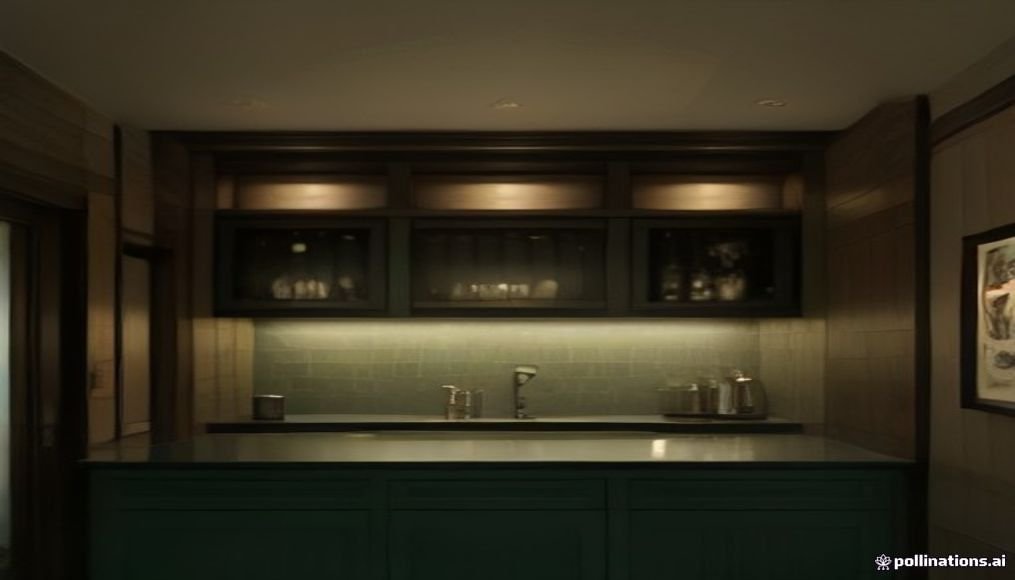
A good home bar is less about owning a large collection and more about creating a compact, useful beverage station that fits the way the room already works. The strongest setups solve five things clearly: location, work surface, storage, refrigeration or water if needed, and lighting.
A tray on a console, a mobile cart, a closet conversion, a pantry niche, and a full built-in can all work. The right version depends on the room, available utilities, how often the station is used, and whether it should disappear when not in use.
1. Start with a tray on a console
This is the simplest home-bar format and often the right answer for an apartment or small dining area. A tray creates a visual boundary on top of a console while drawers or doors hide backup supplies.
The useful entities are console depth, tray size, room circulation, storage, lighting, and wall art above. Make sure the furniture does not narrow the walking route or interfere with a door swing.
For very tight spaces, use the Small Space Design Guide to test furniture depth against the real walking route before choosing the station.
2. Use a bar cart when flexibility matters
A cart works best when it can move between a dining room, living room, kitchen, or patio door without becoming permanent clutter.
Look for:
- stable wheels or locking casters;
- enough shelf height for what you actually store;
- a top surface that can be cleaned easily;
- rails or edges that reduce the chance of items sliding during movement;
- dimensions that still fit through the intended doorway.
Do not overload a decorative cart with more weight than its construction can handle. If the cart has no published load guidance, keep the display edited and place heavy items low.
3. Convert an underused closet
A closet can become one of the cleanest small-space bar solutions because the doors can hide the entire station.
Before adding shelves or an appliance, determine whether it will be a dry bar or wet bar, whether the doors stay, how deep the counter can be, and whether a refrigerator can be ventilated correctly.
If you use a closet or niche, keep the plan focused on a dry bar unless plumbing adds clear daily value. Preserve ventilation, appliance clearances and service access if equipment is added.
4. Turn a dining-room niche into a built-in
A shallow built-in can look like furniture rather than a second kitchen. Closed lower cabinets can hold visually busy supplies while open shelves or glass-front cabinets display a smaller selection.
Coordinate the bar with nearby dining furniture through one or two repeated attributes:
- cabinet color;
- wood tone;
- metal finish;
- counter material;
- wall color;
- lighting finish.
The goal is connection, not perfect matching.
5. Use a pantry or butler’s pantry as the beverage zone
If the home already has a pantry near the kitchen or dining area, adding a beverage station there can keep coffee equipment, glassware, bottles, mixers, and serving pieces out of the main kitchen work zone.
Check appliance clearances, counter outlets, shelf depth, and whether open cabinet doors conflict with pantry circulation.
6. Build a coffee and evening beverage station together
A home bar can be useful every day when it supports more than one routine. Coffee, tea, sparkling water, soft drinks, glassware, and serving supplies can share the same cabinet with evening beverages.
Divide storage by frequency:
- daily items at comfortable reach;
- occasionally used serving pieces higher or lower;
- backup supplies behind closed doors;
- appliances positioned around their ventilation and electrical requirements.
This makes the station useful even when no one is entertaining.
7. Add a beverage refrigerator only if the room supports it
A compact refrigerator can be convenient, but it should be selected before cabinetry is finalized.
Check whether the appliance is designed for freestanding or built-in installation, then follow its requirements for ventilation, side and rear clearance, ambient temperature, door swing, power, and service access.
Do not box a freestanding mini fridge tightly into millwork simply because the exterior dimensions fit.
8. Decide whether a sink is actually worth the construction
A wet bar can reduce trips to the kitchen, but it also introduces plumbing, drainage, shutoffs, counter penetrations, splash exposure, and nearby electrical considerations.
If the bar is close to the kitchen and used occasionally, a dry bar may be simpler and more flexible. If the station serves a lower level, guest suite, or frequent entertaining area far from the kitchen, a sink may add more value.
Choose based on workflow, not on the assumption that a more expensive bar is automatically a better bar.
9. Use lighting as both task light and atmosphere
A home bar usually benefits from two lighting layers:
- task light on the counter;
- ambient or accent light on shelves, wall finish, or glassware.
Under-shelf lighting can illuminate the work surface without a visible fixture. A pendant can work where ceiling height and room circulation allow it. Integrated cabinet lighting can make a built-in feel more intentional.
Choose fixture color temperature and color quality to coordinate with the adjoining dining or living room rather than creating an isolated pool of very cool light.
10. Use mirror carefully
A mirror backsplash can make a small bar appear deeper and reflect light, but it also reflects every object left on the counter.
Use mirror when the shelves and counter can stay edited. For a more forgiving background, consider tile, washable paint, stone, wood, or wallpaper chosen for the expected exposure.
11. Make the backsplash do visual work
A home bar is often small enough to support a stronger finish than the surrounding room.
Useful backsplash directions include:
- small-format tile;
- stone or porcelain slab;
- mirror;
- wood paneling where suitable;
- washable wallpaper in a dry bar;
- a darker paint color behind shelves.
Connect the material to another room attribute so it reads as part of the home.
12. Keep the countertop practical
Counter materials should be chosen around stain resistance, moisture exposure, heat exposure from appliances, cleaning method, seam placement, and edge durability.
Quartz, porcelain, solid surface, laminate, stone, and properly finished wood can all work in the right application. There is no universal luxury material that is automatically the best choice.
13. Mix open and closed storage
Open storage is useful for attractive, frequently used items. Closed storage is better for backup supplies, packaging, tools, linens, and anything that makes the bar look visually busy.
A simple balance is:
- display a small number of glasses and serving pieces;
- keep tools together near the work surface;
- store heavier items on stronger lower shelves or in cabinets;
- leave enough empty space that objects can be removed without rearranging the whole display.
14. Plan bottle and glassware storage around real loads
Filled bottles and stacks of glassware are heavier than they appear. Floating shelves, glass shelves, stemware racks, and cabinet pins all need to be suitable for the actual span and load.
Do not choose a shelf only by thickness or appearance. Consider material, span, support system, wall or cabinet structure, and load together.
15. Make a small home bar feel intentional with one strong color
A compact bar can carry a darker or more saturated color than the rest of the room because the area is contained.
Dark green, navy, oxblood, charcoal, warm brown, or a saturated blue can work well when balanced with lighting and surrounding finishes. A lighter oak or stone counter can keep a darker cabinet from feeling visually heavy.
Color is a design choice, not a rule. Test the finish in the actual light before committing.
16. Use brass or gold as an accent, not a theme
Metallic hardware, a slim picture light, shelf brackets, a faucet, or a mirror frame can add warmth without turning the entire bar into a themed room.
Repeated metal finishes help connect cabinet hardware, lighting, and nearby dining fixtures, but mixed metals can also work when the contrast is deliberate.
17. Add seating only when the floor plan supports it
Not every home bar needs stools. A narrow wall bar can function as a standing service station while guests sit elsewhere.
If you add counter seating, plan:
- seat width;
- knee space;
- counter overhang;
- walking clearance behind occupied stools;
- door and appliance conflicts;
- whether stools can tuck away when not used.
Use the furniture and counter manufacturer’s actual dimensions instead of relying on one universal stool-spacing formula.
18. Make the home bar part of the entertaining route
Placement should reduce cross-traffic rather than create it. A bar beside a narrow passage or directly in front of a busy kitchen work zone may cause more congestion during gatherings.
Think about how guests move between the entrance, seating, dining area, kitchen, and bathroom. The bar should sit naturally along that route without becoming a bottleneck.
19. Include a landing area for serving
Even a beautiful bar becomes frustrating if every inch is covered with display items. Leave a clear section of counter for setting down glasses, a tray, water, snacks, or serving pieces.
A functional landing area often contributes more to good hosting than another decorative shelf.
20. Use a console bar in a rental
Renters can create a convincing bar without altering plumbing or cabinetry. A shallow console, cart, freestanding cabinet, lamp, tray, and removable wall finish can create a complete station.
Keep electrical loads appropriate for the available outlet and do not conceal permanent extension cords behind furniture. Use removable products only where their manufacturer approves the wall or surface.
21. Use an alcove or under-stairs area only when it remains practical
Awkward niches can be visually appealing bar locations, but sloped ceilings and restricted access can make storage awkward.
Do not block required access panels, HVAC equipment, electrical panels, or structural components for the sake of a decorative bar.
22. Keep appliance noise in mind
A refrigerator or ice appliance near a living room can be more noticeable than the same equipment in a kitchen.
Compare manufacturer noise information when available, keep the appliance level, and avoid cabinet details that rattle when the compressor runs.
23. Plan service access before adding trim
A built-in bar should still allow an appliance to be removed, an outlet to be reached, a water shutoff to be serviced, and cabinet lighting to be repaired.
Do not make the final trim so permanent that routine replacement requires damaging the entire installation.
24. Let the bar work without alcohol
A beverage station can support coffee, tea, sparkling water, soft drinks, desserts, glassware, and entertaining supplies. Designing the cabinet around flexible categories can make it useful to more people and more occasions.
25. Style the finished bar with restraint
Once the functional system is solved, styling can be simple:
- one small lamp or integrated light;
- a restrained group of glassware;
- a tray for the items used most often;
- one framed artwork or mirror;
- a small plant or branch if the light conditions suit it;
- enough empty counter to use the space comfortably.
A practical home-bar planning checklist
- Choose the location based on circulation and daily use.
- Choose cart, console, closet, dry built-in, or wet bar.
- Measure the real footprint and door swings.
- Leave a usable landing area on the counter.
- Choose appliances before building surrounding cabinetry.
- Follow appliance ventilation and electrical requirements.
- Plan plumbing before fixed cabinets if adding a sink.
- Size shelves around the real weight of bottles and glassware.
- Use both task and ambient lighting.
- Keep service access clear.
- Choose finishes around cleaning and exposure.
- Style only after the station works.