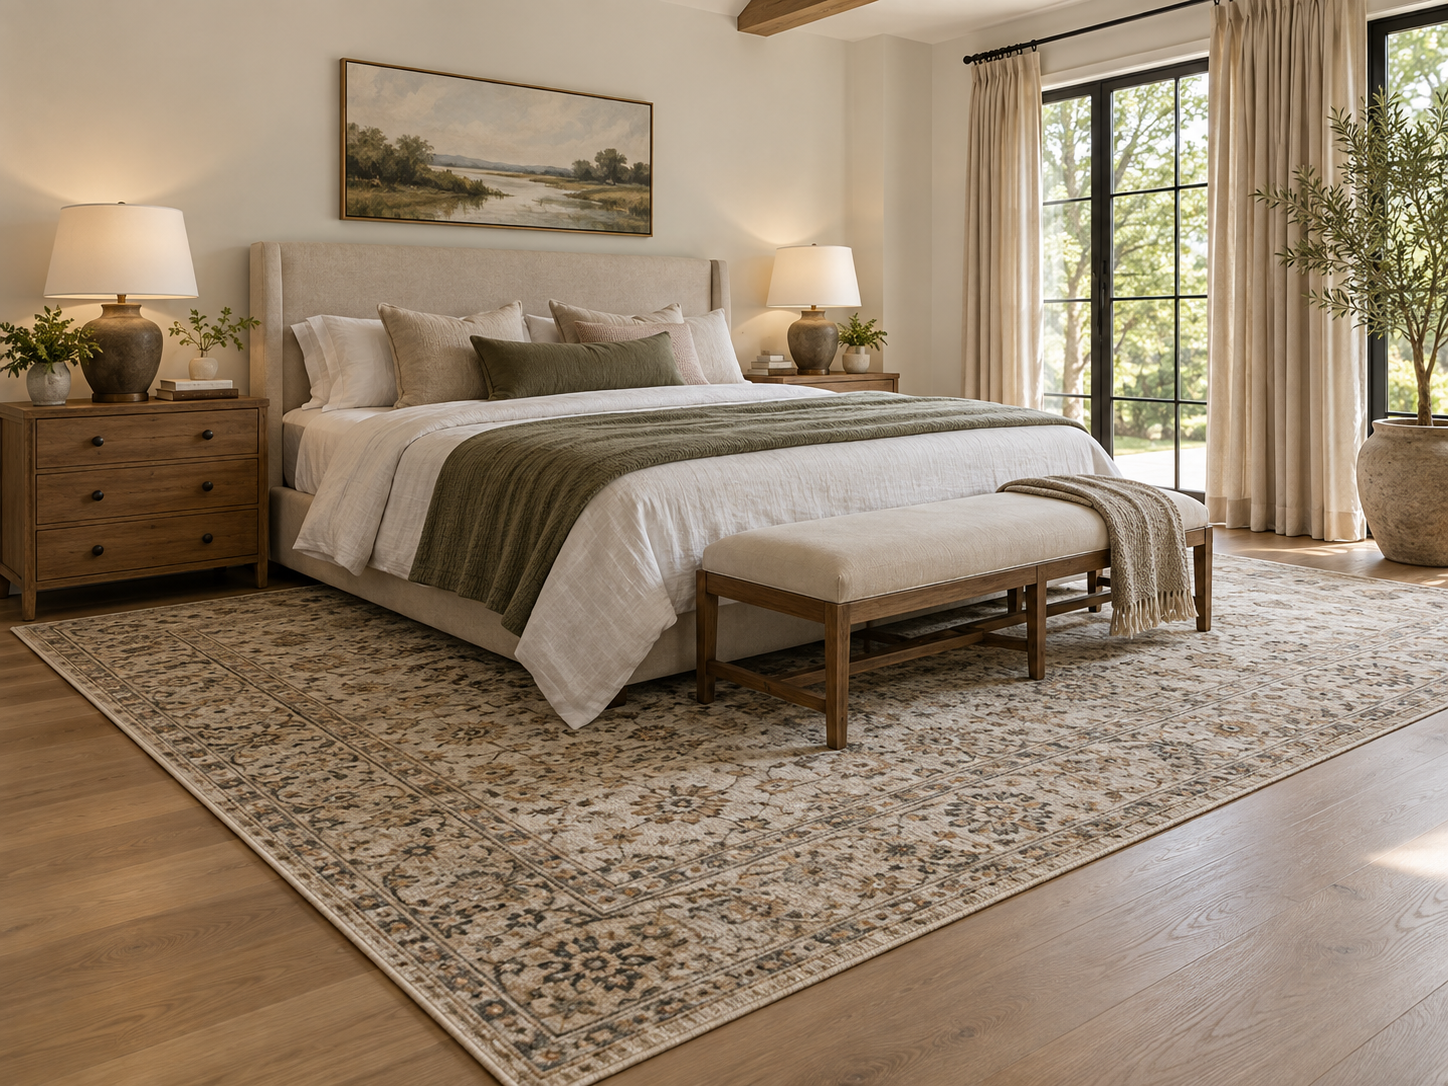
Bedroom Rug Formula
Do not pick 5×8, 6×9, 8×10 or 9×12 from the mattress name alone. Calculate the rug footprint from the finished bed and the amount of rug you want exposed, then compare that requirement with the standard sizes that actually fit the room.
Measure finished bed → choose rug start point → choose side exposure → choose foot exposure → calculate minimum footprint → compare standard sizes → test nightstands, bench and room border.
1. Measure the finished bed frame
Mattress labels do not include every upholstered rail, platform edge or footboard. Measure the bed in the exact form that will sit over the rug.
If the bed has a wide headboard, record that separately because visual scale may influence whether a larger rug feels more balanced.
2. Choose where the rug begins
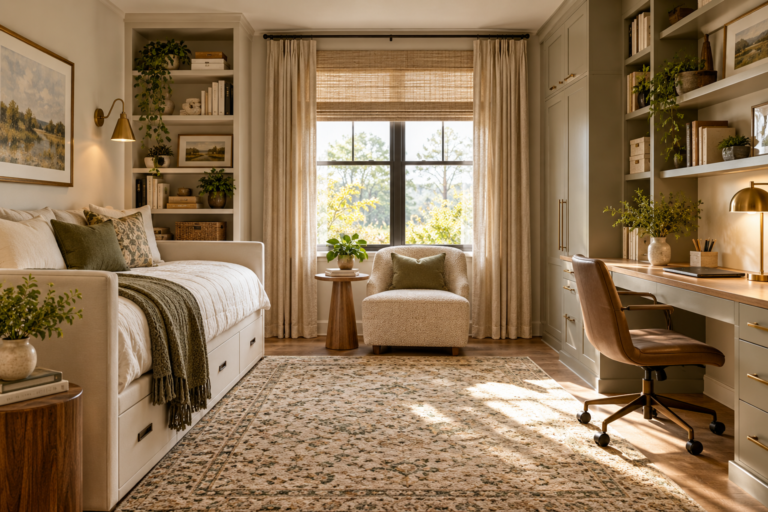
A full placement can start near the headboard and include the nightstands. A lower placement can begin forward of the nightstands and cover the lower bed. A smaller rug can sit only at the foot.
Choose the arrangement first because it changes the length calculation dramatically.
3. Calculate side exposure
Decide how much soft landing area you want beside the bed. Add the left and right exposure to the finished bed width.
If the room is asymmetric, the two sides do not have to be identical, but intentional balance usually looks better than an accidental near-wall squeeze.
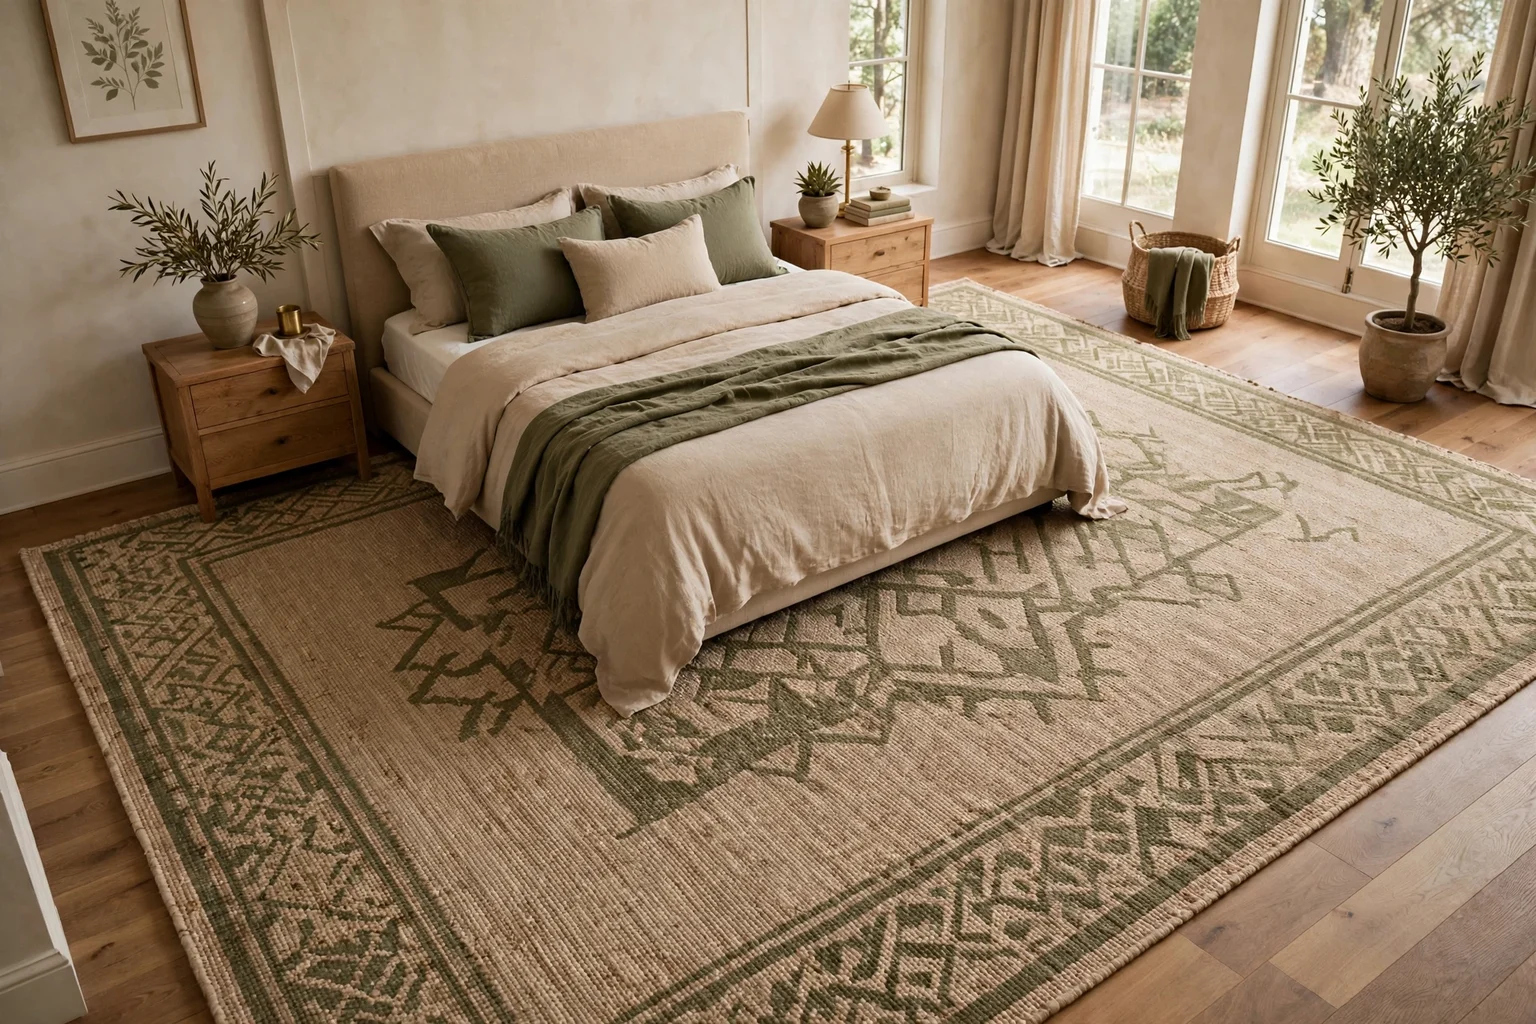
4. Calculate foot exposure
Measure the bed length that will sit over the rug, then add the desired exposed rug beyond the foot. Include a bench if its legs are intended to sit on the rug.
A bench with half its legs on thick pile can wobble, so decide its relationship before settling on rug length.
5. Compare 5×8 and 6×9 as compact options
These common sizes can work in smaller arrangements or with lower/foot-focused placement, but whether they fit depends on the calculated bed footprint and room rather than the label alone.
Tape the full rectangle because a compact rug can look much smaller once most of it disappears under a bed.
6. Compare 8×10 and 9×12 for broader coverage
Larger standard sizes generally provide more side and foot exposure and can better connect a substantial bed to the room. They also need more visible floor around them to avoid a cramped wall-to-wall effect.
Check dresser drawers, closet doors and floor vents before assuming bigger is automatically better.
7. Decide whether nightstands sit on the rug
Keep both nightstands consistently on or off the rug. A lower placement that begins in front of them often reduces required rug length while keeping useful bedside landing zones.
A full placement can create a more enveloping look in a large room but uses significantly more rug area.
8. Tape the standard sizes in the actual room
After calculating the requirement, tape the nearest candidate sizes and live with them for a day. Walk around the bed, open storage and view the room from the doorway.
The best choice is the smallest standard size that gives the intended exposure and still leaves the room comfortable.
Planning table
| Check | What to measure | Why it matters |
|---|---|---|
| Bed | Finished frame W × L | Sets base footprint |
| Rug start | Headboard, mid-bed or foot | Changes required length |
| Side exposure | Desired rug outside bed | Sets minimum width |
| Foot exposure | Desired rug beyond foot | Sets minimum length |
| Room border | Rug edge to walls/furniture | Prevents crowding |
Related Dwelanor guides
- Rug Placement Under a Bed — use the full placement method
- Rug Size Guide — compare room types
- Area Rug Guide — choose material and construction
- Rug Pad Guide — plan pad size and floor protection
- Bedroom Design Guide — coordinate the whole room
- Nightstand Size Guide — resolve bedside furniture
Bottom line
Use standard rug sizes only after you calculate the footprint you actually need. The right 5×8, 6×9, 8×10 or 9×12 choice is the one that gives your queen or king bed balanced landing zones while still fitting the room.