Hallway Rug Planning
Choose hallway runner length from the usable corridor, not from wall-to-wall length alone. Door swings, stair landings, transitions and the amount of floor you want visible at each end determine the practical runner zone.
Measure corridor → mark thresholds and stairs → map door swings → choose end borders → calculate usable length → compare available runner sizes → test edge locations under foot traffic.
1. Measure the usable corridor
Measure from the first stable floor zone to the last, then mark alcoves, radiators, built-ins and changes in width. The architectural hallway length may include areas where a rug should not sit.
If the hall turns, treat each straight run separately rather than bending one runner around a corner.
2. Mark every doorway and threshold
Open doors fully and note where their bottom edge travels. A thick runner can catch a low door even if the rug edge sits several inches away.
Transitions between flooring materials are useful visual stopping points, but keep rug edges from creating an awkward trip zone directly on the threshold.
3. Protect stairs and landings
Do not let a loose runner terminate where it can creep toward a stair edge. Preserve a clear landing area and choose an appropriate non-slip solution for the floor and rug.
If the hall connects to stairs, evaluate the approach from both directions rather than only from the center of the corridor.
4. Choose the end borders visually
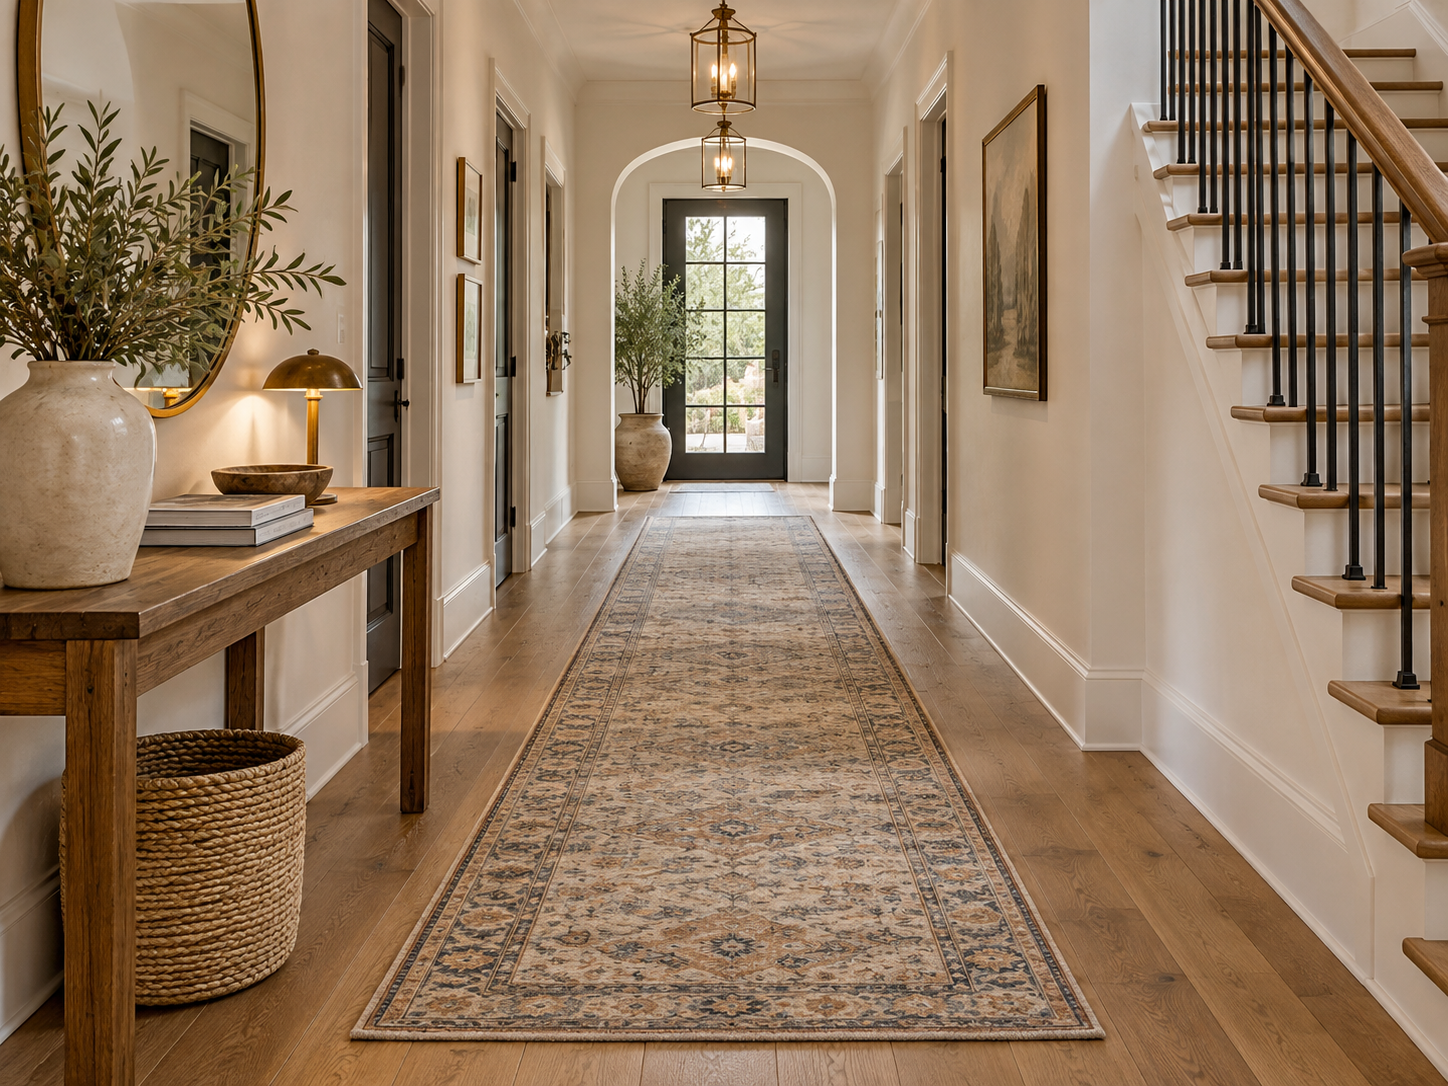
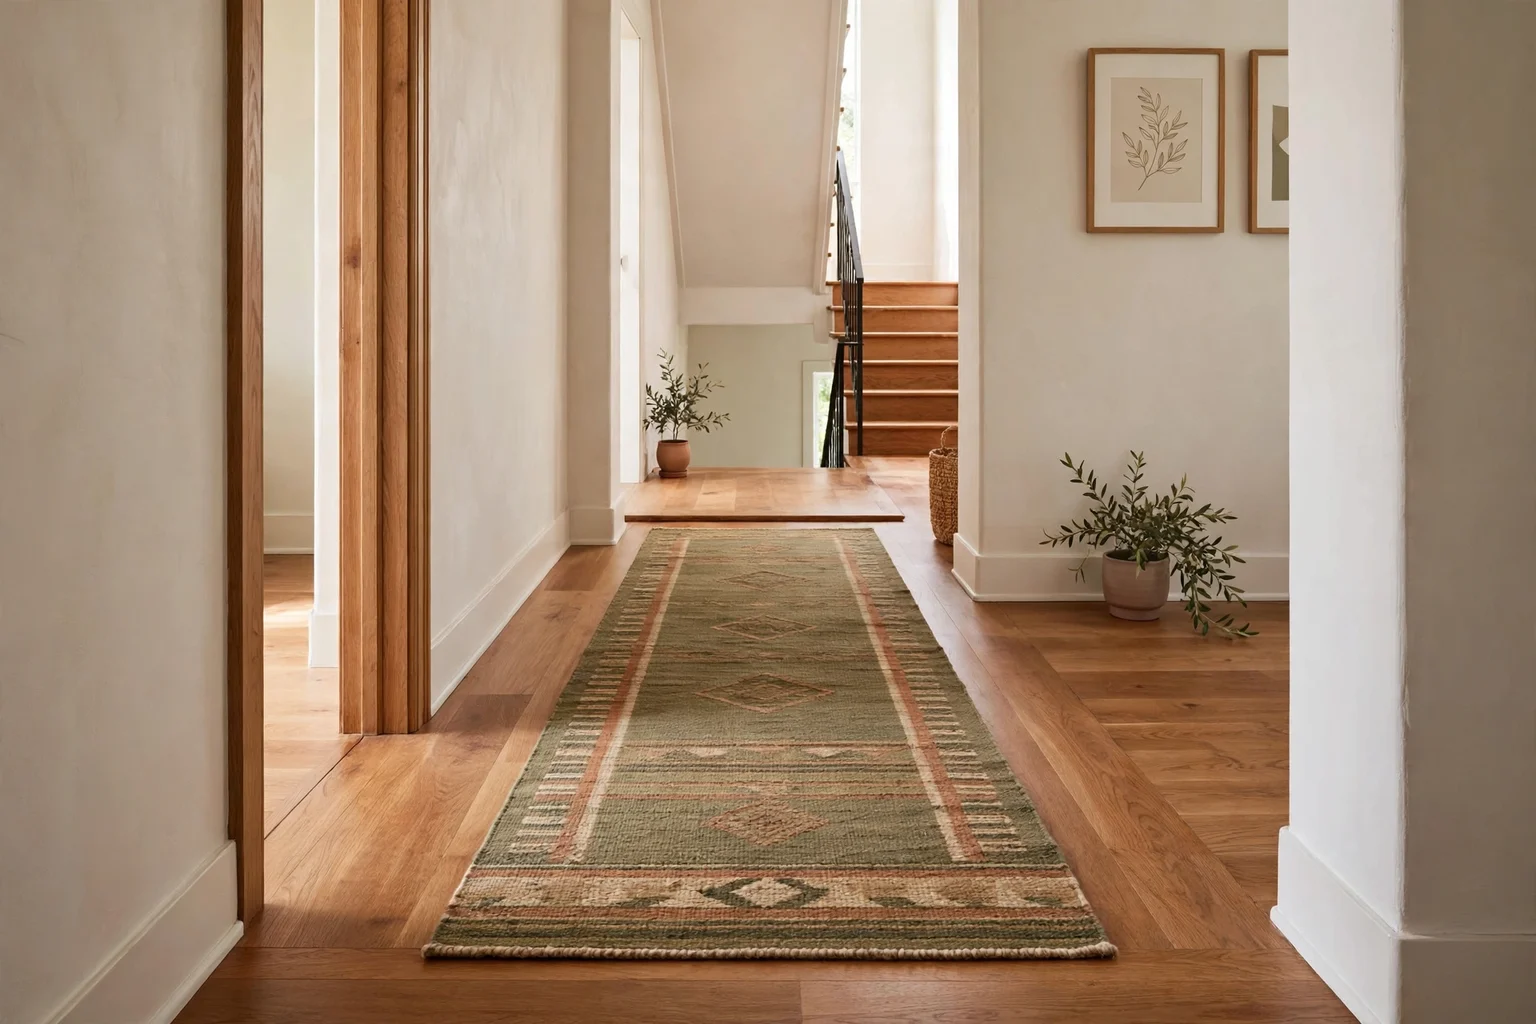
Tape several possible start and end positions. A visible strip of floor at each end usually makes the runner look intentionally placed rather than wall-to-wall.
Architectural features may justify different border lengths at opposite ends; align to the strongest visual stopping points.
5. Check side borders with the length
Width and length work together. A runner that is visually narrow may need a different end treatment from a broad runner in the same hall.
Use the Hallway Runner Size Formula to coordinate both dimensions.
6. Avoid door pinch points
Bedroom, bathroom and closet doors can create repeated contact with a runner edge. If a door barely clears the proposed rug, test the actual rug thickness and pad before buying.
A rug edge repeatedly pushed by a door will curl or shift no matter how good the layout looks.
7. Plan grip and pad size
Use a pad or grip method suitable for the rug and finished flooring. Keep the pad slightly inside the rug edge so it does not show or create a raised lip.
Follow floor and rug manufacturer guidance where finishes, heat or moisture could affect compatibility.
8. Walk the taped layout
Mark the full runner outline and walk the hallway carrying laundry, bags or other common loads. Open every door and approach the stairs normally.
Pay attention to where feet naturally pivot; runner edges should not land at the most abrupt turning points if another placement is available.
Planning table
| Check | What to measure | Why it matters |
|---|---|---|
| Usable run | Stable floor between stopping points | Sets maximum length |
| Doors | Full swing and bottom clearance | Prevents catching |
| Stairs | Landing and edge zone | Protects transition |
| End borders | Visible floor at both ends | Controls visual placement |
| Pad | Rug footprint minus edge | Supports grip |
Related Dwelanor guides
- Hallway Runner Size Formula — coordinate width, doors and traffic
- Entryway & Hallway Design Guide — plan the whole passage
- Rug Size Guide — compare rug placement types
- Rug Pad Guide — choose compatible grip and cushioning
- Safer Hallway Runner Guide — consider trip risk
- Narrow Hallway Guide — use visual proportion in tight halls
Bottom line
A good hallway runner starts and stops where the architecture supports it. Measure the stable corridor, protect doors and stairs, then choose the nearest length that leaves intentional floor borders and secure edges.