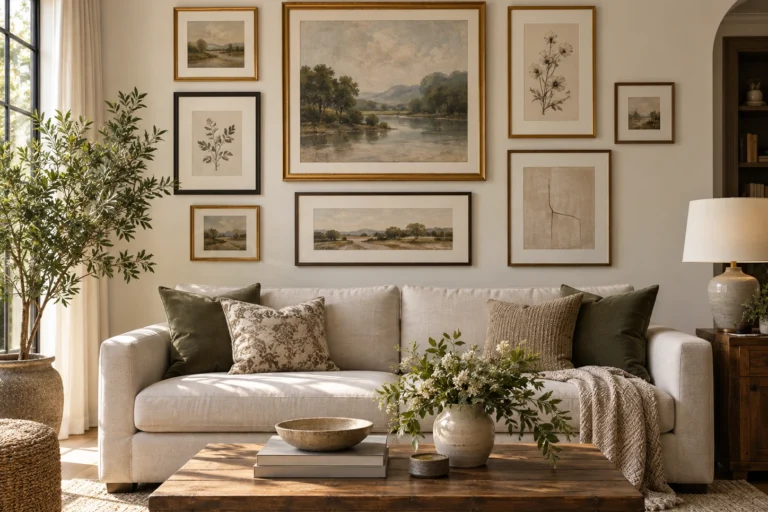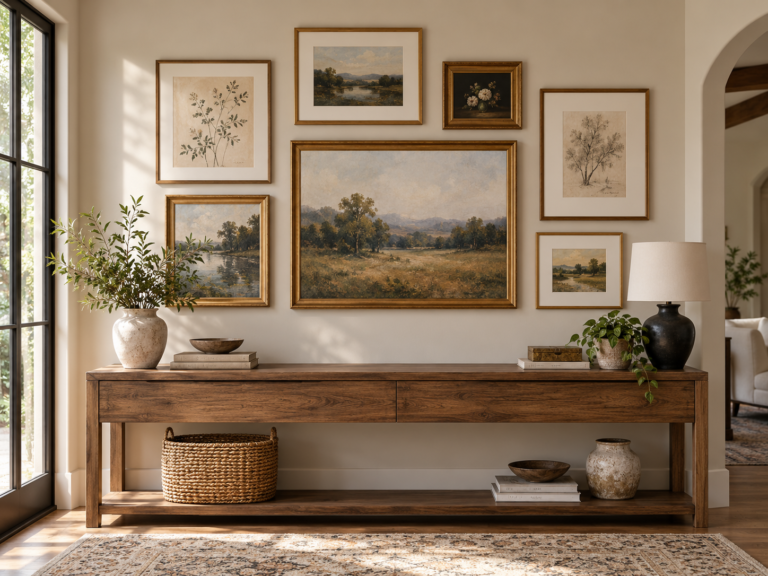
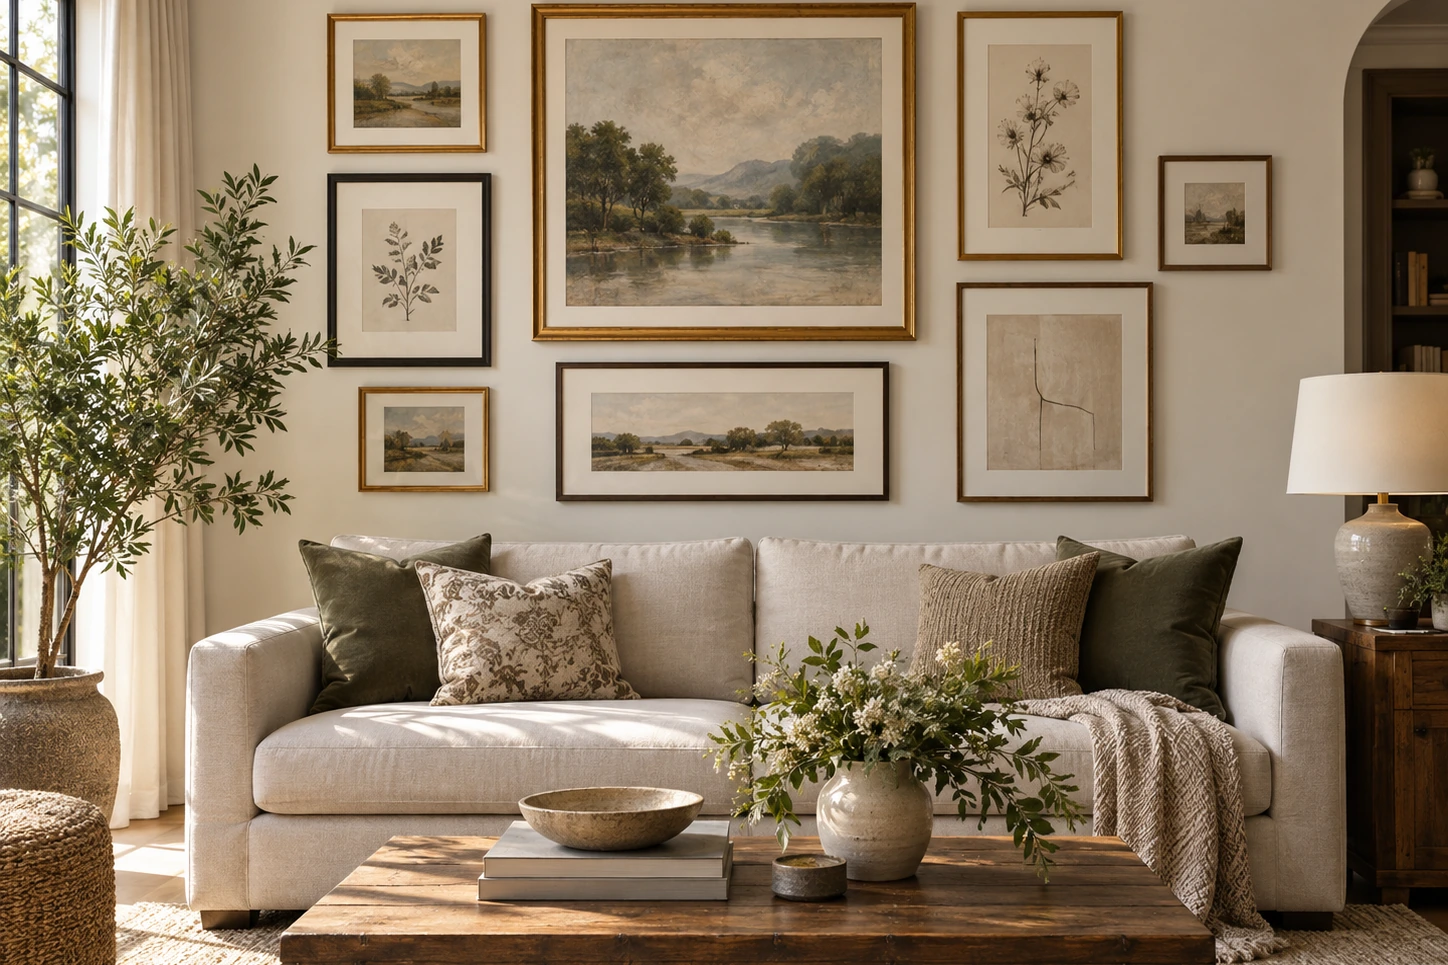
A family-photo hallway works best when the display method matches the wall, the amount of traffic, and how often you want to change the pictures. A precise grid creates calm, a picture rail or ledge makes updates easier, an eclectic gallery can feel collected, and one oversized photograph can give a narrow corridor a strong focal point without visual clutter.
The useful design chain is hallway width → wall length → photo selection → frame and mat system → layout → mounting → lighting → viewing distance → traffic and door clearances.
1. A uniform grid for a clean hallway
A grid works when you want many photographs to read as one large composition. Use a consistent frame size, mat proportion, orientation or image treatment so the repeated structure does the organizing.
Start by deciding how many rows and columns the wall can comfortably hold. Tape the complete outside frame dimensions on the wall before drilling. Check the arrangement from the doorway and from the normal walking direction, not only while standing directly in front of it.
Useful variables include:
- frame outside dimensions;
- mat opening and border width;
- horizontal and vertical gap;
- wall width and length;
- door casings, switches and sconces;
- the visual center of the whole group.
There is no universal two-inch gap or fixed center height that suits every grid. The frame scale, wall length and viewing distance determine what feels balanced.
2. An eclectic gallery wall that still feels coherent
An eclectic wall can mix portraits, travel photos, old family prints and small pieces of art without looking chaotic. The trick is to repeat a few attributes across the group.
Possible unifiers include:
- one dominant frame color such as black, oak or brass;
- all black-and-white photography;
- similar mat colors;
- repeated frame profiles;
- one consistent outer boundary for the complete arrangement.
Lay the composition on the floor first or use paper templates. Start with the largest or most meaningful image, then build outward while balancing visual weight. Several small frames can balance one larger frame when their combined mass is similar.
3. Picture ledges for frequently changing family photos
A shallow picture ledge is useful when the photographs change often. Frames can overlap slightly, and new images can be introduced without measuring a new hanger location each time.
Use ledges with a front lip deep enough for the frames they will hold, and mount the ledge according to its manufacturer’s load and wall requirements. A ledge full of glass-fronted frames can become surprisingly heavy.
Keep larger frames toward the back and smaller frames in front. Avoid creating a stack so deep that frames project into a narrow walking path.
4. Picture rails for flexible, low-hole displays
A traditional picture rail or modern gallery hanging system can be an excellent hallway solution because the support line remains fixed while photographs move.
Compare the system’s:
- rail or track capacity;
- cord, cable or hook compatibility;
- wall attachment requirements;
- maximum frame weight;
- projection from the wall;
- visual style relative to the home’s trim.
For a historic or traditional interior, a picture rail can feel architectural rather than temporary. In a contemporary space, a slim track can almost disappear.
5. One oversized family photograph
One large image can be more powerful than a wall of small frames, especially in a short hall or entry where there is not enough viewing distance to absorb a dense gallery.
Choose a photograph with enough resolution for the intended print size. A generous mat can make a casual family image feel more formal while giving faces room to breathe within the frame.
Before ordering a large print, tape the finished frame dimensions on the wall. Check the scale from adjacent rooms and from the far end of the corridor.
6. Black-and-white family photography for visual consistency
Converting a mixed set of photographs to black and white can create a common visual language when the originals span many years, cameras and color palettes.
The frames do not have to be black. Oak, walnut, brass and painted frames can all work. What matters is that the photograph treatment, mats and frame finishes relate to one another.
Black-and-white is a style decision, not a requirement for dim hallways. Lighting, print density, glazing and wall color also affect how readable a photograph feels.
7. A stair-run family gallery
A staircase display should follow the movement of the stair without turning the handrail into a universal measurement rule. Build the composition around the actual stair geometry, landings, rail, headroom and wall interruptions.
Paper templates are especially useful here. Arrange the frames so the group rises with the stair while maintaining a consistent visual relationship between neighboring pieces.
Keep frames, ledges and other projecting elements clear of the usable stair width and handrail. In busy family stairs, choose secure mounting and lower-profile frames.
8. Create a chronological family wall
A hallway naturally encourages movement, so a chronological sequence can work beautifully. Arrange images by year, generation, trip or family milestone and let the viewer discover the story as they move through the space.
Keep the chronology subtle. Small date captions, a consistent print format or grouping by decade is usually enough. Avoid turning the wall into a dense timeline full of oversized labels.
9. Mix photographs with a small amount of art
Family photographs can sit beside botanical prints, children’s drawings, travel art or small textural pieces. Adding non-photo elements can break up repeated faces and make the wall feel more like the rest of the interior.
Use the room palette as the bridge. A green botanical print might repeat the wall color or a nearby textile; a brass frame might connect to the sconce or door hardware.
10. Use mats to control visual noise
Mats create separation between the photograph and the frame and can help photographs with different color palettes feel more consistent.
Compare:
- white vs warm-white mat board;
- narrow vs generous borders;
- same-size frames with different image openings;
- archival materials when preserving original photographs matters.
A consistent frame and mat system is often the easiest way to make old snapshots, professional portraits and phone photographs belong together.
11. Choose glazing for the hallway conditions
Hallways with windows or strong sconces can produce reflections on ordinary glass. Matte or anti-reflective glazing may help, but every glazing material has tradeoffs in clarity, scratch resistance, weight and cost.
For family areas and high-traffic corridors, acrylic or another shatter-resistant glazing option may be worth considering. Follow the frame maker’s cleaning instructions because acrylic surfaces can scratch more easily than glass.
12. Plan the gallery around hallway traffic
A beautiful display should not make a corridor harder to use. Check:
- door swings;
- closet openings;
- coat hooks;
- bench and console depth;
- stair handrails;
- people carrying bags or laundry;
- frame projection into the passage.
Low-profile frames are useful in tight corridors. Deep shadow boxes, projecting ledges and fragile protruding objects are better reserved for wider walls.
13. Light the photographs without creating glare
Use the existing hallway lighting first. If the gallery needs more emphasis, compare low-profile sconces, ceiling spots, wall washing or individual picture lights.
For framed photographs behind glazing, test the light from normal approach angles before final installation. A bright picture light can create a reflection that makes the image harder to see.
For the broader room, use the dark hallway lighting guide and the Home Lighting Guide to plan glare, wall light and circulation lighting without relying on a separate product-list page.
14. Make swapping photographs easy
If the display changes every season or year, design for replacement from the start. Standardize a few print sizes and keep a simple record of the frame openings.
Good change-friendly systems include:
- picture ledges;
- gallery tracks or rails;
- front-loading frames;
- matching frame sets with replaceable mats;
- one rotating hero frame for new family photographs.
A wall that is difficult to update often stops changing. Ease of use is part of the design.
15. Keep valuable or original photographs protected
For irreplaceable photographs, consider archival-quality mounting, mats and storage rather than permanently displaying the only original. A high-quality reproduction can be framed while the original remains stored under more controlled conditions.
Avoid prolonged direct sunlight on photographs where fading matters. Conservation needs vary by print process, paper and glazing.
Mounting matters as much as layout
Choose hanging hardware based on each finished frame’s weight, backing and wall construction. Do not assume one adhesive system is appropriate for every frame in a large gallery.
For lighter pieces on approved surfaces, removable systems may work well. Heavier or valuable frames often deserve mechanical support. Use the Gallery Wall Guide for the broader hanging and spacing method, and follow the frame and hardware manufacturer’s load and wall-surface requirements for the exact installation.
How to plan the whole wall before hanging anything
- Measure the usable wall length and height.
- Mark door swings, switches, sconces and trim.
- Choose one display system: grid, eclectic gallery, ledge, rail, stair run or hero image.
- Edit the photograph set before buying frames.
- Choose the frame, mat and glazing system.
- Mock up the arrangement at full scale with paper or painter’s tape.
- Check the wall from both ends of the hallway.
- Confirm frame projection and walking clearance.
- Choose hanging hardware for each frame and wall type.
- Test lighting and glare before finalizing the display.