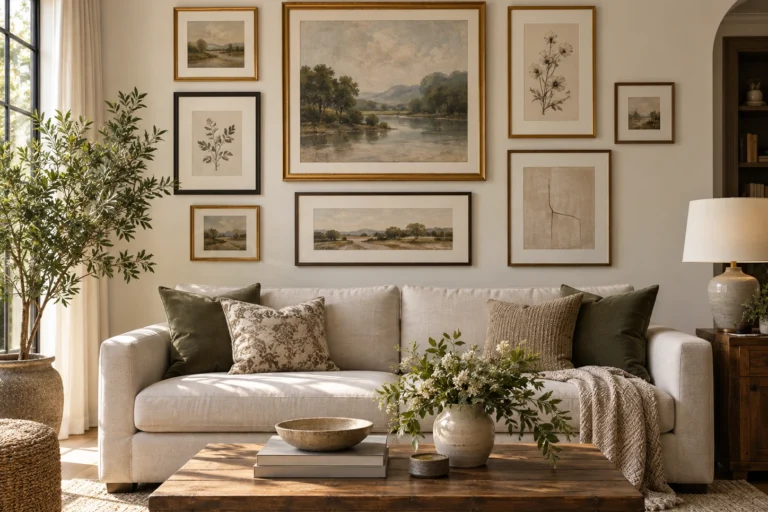

Art Lighting
Choose a picture light from the outside artwork width and the light spread you need, then position it to control glare. A fixture can be beautifully centered yet still light only the top edge or reflect directly off glass. Scale, projection, shade angle and surface finish all matter.
Measure outside frame → choose fixture scale → check wall projection → aim the beam → test glare → coordinate wiring → evaluate the art at night.
1. Measure the outside art dimensions
Use the complete frame width and height. For a gallery wall, decide whether one light serves the full group or individual fixtures serve separate pieces.
The fixture should feel visually connected to the art without overpowering a narrow frame.
2. Choose width by visual balance
A wider picture light can spread light across a broad landscape piece, while a compact fixture can suit a smaller portrait. Mock up the fixture outline with paper above the frame.
Manufacturer beam information is more useful than width alone when you need even illumination.
3. Check projection from the wall
Picture lights extend forward. The arm needs enough reach to throw light onto the art rather than straight down the wall, but excessive projection can look awkward or create head-clearance issues in tight passages.
Measure the finished frame depth too, especially for shadow boxes or deep canvases.
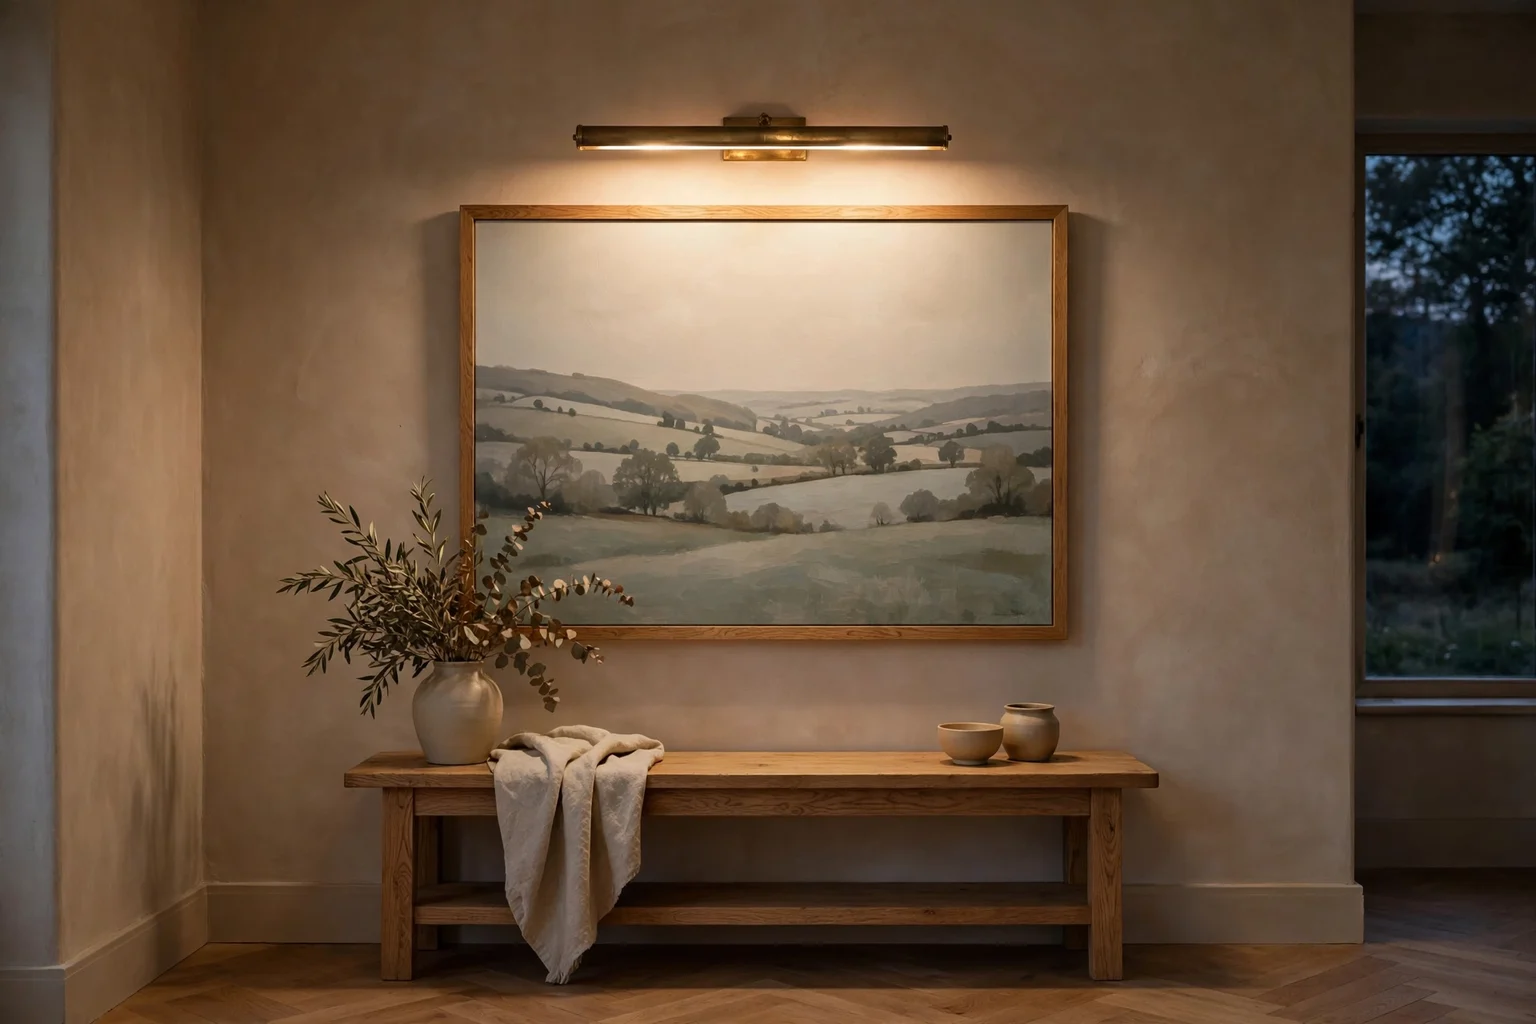
4. Aim for the artwork, not the glass reflection
Turn on a temporary or sample fixture and view the art from normal standing and seated positions. Tilt or reposition the light until the bright reflection is controlled.
Highly reflective glazing may benefit from different fixture geometry or lower-glare glazing rather than simply more light.
5. Coordinate the color and quality of light
The picture light should reveal the artwork without making its colors look disconnected from the room. Evaluate it alongside the surrounding ambient lighting after dark.
Avoid an extremely bright art light in an otherwise dim room unless the dramatic contrast is intentional.
6. Plan wiring and controls
Hardwired picture lights need a safe electrical route and suitable switching. Plug-in or rechargeable models can be useful where wall work is impractical, but cords and charging routines should be considered.
Do not conceal ordinary flexible cords inside walls as a substitute for proper permanent wiring.
7. Use one fixture carefully over a gallery group
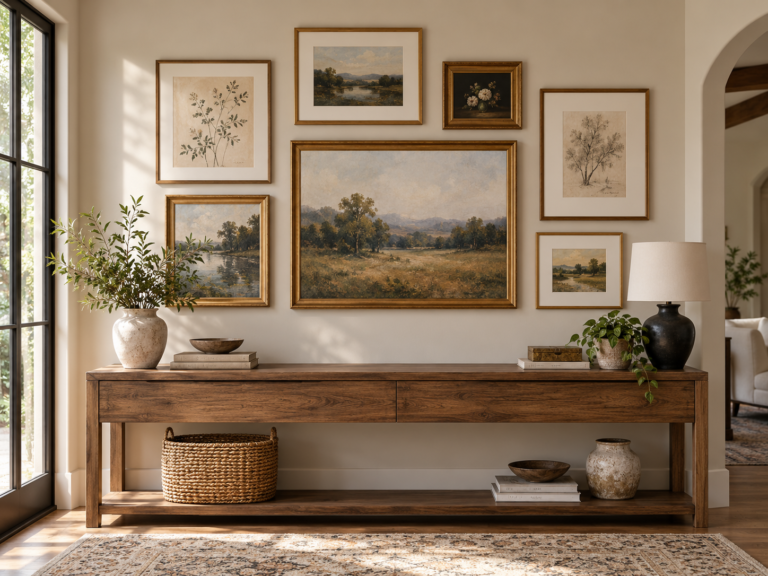
For a gallery wall, a single wide light can emphasize the overall composition, but it may not illuminate outer frames evenly. Test the complete group before deciding.
Multiple small lights can add complexity and visual clutter, so use them only where the arrangement benefits.
8. Evaluate heat and artwork sensitivity
Modern LED picture lights typically reduce heat at the artwork compared with older lamp types, but follow the fixture and artwork guidance for sensitive materials.
Valuable works, photographs and textiles may have conservation requirements beyond decorative-room lighting.
Planning table
| Check | What to test | Why it matters |
|---|---|---|
| Art width | Outside frame/group width | Sets visual fixture scale |
| Projection | Wall to light head | Controls beam position |
| Surface | Glass, canvas or reflective finish | Affects glare |
| Beam | Actual illuminated area | Determines coverage |
| Power | Hardwired, plug-in or rechargeable | Controls installation |
Related Dwelanor guides
- Wall Decor Guide — plan the artwork wall
- Gallery Wall Guide — build frame groups
- Gallery Wall Spacing Formula — coordinate grouped frames
- Art Over Sofa Formula — set artwork scale
- Home Lighting Guide — layer picture light with room lighting
- Heavy Wall-Hanging Guide — consider secure mounting for heavy pieces
Bottom line
A picture light should look proportionate and light the artwork rather than the wall or viewer. Size it from the frame, test the beam and glare on the real piece, and coordinate it with the room’s ambient lighting.