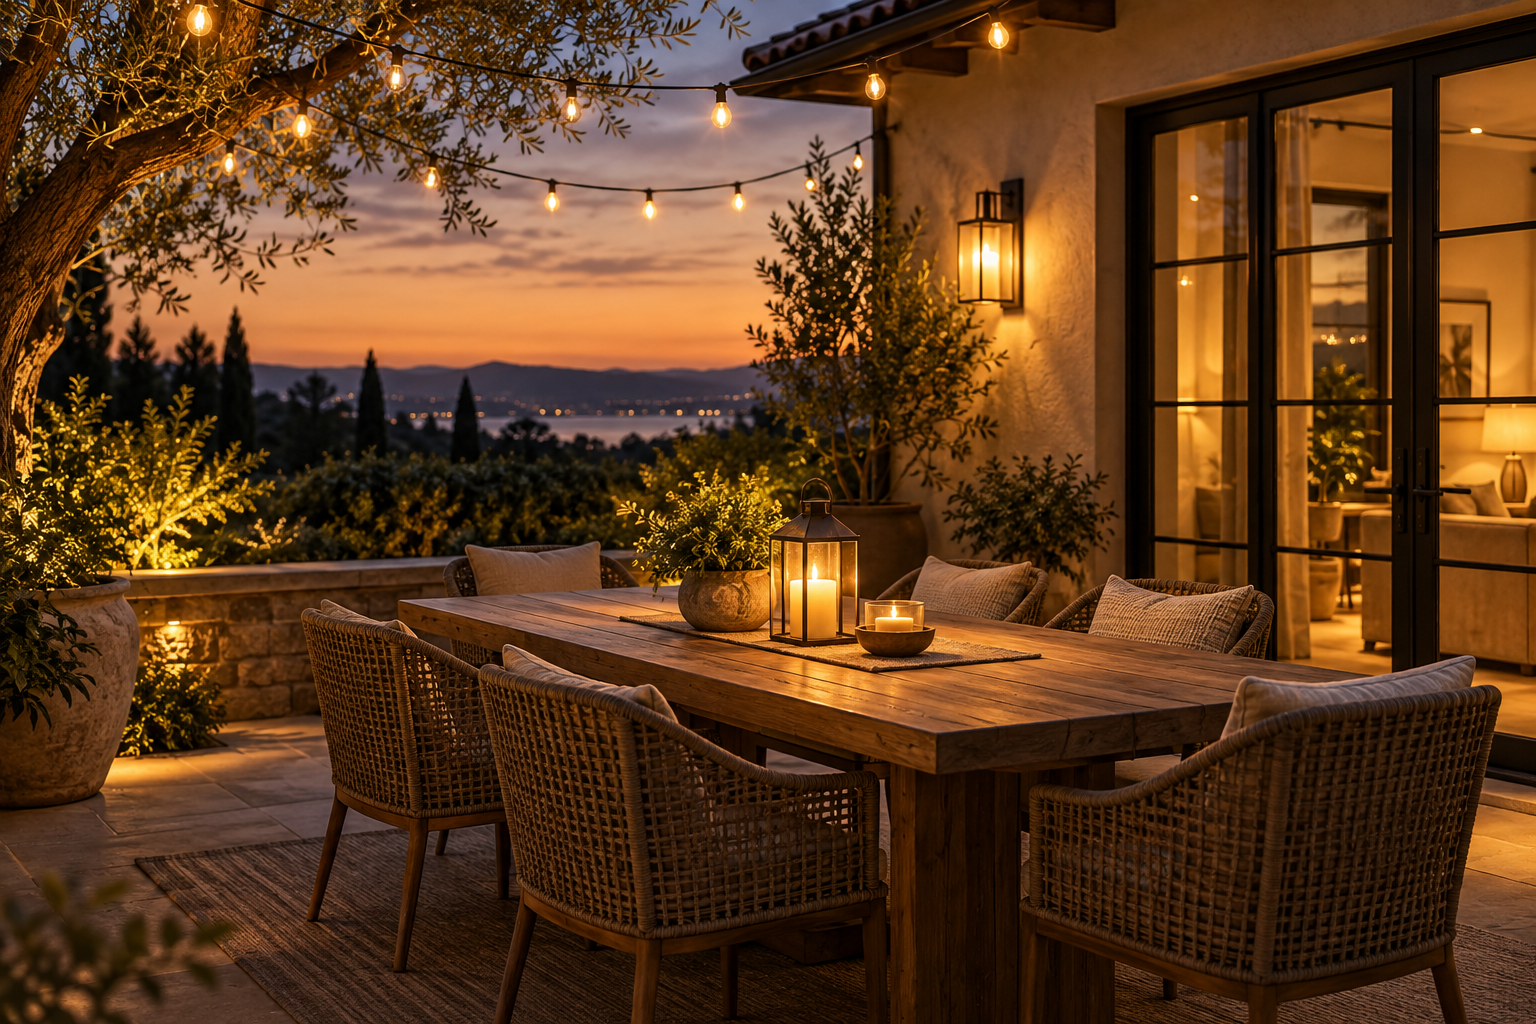
Outdoor Lighting
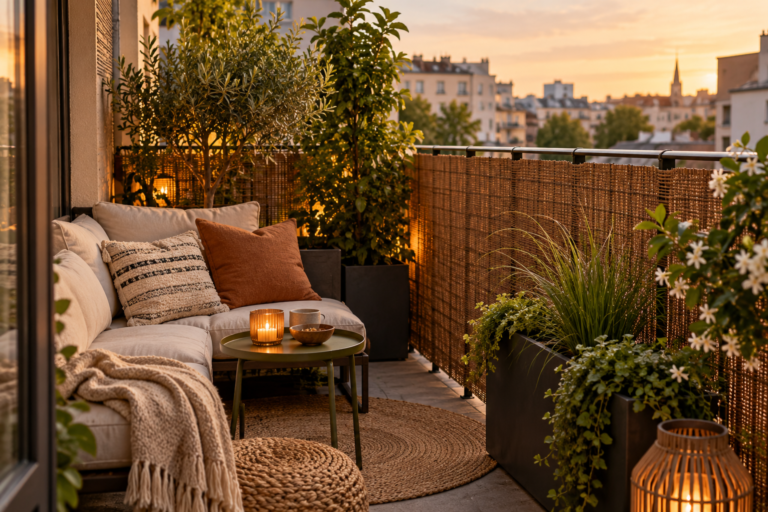
A comfortable patio uses several lower-intensity light sources with different jobs. String lights create atmosphere, sconces support doors and walls, and task lights help with dining, grilling or reading. Plan them as layers so the patio remains usable without feeling like a floodlit yard.
Map activities → add safe path/door light → place ambient layer → add task light → control glare → choose outdoor-rated equipment → test after dark.
1. Map the patio activities
Mark dining, lounge, grill, steps, doors and paths. Each zone needs a different kind of light, so furniture placement should come before decorative fixtures.
If the layout changes seasonally, favor movable task lights or flexible control zones.
2. Secure navigation first
Steps, level changes and doors need clear visibility. Use wall, step or path lighting where it improves safe movement without shining directly into seated eyes.
Do not rely on decorative string lights alone to reveal hazards at floor level.
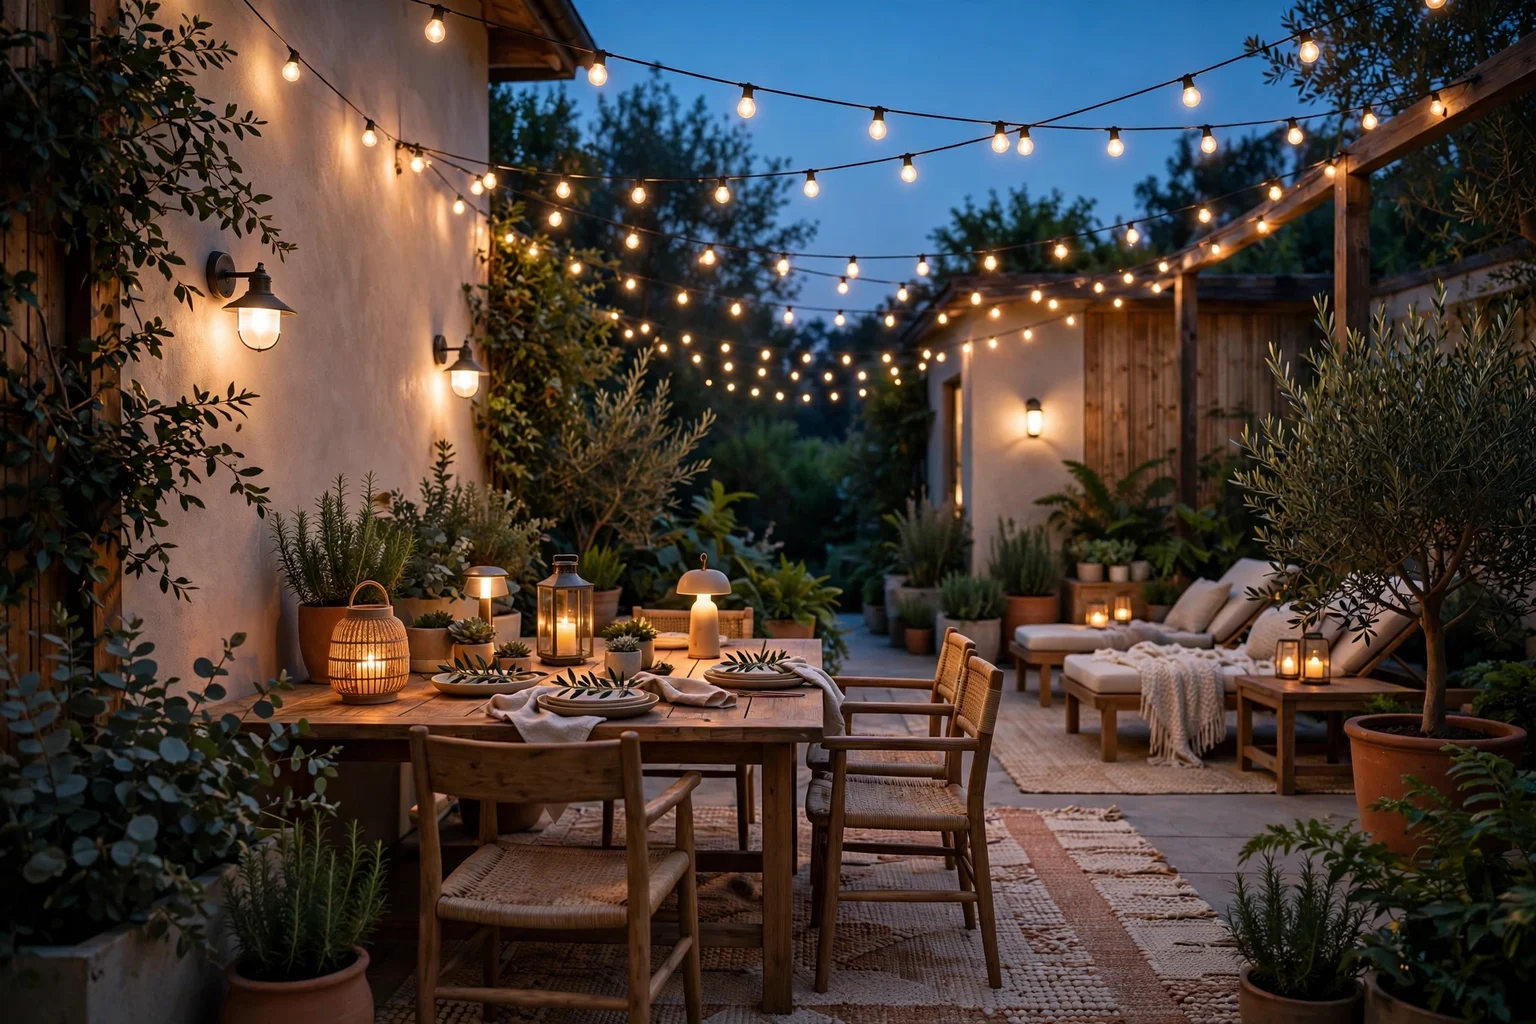
3. Use string lights as an ambient canopy
Overhead strings can define a social zone and create soft background glow. Plan attachment points, cable tension and power before buying a length based only on patio dimensions.
Use products listed/rated for the outdoor exposure and install them according to their instructions.
4. Use sconces for architectural light
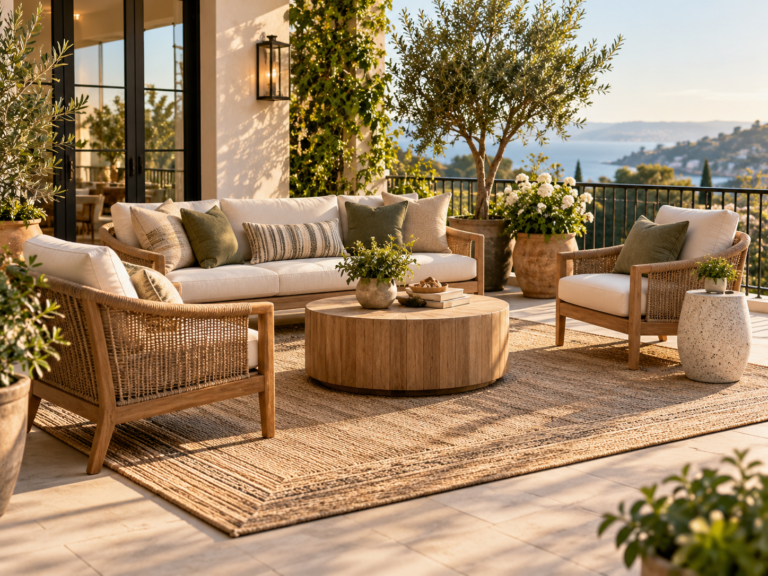
Wall fixtures can frame doors, illuminate vertical surfaces and provide useful background light. Shielded designs can reduce glare compared with exposed bright bulbs.
Check door swing, head clearance and whether the fixture throws unwanted light into neighboring windows.
5. Add task light where hands work
Dining tables, grills, prep counters and reading chairs benefit from more focused illumination. Portable rechargeable lamps can add task light without making the whole patio brighter.
Keep portable fixtures stable and appropriate for outdoor conditions.
6. Control glare from seated positions
Sit in every chair and look toward each fixture. A bare bulb that seems charming from across the yard can become uncomfortable at eye level.
Lower output, shielding, warmer dimmed settings or repositioning may solve glare better than removing a useful layer.
7. Plan weather-safe power
Outdoor electrical equipment and connections must be suitable for the location. Use outdoor-rated fixtures, cords and receptacle protection as required, and keep connections out of standing water.
Permanent electrical changes should follow applicable local requirements rather than improvising indoor wiring methods outside.
8. Test scenes after dark
Run only navigation lights, then add ambient, task and accent layers one at a time. Create settings for dinner, conversation and cleanup if controls allow.
The best final scene usually uses fewer lights at full output and more layers at restrained output.
Planning table
| Check | What to test | Why it matters |
|---|---|---|
| Navigation | Steps, doors and path edges | Supports movement |
| Ambient | String lights/general glow | Creates overall atmosphere |
| Task | Dining, grill, reading zones | Supports specific work |
| Glare | View from seated eye level | Controls comfort |
| Power | Outdoor-rated equipment/connections | Supports safe installation |
Related Dwelanor guides
- Outdoor Living Design Guide — plan the whole patio
- No-Drill String Light Guide — plan reversible hanging
- Home Lighting Guide — understand lighting layers
- Small Balcony Furniture Guide — coordinate compact outdoor zones
- Balcony Privacy Guide — combine light with screening
- Solar Path Light Guide — compare path-light considerations
Bottom line
Patio lighting feels better when navigation, ambience and task work are separated. Use string lights for atmosphere, sconces for architectural support and focused lower lights for real activities, then control glare and brightness after dark.