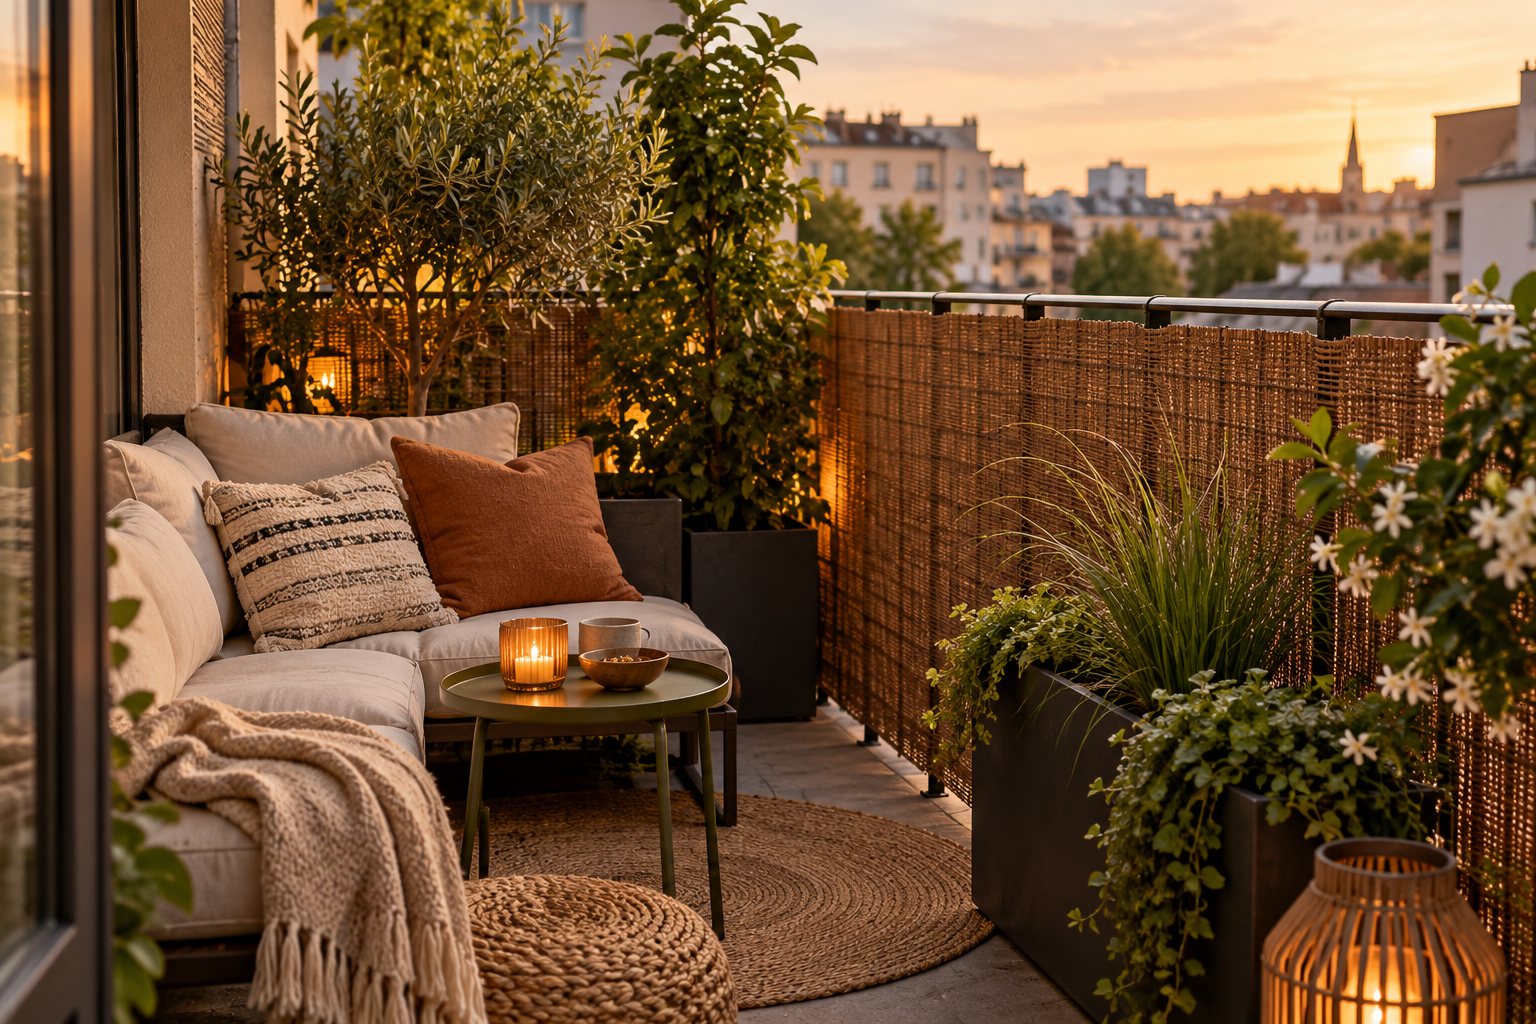
Renter Balcony Privacy
Build balcony privacy in reversible layers instead of attaching a permanent wall to a rental. Railing screens, tall planters and freestanding panels can reduce direct views, but wind, drainage, rail safety and lease rules matter as much as appearance.
Identify sightlines → check lease/building rules → protect door and drain → choose low-risk screening → add plants → test wind and stability → keep required rail and egress functions intact.
1. Map the exact privacy problem
Stand at the chair, door and interior room and identify who can see in and from what angle. You may only need to block one diagonal sightline rather than screen the entire railing.
Targeted privacy often preserves more daylight and view.
2. Check rental and building restrictions
Review lease, strata/HOA or building rules before attaching anything to rails, ceilings or exterior walls. Some buildings regulate visible screens, drilling, load or combustible materials.
Do not assume a no-drill product is automatically permitted on an exterior railing.
3. Use railing screens carefully
Fabric, woven or mesh screens can reduce low-level views without taking floor space. Fasten them only with methods appropriate to the railing and expected wind load.
Keep drainage openings and rail safety features clear, and remove loose material that can become a wind hazard.
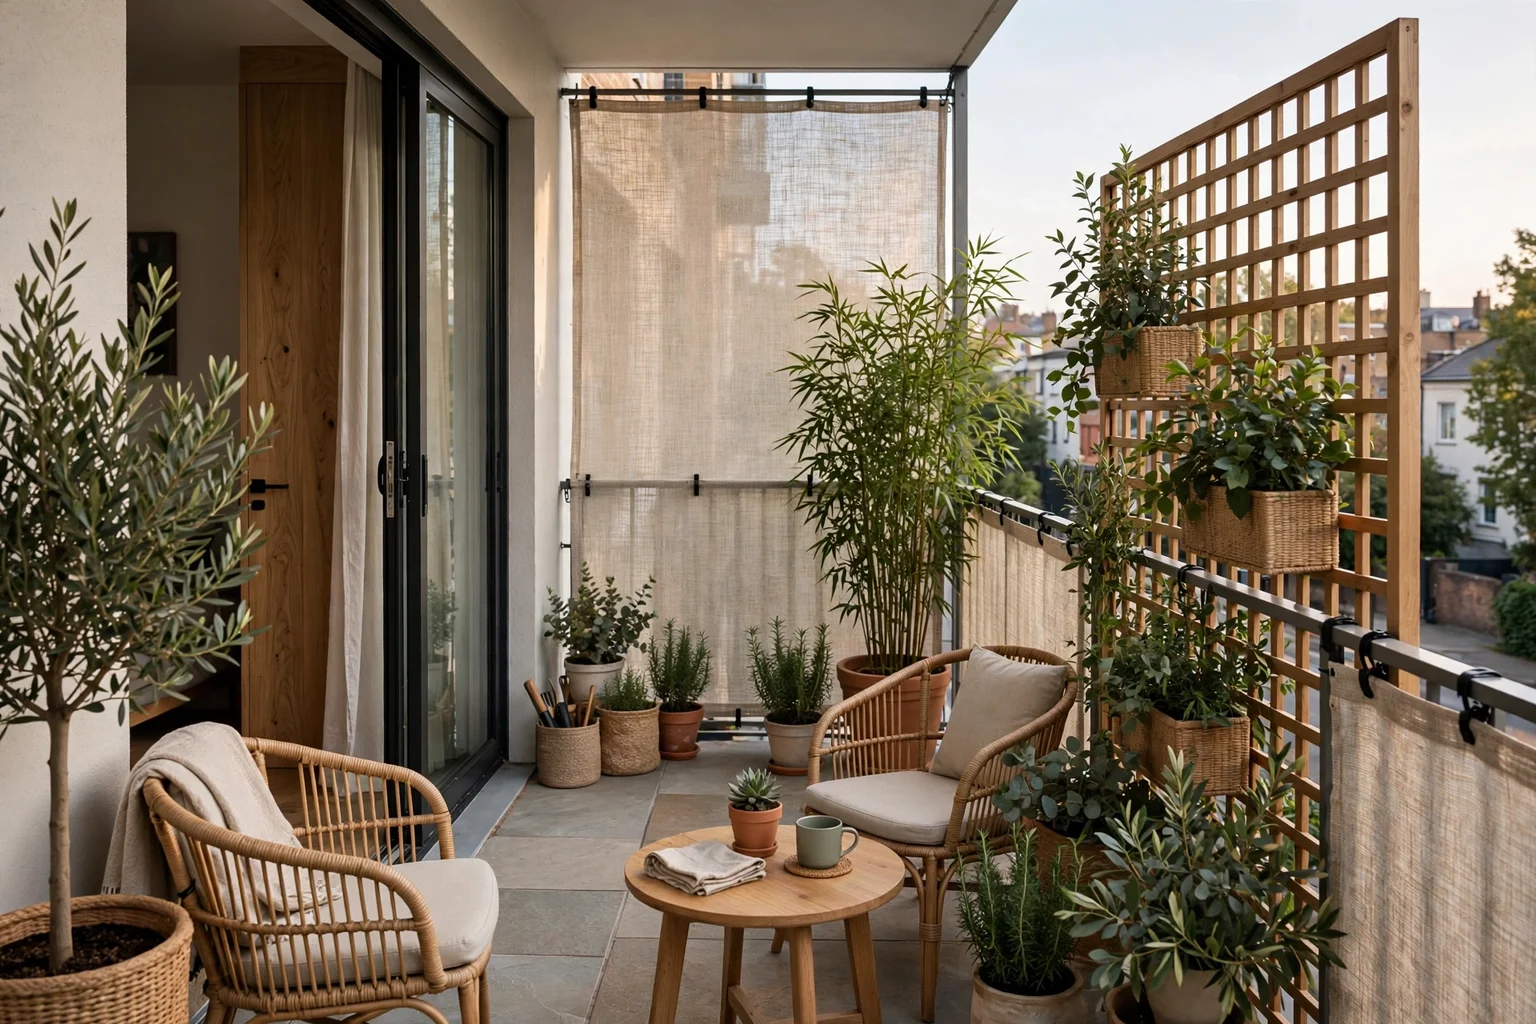
4. Use tall plants for softer screening
Narrow planters with upright plants can block selected views while keeping the balcony visually open. Choose species for the actual sun, wind and climate exposure.
Secure top-heavy pots and use saucers or drainage methods that protect the balcony surface and neighbors below.
5. Consider freestanding screens
A stable folding or slatted screen can be repositioned and removed, making it useful where attachment is restricted. Its base footprint must still leave a clear walking route.
High-rise wind can be much stronger than at ground level, so a lightweight indoor screen may be inappropriate outdoors.
6. Keep the door and circulation clear
Open the balcony door fully and walk to every seat. Privacy elements should not require squeezing around planters or moving a screen each time the balcony is used.
Preserve access to drains, utility equipment and required maintenance points.
7. Balance privacy with daylight
Dense screens can darken the room behind the balcony. Check the interior during the day after temporarily hanging fabric or cardboard at the proposed height.
Slatted, planted or partial-height solutions can reduce direct views while preserving more light.
8. Test the setup in real weather
Observe wind, rain and strong sun before leaving the arrangement unattended. Bring in or secure anything that shifts, flaps or tips.
Outdoor privacy should remain safe when the balcony is empty, not only while someone is sitting there.
Planning table
| Check | What to test | Why it matters |
|---|---|---|
| Sightline | View from seat, door and neighbors | Targets privacy efficiently |
| Rules | Lease/building restrictions | Controls attachment |
| Wind | Screen area and planter stability | Controls safety |
| Route | Door to seating and drain | Protects circulation |
| Light | Interior daylight after screening | Prevents darkening |
Related Dwelanor guides
- Rental Decorating Guide — choose reversible changes
- Outdoor Living Design Guide — plan furniture and exposure
- Small Balcony Furniture Guide — protect circulation
- Renter-Friendly Room Divider Guide — compare indoor zoning methods
- Small Space Design Guide — use compact areas efficiently
- Patio Lighting Layers — finish the balcony for evening use
Bottom line
Renter balcony privacy works best as a targeted, reversible system. Screen the real sightline with stable, permitted elements while keeping daylight, drainage, rail safety and the walking route intact.