A kitchen island should solve a real problem before it becomes a design feature. It may add preparation space, storage, seating, a sink, cooking equipment or a social boundary between kitchen and living areas. If it blocks circulation or removes useful work space, it is not helping.
The useful sequence is job → available floor area → circulation → worktop size → seating → storage → services → lighting → finishes.
1. Give the island a primary job
An island that tries to cook, wash, seat six people, store everything and serve as a home office can become overcrowded. Choose the primary job first, then add secondary functions only when the room has enough space.
| Main job | What to prioritize |
|---|---|
| Preparation | Clear uninterrupted worktop and access to tools and ingredients. |
| Seating | Knee space, stool width, circulation behind seats and comfortable conversation. |
| Storage | Drawers, shelves or cabinets sized to what will actually live there. |
| Cooking | Appropriate clearances, ventilation and heat-safe planning. |
| Cleaning | Sink, dishwasher relationship, landing space and plumbing considerations. |
2. Mock up the footprint before ordering cabinetry
Painter’s tape or boxes are far more useful than guessing from a floor plan. Mark the complete width and depth of the island and then use the kitchen normally.
Open the refrigerator, oven, dishwasher and surrounding drawers. Pull stools out. Carry a tray through the room. If movement feels awkward during the mock-up, the permanent island will not improve it.
3. Circulation matters more than fitting the largest possible island
The island should leave enough room for people to pass, appliances to open and two cooks to work when that reflects the household. Required clearances depend on the actual kitchen, appliance doors and local design or building requirements, so do not treat one generic number as universal.
In a tight kitchen, a smaller island, peninsula, movable worktable or no island at all may be the better solution.
4. Plan worktop depth around the tasks
A preparation island benefits from a useful uninterrupted zone. Seating overhang, sink cutouts and cooktops all consume part of the worktop, so consider the remaining clear area rather than the overall slab dimensions.
If the island includes more than one activity, separate messy or hot work from seating where practical.
5. Plan seating from the person outward
Stools need enough room for knees, elbows, entry and exit. People also need space behind them to stand up without blocking a major kitchen route.
For conversation, seating on two adjacent sides can feel more social than a long row when the island shape allows it. Use our kitchen island seating guide for more detailed seating relationships.
6. Use storage where it supports the work
Island storage works best when the contents relate to the nearest activity. Deep drawers can suit pots, serving pieces or pantry items. Shallow drawers can keep prep tools close to the worktop. Open shelving can be attractive but adds visual maintenance.
Avoid creating storage simply because cabinet space is available. Doors and drawers on the seating side may be difficult to access once stools are in place.
7. Decide on plumbing, cooking and power early
A sink, dishwasher, cooktop, outlets or charging points can turn the island into a much more complex project. Services may affect floor construction, ventilation, waterproofing, electrical design and permits.
These decisions belong at the beginning of the plan, not after cabinetry has been ordered. Follow local code and use qualified trades where required.
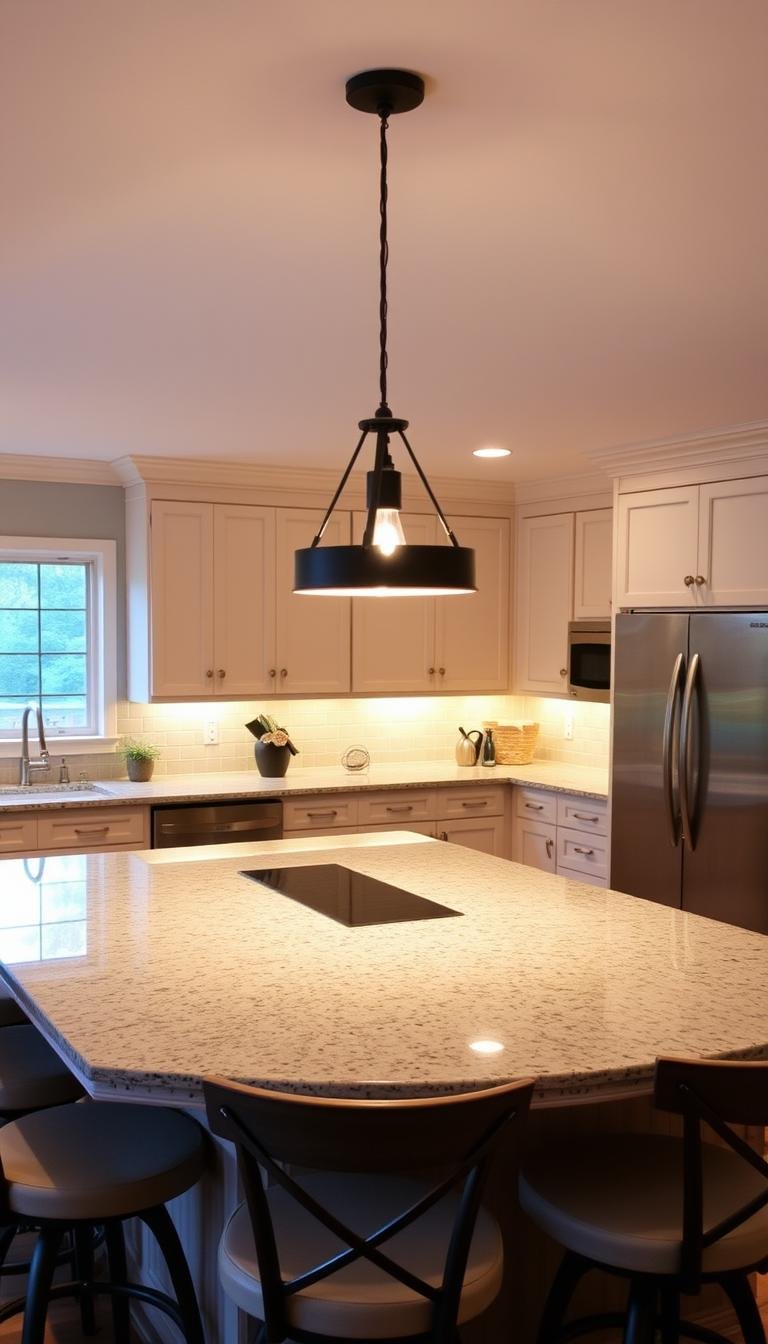
8. Pendant lights should support the island, not dominate it
Pendants can provide task or ambient light and help define the island visually. Their number, size, height and spacing should relate to the island length, sightlines and surrounding lighting.
Use our kitchen island pendant height guide and pendant spacing guide. For the broader strategy, see the Home Lighting Guide.
9. Choose stools after the counter height is fixed
Counter stools and bar stools are not interchangeable. Compare the seat height with the finished counter and allow enough room for comfortable sitting. Armrests, backs and swivel mechanisms can increase the space each stool needs.
10. Choose finishes after the functional plan works
The island can match the perimeter cabinetry or deliberately contrast through color, timber or worktop material. The strongest choice usually repeats something already present in the room so the contrast feels connected rather than random.
Use the Materials & Finishes Guide and Interior Color Palette Guide when selecting the visual layer.
11. A peninsula may be better in a smaller kitchen
A peninsula can add worktop and seating while using one end of the kitchen rather than placing a freestanding object in the center. It can be especially useful when an island would create narrow circulation on several sides.
Kitchen island checklist
- The island has a clear primary job.
- The footprint has been mocked up in the real room.
- Appliances, doors and drawers can open comfortably.
- Seating does not block the main route.
- Storage is accessible in daily use.
- Any electrical, plumbing or cooking services are planned early.
- Lighting supports the work surface and sightlines.
- The island improves the room even before decorative finishes are considered.
Next: continue with the Kitchen & Dining Design Guide, Breakfast Nook Guide and Kitchen & Dining library.