Storage · Narrow entryways
Shoe Cabinets for Narrow Entryways
Tilt-out cabinets, open racks and benches compared by usable depth, door swing, shoes and safe attachment.
By Hayat
IN THIS GUIDE
Plan before buying
QUICK CHECK
Make the decision safely
- Allow for open doors, shoes and real traffic.
- Select the cabinet for actual shoes, not advertised pair capacity.
- Anchor top-heavy units according to the manufacturer’s instructions.
For a narrow entryway, a tilt-out shoe cabinet usually gives the tidiest closed look, an open rack is easier for damp everyday shoes, and a bench makes sense only when you have enough room to sit and pass comfortably. The right choice begins with the depth of the usable walkway, the shoes you actually store and the installation your wall can safely support.
Do not buy from the product’s advertised depth alone. A tilting front projects into the hall when opened, open racks need room for toes and heels, and benches occupy space even when no one is sitting on them.
Start with the walkway and door, not the cabinet
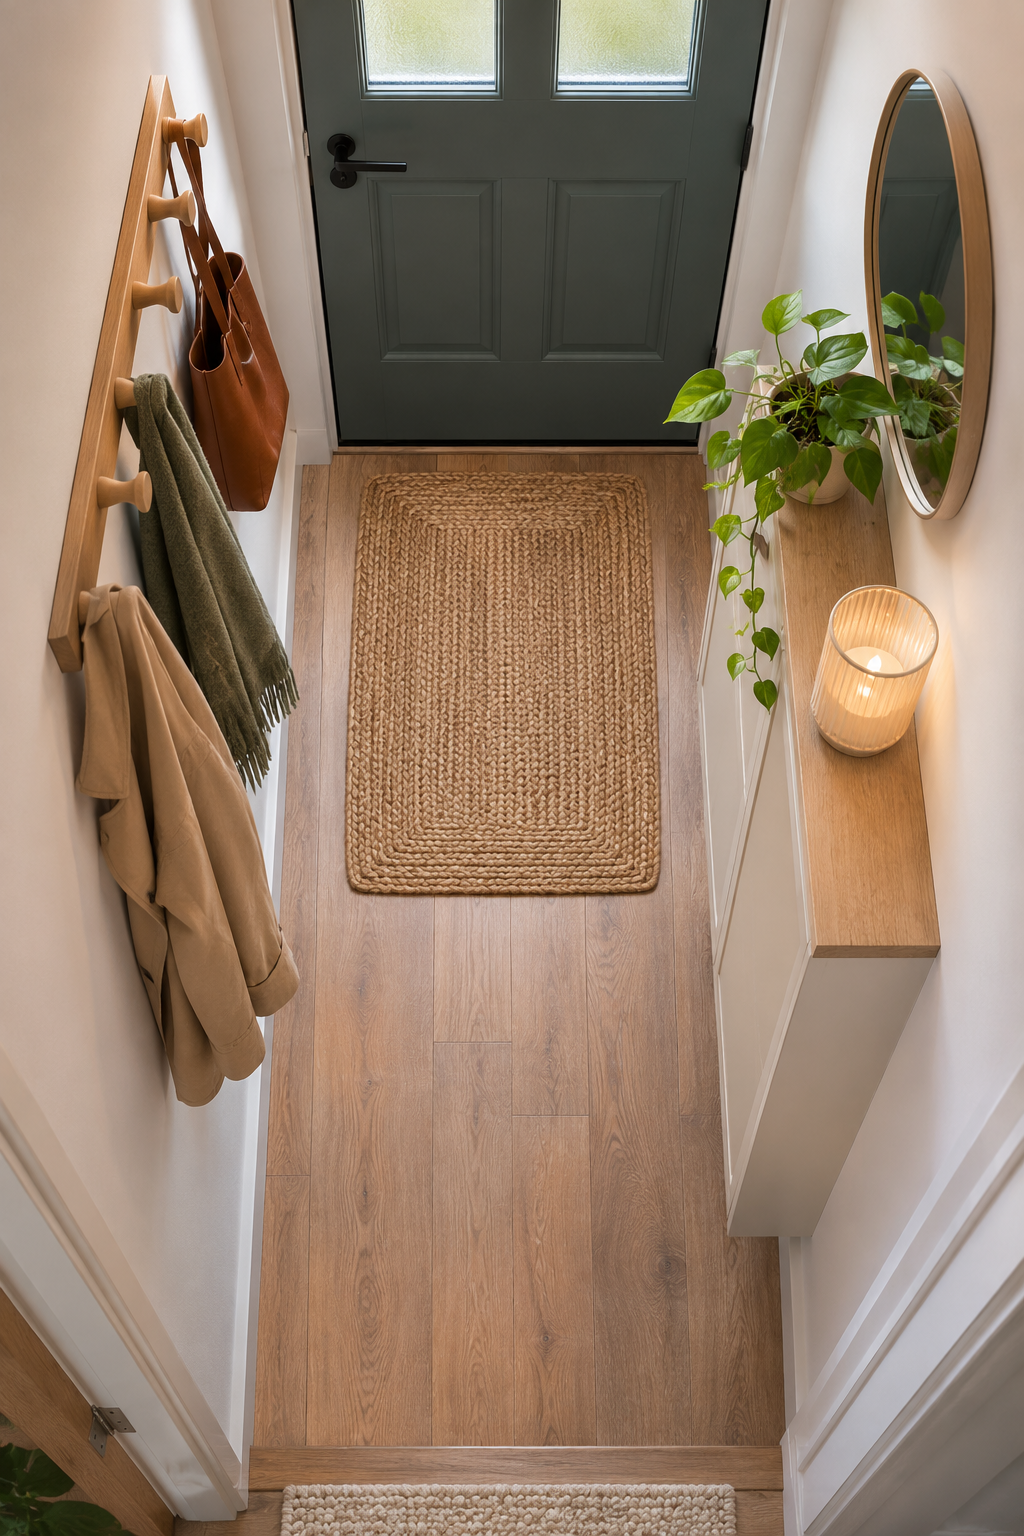
Measure from the farthest projecting part of the wall or trim to the opposite obstruction. Check the path at several points rather than assuming the hallway is equally wide everywhere. Include a swinging front door, closet door, light switch, radiator, thermostat and the area where people take shoes off.
Next, tape the intended storage footprint on the floor. Walk through carrying a bag or laundry basket. Open every nearby door to its usable position. If another person cannot pass comfortably while someone uses the storage, reduce the unit depth, move it to another wall or choose wall-mounted hooks and a small tray instead. Our Entryway Clearance Guide explains how to test those routes before purchasing furniture.
A manufacturer may quote a cabinet depth with every door shut. Ask for the full open-door envelope. Check whether the baseboard holds the unit away from the wall, because that gap changes the real projection. Measure in inches, not just from a product photo.
The three useful storage formats
| Format | When it helps | What to verify | Common compromise |
|---|---|---|---|
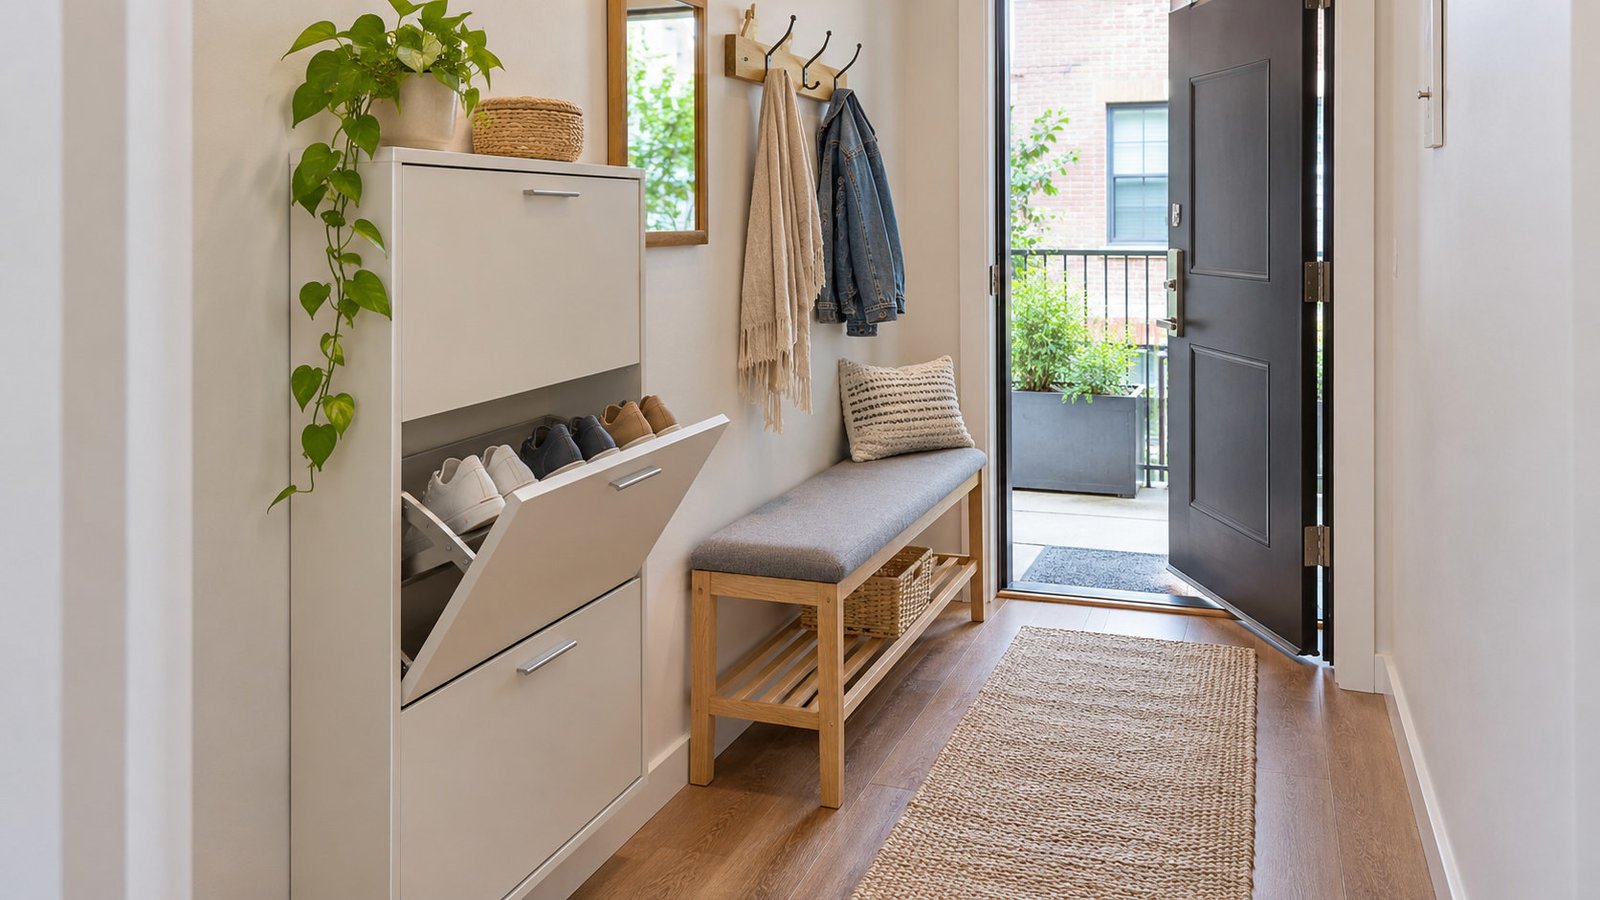
| Tilt-out cabinet | Closed storage on a shallow wall | Open front clearance, internal shoe size, wall anchoring | Bulky shoes may not fit the compartments |
| Open rack | Daily footwear that needs quick access and drying | Actual shoe projection, stability, cleanable surfaces | Shoes stay visible and may collect dust |
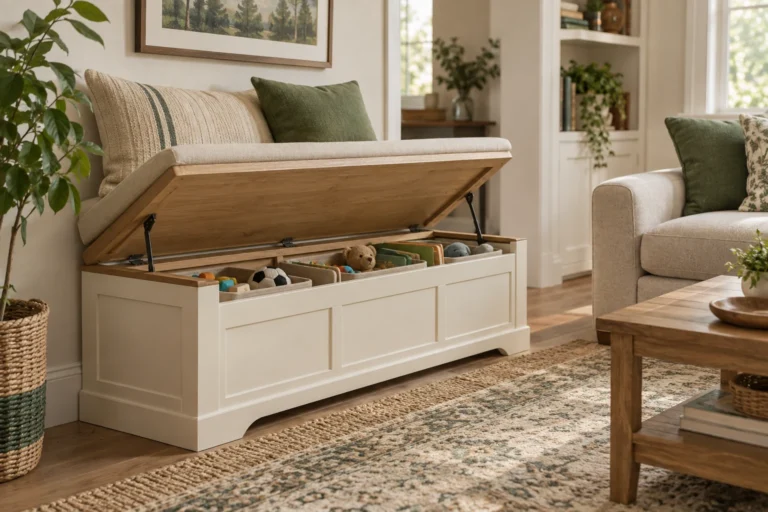
| Storage bench | A place to sit while changing shoes | Seat load rating, overall footprint, door clearance | Often too deep for a tight corridor |
| Shallow wall-mounted bin | Very constrained floor space | Compatible wall construction and correct mounting hardware | Often limited to smaller everyday footwear |
When a tilt-out shoe cabinet is worth buying
Tilt-out cabinets hide visual clutter behind one continuous front. They can make a narrow entry feel calmer than several separate baskets. Look at the inner compartment rather than the outside dimensions: tall boots, chunky sneakers and unusually large footwear may be awkward even when the cabinet itself fits.
Check whether the unit rests on the floor, mounts to the wall or uses both. A shallow footprint does not make tall furniture self-stabilizing. Verify the actual wall-fixing requirements in the installation manual, especially if the cabinet has moving fronts that can encourage pulling or climbing.
For a concrete sizing reference, IKEA currently lists the STÄLL four-compartment cabinet with a nominal closed depth of 6 3/4 inches. IKEA explicitly says this cabinet must be fastened to the wall. This is an example of how a slim product can still require substantial installation planning, not a claim that it will fit every entryway.
For unusually narrow entryways, IKEA’s TRONES storage cabinet provides another manufacturer reference. Its published depth is approximately 7 1/8 inches, and its instructions call for wall attachment using suitable fixings. Use current manufacturer documentation for exact dimensions and hardware, not an old listicle.
When an open rack beats a closed cabinet
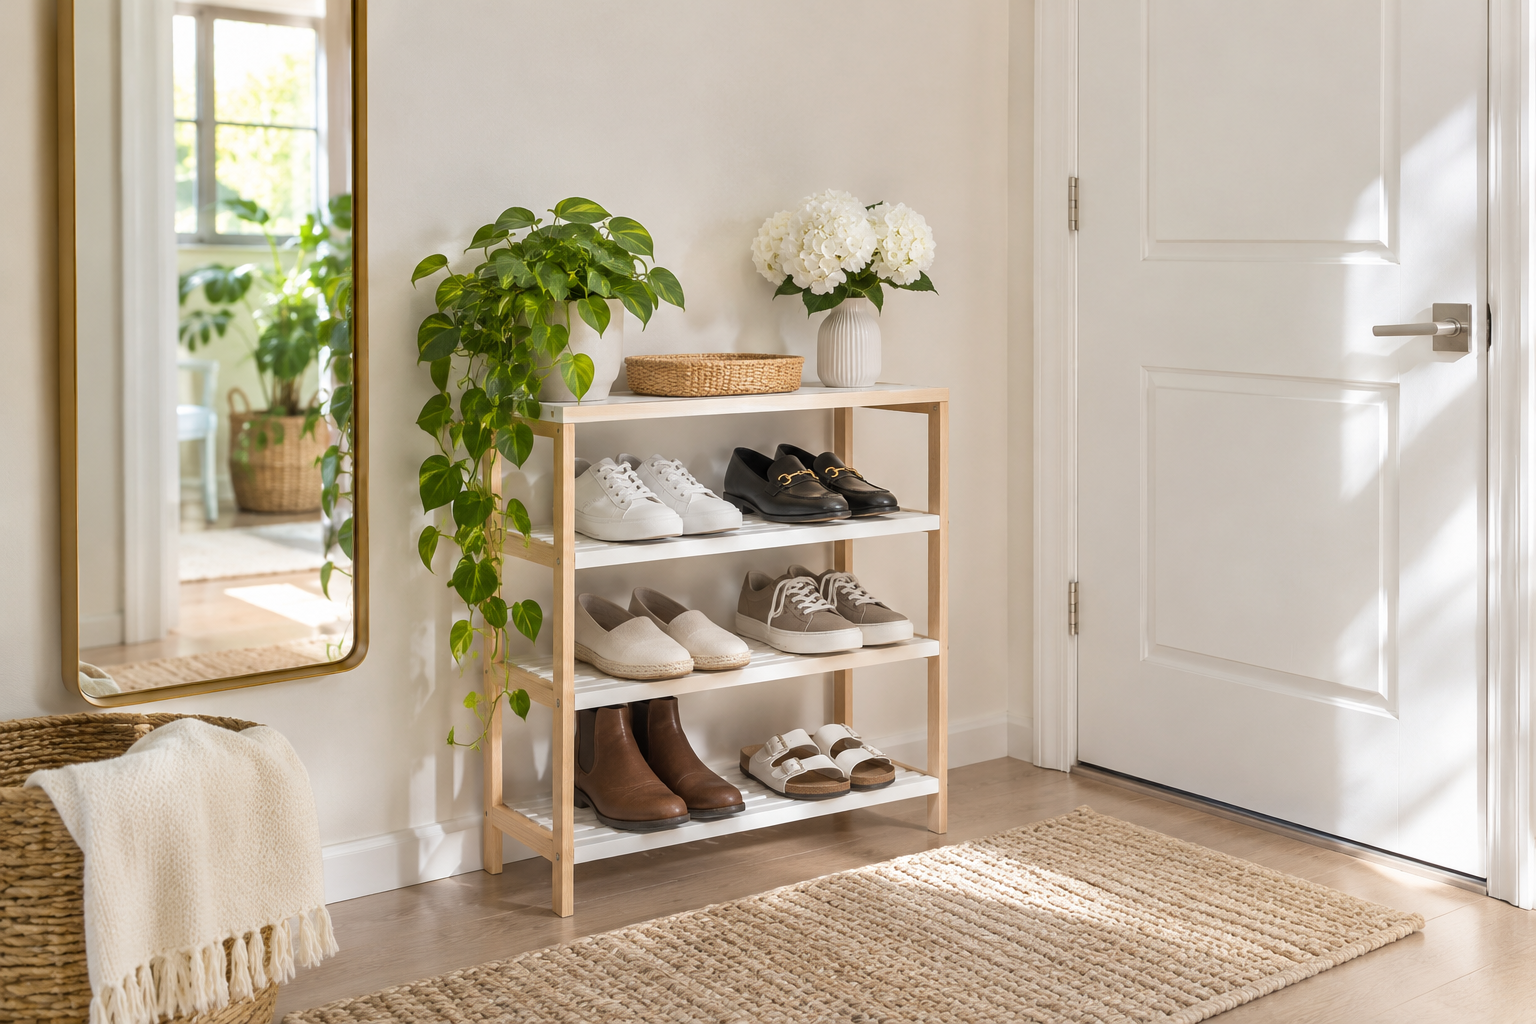
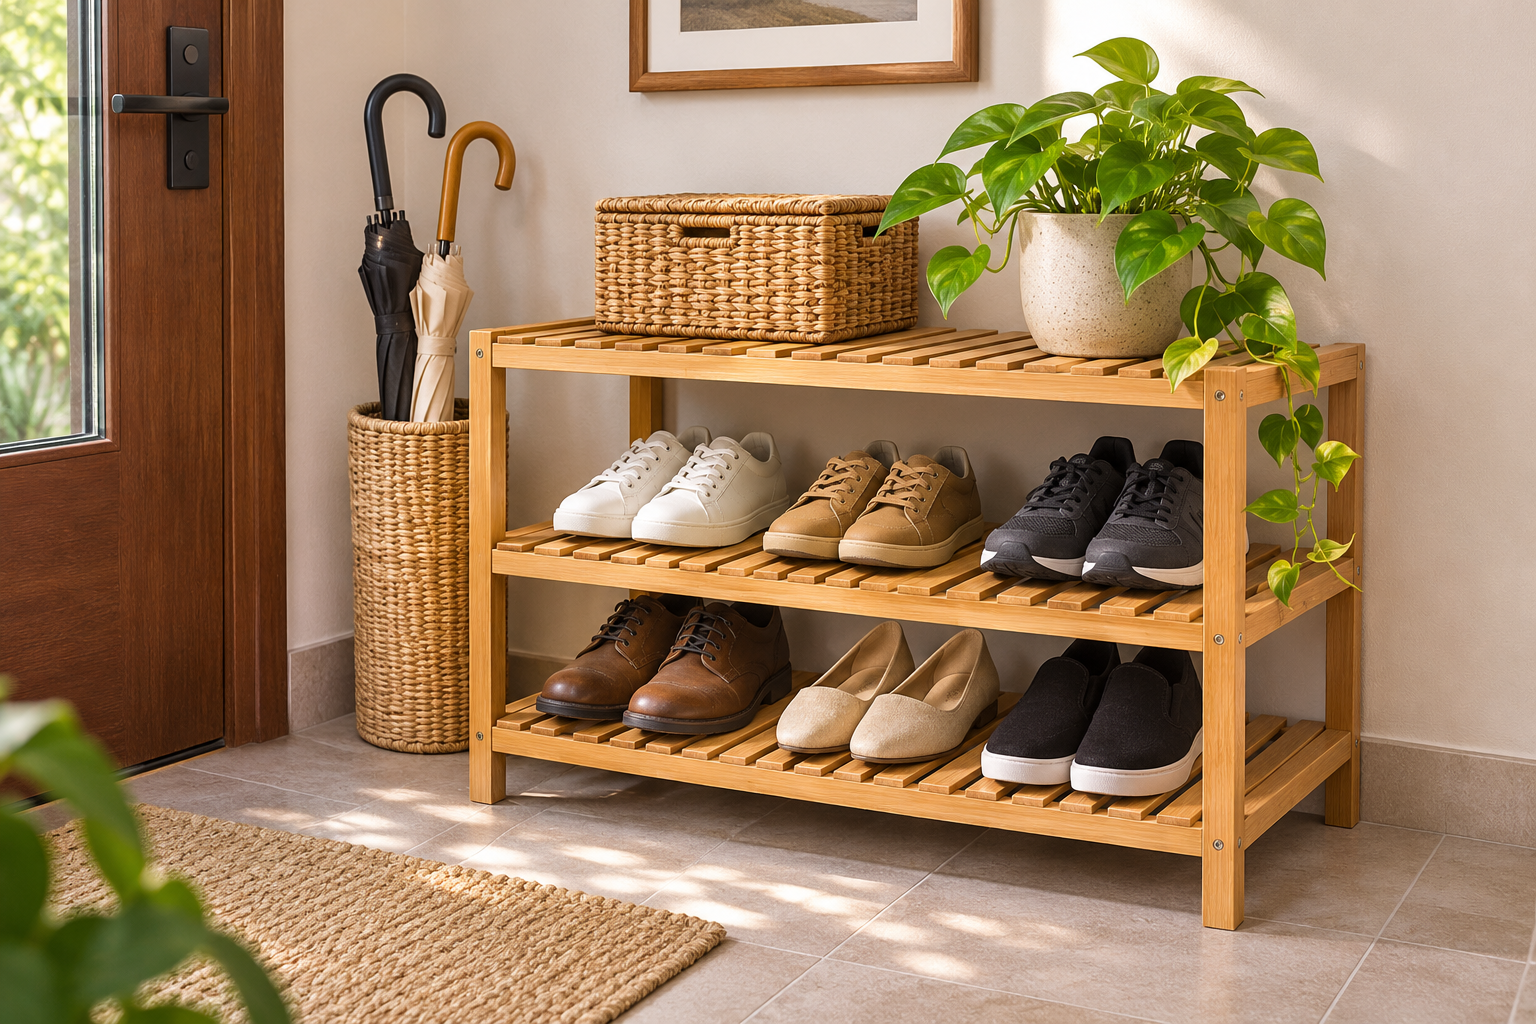
Choose an open rack if people come home in wet shoes, frequently swap footwear or need to see what is available without opening a front. A rack can be easy to clean and offers more flexibility for boots, sports shoes and seasonal rotation.
However, an open shoe rack can project much farther than its frame suggests. Place your longest shoes on the proposed shelf, then check toe and heel overhang. If the rack fits only when every shoe is pushed beyond the rear rail, the storage isn’t sized correctly. Look for sturdy, cleanable shelves rather than decorative rails that allow narrow heels to slip through.
For damp footwear, favor ventilation and surfaces compatible with regular cleaning. Keep water off vulnerable flooring and allow shoes to dry according to their care guidance. A shallow drip tray may be more useful than an extra rack tier.
When a shoe bench is the wrong answer
A bench should be useful to sit on, not just decorative. It needs a manufacturer-published seating load rating when used as seating, sufficient floor contact and a location where a seated person does not block the main route or door. Never treat a storage-only shelf as a seat.
In a compact apartment hallway, placing a bench elsewhere, such as a nearby bedroom or larger foyer, can be safer and more comfortable. If you already have a bench, adding an open shoe tray underneath may solve the daily problem without another cabinet.
Think about the shoes, not only the number of pairs
Count everyday shoes, out-of-season shoes, children’s shoes, tall boots and large trainers separately. Two households with the same number of pairs may need different storage volume. A tilt-out compartment designed around low-profile shoes may not hold winter boots or wide athletic shoes at all.
Measure the length and height of your bulkiest pair, then compare it with published interior compartment dimensions or an actual store display. Retailers sometimes describe capacity as an approximate number of pairs; footwear size and shape materially change that estimate.
Check anchors and wall materials before ordering
Cabinets and other tall or moving furniture can tip if they are not installed correctly. The U.S. Consumer Product Safety Commission advises securing furniture appropriately and following the manufacturer’s instructions. Its Anchor It safety campaign provides guidance about preventing furniture tip-overs.
For a required wall attachment, identify the wall construction and use fixings suitable for that wall and the manufacturer’s load and installation instructions. Do not assume that a generic drywall plug, adhesive strip or screw supplied with another product is an adequate substitute. If you rent or are uncertain about concealed services or substrate strength, ask the property owner or a qualified installer before buying a unit that requires drilling.
Be especially cautious in households with children. Do not place tempting objects on top of a tall unit or let children climb or pull its compartments. Stable-looking furniture can still present a tip-over hazard.
How to style shoe storage without making the hallway cramped
Choose one coherent shoe-storage zone rather than scattering several pieces along the route. Match the cabinet color to the wall if you want the storage to recede visually, but do not let color override fit and access. Keep keys and mail in one shallow tray on a suitable surface, and make sure protruding handles do not catch bags or clothing.
If the area receives little daylight, a wall fixture or light on an adjacent wall may be more useful than a lamp placed on top of the shoe cabinet. Our Entryway & Hallway Design Guide covers storage, lighting and circulation together. For tighter spaces, the Narrow Hallway Guide discusses ways to improve the visual experience without sacrificing usable space.
A practical buying worksheet
| Measurement or check | Write down before buying |
|---|---|
| Available wall width | Measure between trim, outlets and other obstacles |
| Maximum closed furniture projection | Include handles, baseboard and shoe overhang |
| Projection while in use | Open front or drawer plus person using it |
| Shoe sizes | Longest, tallest and bulkiest everyday pairs |
| Installation | Wall type, required anchors, permitted mounting |
| Cleaning | Wet-shoe protection, removable trays, washable surfaces |
| Returns | Confirm shipping, return and assembly policies with retailer |
Before you buy
- Measure the hallway while all nearby doors are open.
- Tape the unit’s exact closed and open footprint on the floor.
- Check the real interior space against your largest shoes.
- Read the manufacturer’s installation and safety instructions.
- Consider whether an open tray or compact rack solves the problem with less furniture.
- Compare return rules and total delivered dimensions before ordering.
Bottom line
For many narrow entryways, a properly installed slim tilt-out cabinet offers the cleanest appearance, while an open rack is easier for damp daily shoes. A bench is only useful when the route can genuinely accommodate someone sitting there. Protect the walking path first, choose the right storage format second, and style it last.
Keep organizing