A library wall is a storage system, not just a styling project. Books are dense, so shelf spans, brackets, cabinetry and wall attachment should be chosen for the actual materials, loads and wall construction rather than copied from a generic set of dimensions.
Start by deciding whether you need mostly open book storage, closed cabinets for household items, or a combination of both. Then design the wall around the collection, room obstacles and the support method the chosen system requires.

Audit the wall and collection first
Measure the wall width and height, then mark outlets, switches, vents, baseboards, doors, windows and any access panels. Check whether the floor and wall are noticeably out of level or plumb before ordering cabinets or cutting shelves.
Measure representative books rather than relying on a universal shelf depth or vertical spacing. Paperbacks, hardcovers, art books and binders all need different clearances.
Choose the build type
| Approach | Best when | Main caution |
|---|---|---|
| Manufacturer bookcase system | You want a faster, repeatable installation | Follow the maker’s anti-tip, fastening and load instructions |
| Cabinet bases with shelves above | You need closed storage plus books | Upper shelves and cabinets still need appropriate structural attachment |
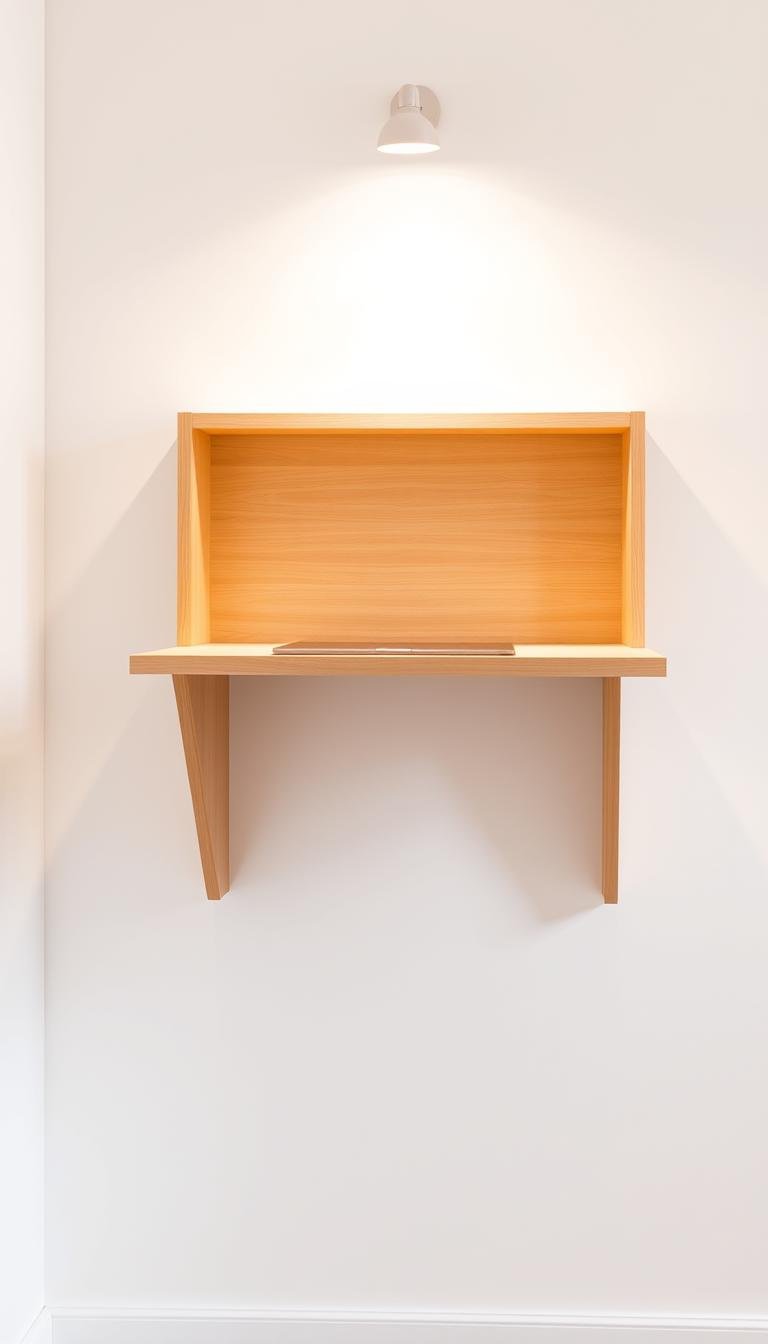
| Floating shelves | You want a visually light wall | Books create significant cantilevered loads; use a system specifically rated for the shelf and wall |
| Site-built cabinetry | You want a fitted millwork result | Spans, joinery and anchoring should be designed for the materials and expected loads |
Do not use generic floating-shelf load claims
There is no useful universal rule such as “one stud plus anchors” or a fixed number of pounds per shelf. Capacity depends on bracket design, fasteners, wall construction, shelf material, depth, span and how the load is distributed.
Use the floating-shelf manufacturer’s installation and load data for the exact system. If the wall construction or framing is uncertain, or the shelves will carry a large book collection, choose cabinetry supported from the floor or have the mounting reviewed by a qualified installer.

Size shelves around the books and material
Shelf depth should come from the collection and the chosen support system. Vertical spacing should allow books to be removed comfortably without wasting large volumes of empty space.
Long shelves can sag even when the wall attachment is strong. Material thickness, shelf span, edge reinforcement and intermediate supports all affect stiffness. For site-built shelves, use span guidance appropriate to the material or have a cabinetmaker size the components.
Closed base cabinets can simplify the structure
A floor-supported cabinet run can provide storage for games, electronics and household items while giving the upper bookcase a visually anchored base. Level and secure cabinets according to their manufacturer or cabinetmaker’s instructions before adding countertops, face frames or upper units.
Do not assume trim, fillers or face frames provide structural support unless they are actually designed as part of the load path.
Anchor tall units against tipping
Freestanding and semi-built-in bookcases can become a tip hazard, especially when loaded unevenly or climbed by children. Use the anti-tip hardware and wall attachment method specified by the manufacturer. For custom units, provide a positive structural attachment appropriate to the wall and cabinet construction.
Keep the heaviest books on lower shelves when practical, but do not treat that as a substitute for proper anti-tip restraint.
Plan electrical and media before closing the wall
If the library wall includes a television, sconces, LED lighting or outlets, plan cable routes before permanent trim goes on. Hardwired electrical changes should be performed by a qualified electrician where required.
Do not bury extension cords, power strips, junctions or ventilation openings behind cabinetry. Electronics also need the clearances specified by their manufacturers.
Use trim for finish, not for strength
Fillers, crown, face frames and caulk can make modular units look built in, but they should not hide fasteners that need inspection, service access or electrical components.

A practical design sequence
- Inventory and measure the books and items you need to store.
- Map the wall, openings, utilities and floor conditions.
- Choose a manufacturer system or site-built approach.
- Determine shelf spans and supports from the actual material and load.
- Resolve anti-tip and wall attachment before decorative trim.
- Plan electrical and media access.
- Dry-fit the major pieces and check door, drawer and circulation clearances.
- Load the finished system gradually and inspect for movement or sag.
When an IKEA-style hack makes sense
Modular bookcases can be an efficient starting point when their dimensions suit the wall. Treat fillers, bases and crown as cosmetic enhancements unless the manufacturer specifically approves another structural role.
Keep required anti-tip hardware in place and do not alter the unit in a way that removes critical bracing or attachment points.
The safest way to get a built-in look
For a heavy book collection, floor-supported cabinetry with properly supported shelves is often easier to reason about than long floating shelves. Use manufacturer data or cabinetmaking guidance for shelf spans and fastening, and treat wall attachment and anti-tip restraint as structural requirements rather than finishing details.
For related planning, see the built-in shelving guide and the Dwelanor Room Guides.