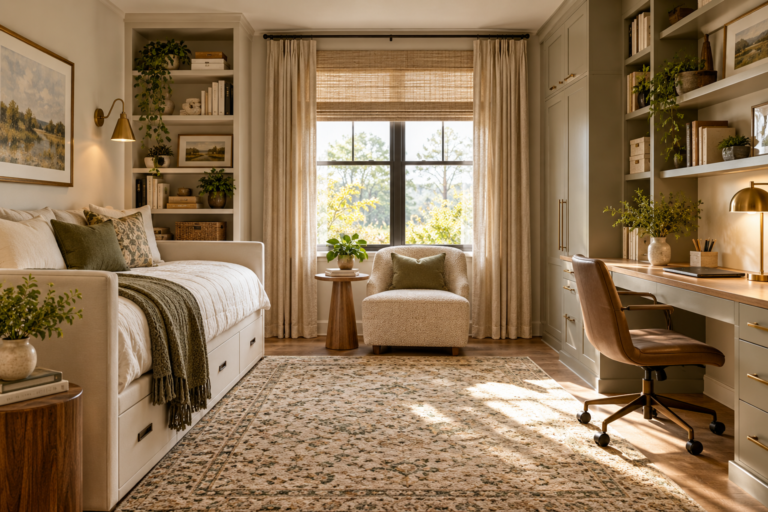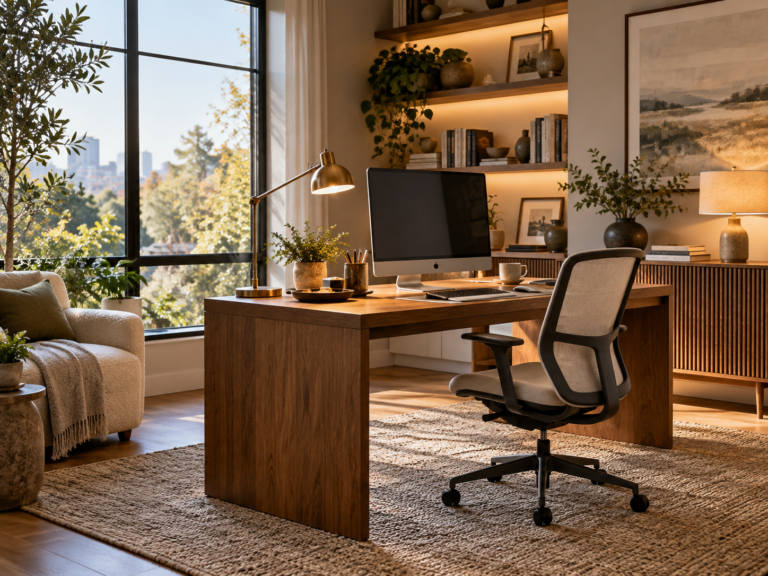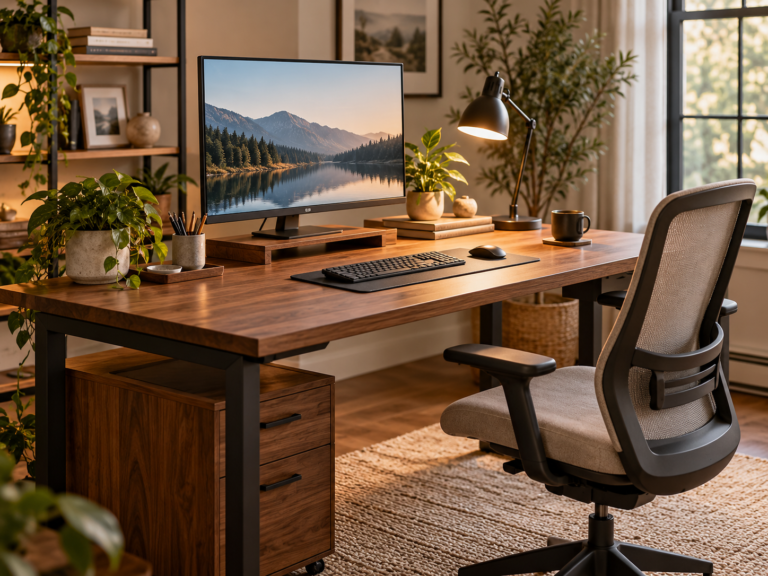
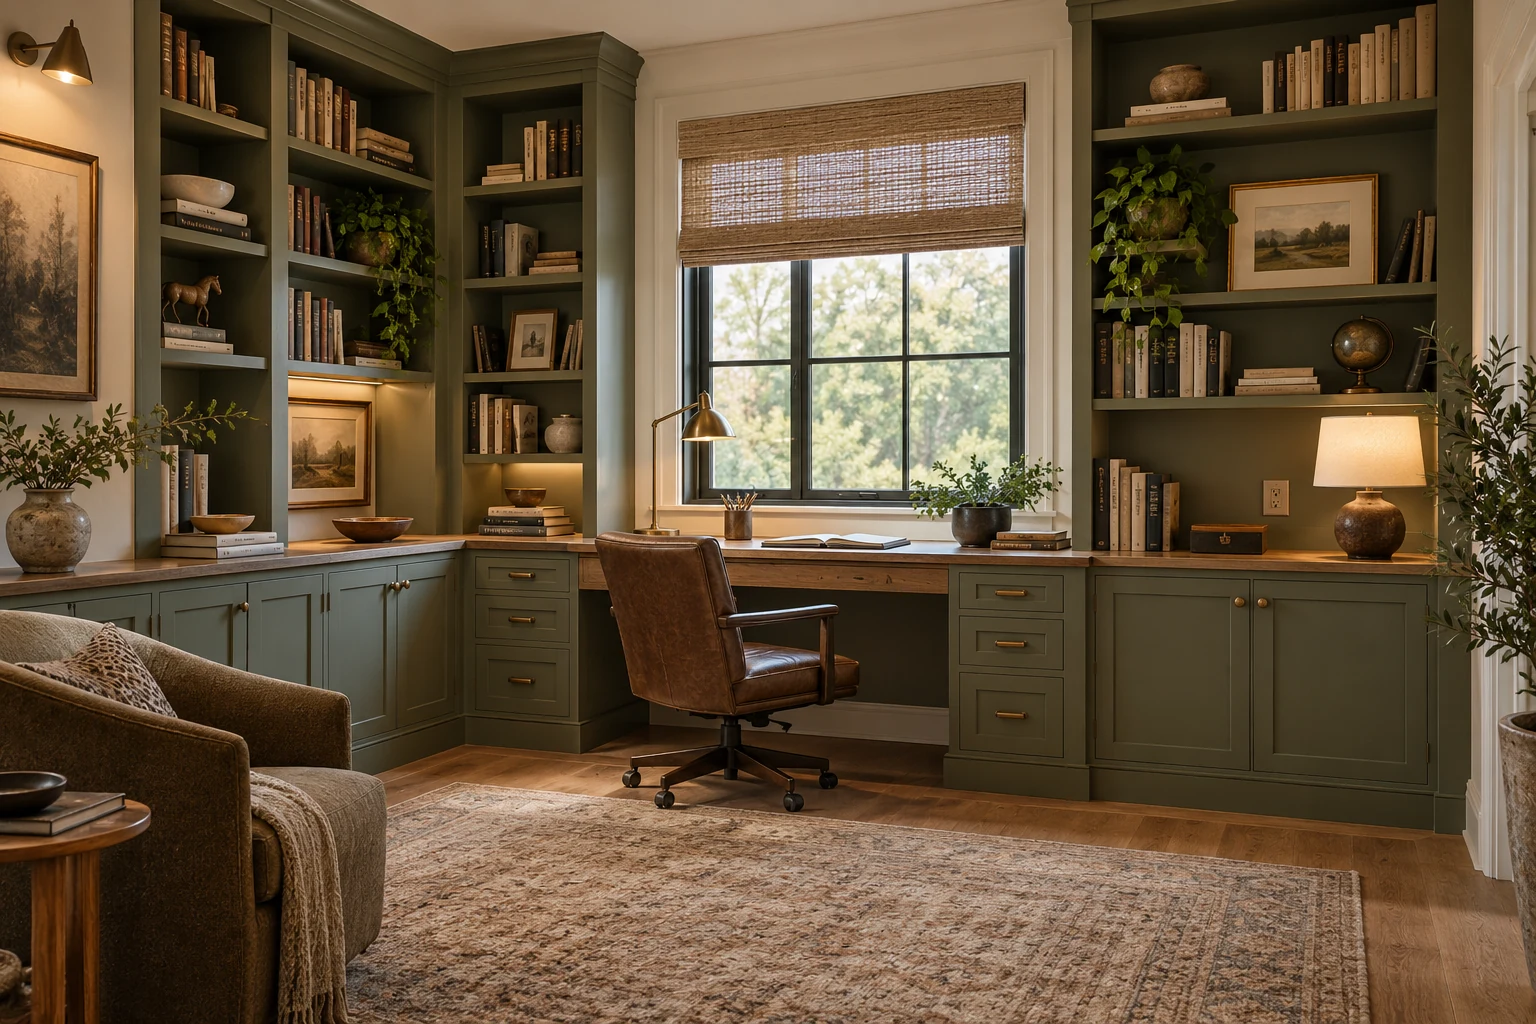
Built-in shelving works best when the layout starts with what the study needs to store, then resolves shelf depth, span, closed storage, wall attachment, lighting and finish as one system. Books, files, baskets, display objects and equipment all need different space, so there is no single shelf depth or bay size that fits every study.
You can build fully custom units or combine stock base cabinets with custom shelving above. Either route can look integrated when the proportions, trim, finish and lighting relate to the room.
1. Decide what the built-ins need to store
Separate the contents into categories before sketching the wall:
- books and magazines;
- files and office supplies;
- printer or technology equipment;
- baskets and closed storage;
- art and decorative objects;
- lighting, charging and cable needs.
Reserve open shelving for items you want visible. Put visually noisy supplies, cables and paperwork behind doors or in drawers where practical.
2. Measure the room, not just the empty wall
Map the complete wall and everything that can interfere with cabinetry:
- doors and their swing;
- windows and sill height;
- baseboards, crown and existing trim;
- outlets, switches and data points;
- radiators, vents and returns;
- floor level and wall irregularities;
- desk, chair and walking clearance.
A shallow built-in can still make a small study feel crowded if it projects into the chair or circulation zone.
3. Size shelves around the real objects
Measure the deepest books, binders, baskets and equipment you intend to store. Use those dimensions to decide which bays need more depth and which can stay shallow.
A mix of depths can work better than making every section equally deep. For example, lower closed storage may need more depth than upper book shelving.
Shelf span is a structural question. Sag depends on the shelf material, thickness, edge reinforcement and load. Use suitable span guidance for the chosen material or have long, heavily loaded shelves sized by an experienced cabinetmaker.
4. Choose between full custom and stock-base construction
| Approach | Useful when | What to check |
|---|---|---|
| Fully custom | The wall has unusual proportions or you need precise storage | Labor, material, wall condition and finish detail |
| Stock base cabinets + custom uppers | You want faster lower storage with a built-in appearance | Cabinet depth, door swing, toe-kick, wall fit and top transition |
| Freestanding cases trimmed together | You want a lower-commitment solution | Anti-tip requirements, gaps, trim and visual continuity |
Stock cabinets can save time, but they should still be leveled, secured and integrated according to the cabinet manufacturer’s requirements.
5. Use wall-to-wall shelving when the room benefits from one strong storage wall
A full shelving wall can make a study feel architectural, especially when the room needs significant book and file storage.
Before spanning the wall, check whether the run will crowd a window, door, desk or circulation path. Sometimes stopping short creates better balance and leaves room for artwork or a reading chair.
6. Use alcoves and corners carefully
Awkward recesses can become useful shelving zones when the depth and access work. Keep corner storage simple enough that items remain reachable.
In a shallow niche, open shelving can preserve visual lightness. In a deeper alcove, closed lower storage can hide office supplies while upper shelves handle books and display.
Continue existing trim lines where appropriate so the new work relates to the architecture instead of looking applied afterward.
7. Keep built-ins low where daylight matters
Low cabinetry under a window can add storage without turning the whole wall into a heavy block. Check sill height, window operation, curtains or shades, nearby heating and access to outlets before building below a window.
If the built-in meets a desk, test chair arms, knee clearance and the working route before fixing cabinet depth.
8. Treat a window seat as furniture, not empty storage space
A window seat can combine reading space and storage, but it still needs comfortable geometry, safe access and suitable structural support.
Keep the seat clear of required egress openings, heating components and windows where the arrangement could create a fall hazard. Storage lids, drawers and hardware should be designed so fingers are not trapped and everyday access is practical.
9. Plan a rolling library ladder as a complete hardware system
A library ladder is not a decorative accessory. The rail, brackets, ladder, stops and supporting cabinetry need to work as one manufacturer-designed system.
Use a complete ladder system with published installation and load requirements, and make sure the millwork is suitable for the rail attachment. If the support structure is uncertain, have it reviewed before use.
10. Choose materials for load, finish and moisture conditions
| Material | Typical strengths | What to consider |
|---|---|---|
| Hardwood plywood | Stable sheet material with strong faces | Edge treatment, veneer quality, shelf span |
| Solid wood | Durable, repairable, visually rich | Movement, cost, grain matching, acclimation |
| MDF | Smooth painted finish and consistent surface | Weight, edge sealing, moisture exposure, span |
| Melamine or laminate panels | Durable finished surface and easy cleaning | Edge treatment, hardware holding, visual style |
Do not choose material from appearance alone. The shelf load, span, fastening method and finish all matter.
11. Mix fixed and adjustable shelves deliberately
Adjustable shelves are useful where book height and display needs may change. Fixed shelves can help stiffen a cabinet and create stronger visual alignment.
A practical layout often mixes both: fixed shelves at structural or visual break points, adjustable shelves within the main storage bays.
12. Plan the electrical and lighting layer before installation
Picture lights, LED channels and case lights can make built-ins more useful, but power and cable routes should be resolved before cabinetry covers the wall.
Choose between listed plug-in lighting and permanent wiring based on the room and installation. New in-wall wiring, junction boxes or circuit changes should follow applicable electrical requirements and be handled by a qualified electrician where required.
Keep transformers, drivers and connectors accessible for service rather than burying them permanently behind finished millwork.
13. Do not block heating, ventilation or service access
Built-ins should not cover radiators, supply vents, return-air openings, plumbing access, electrical panels or other service points without an appropriate plan.
If shelving sits near a radiator or HVAC component, maintain the clearances and airflow required by the equipment manufacturer and applicable building requirements.
14. Use closed storage where visual calm matters
Open shelves are useful for books and selected objects. Lower cabinets or drawers can hide files, printer supplies, chargers and everyday clutter.
A balanced study often has more closed storage than a display-focused living room because work materials accumulate quickly.
15. Make the finish relate to the existing room
The built-in look usually comes from continuity:
- aligning with existing baseboard or crown profiles where practical;
- repeating nearby paint or wood tones;
- using consistent reveals and face-frame widths;
- keeping hardware language related to the rest of the room;
- resolving wall and ceiling gaps cleanly.
Painted built-ins can visually recede when they relate closely to the wall color. Wood or stained finishes can create a stronger furniture presence. Neither is universally better.
16. Mock up depth before committing
Painter’s tape and cardboard are useful for testing cabinet projection, desk clearance and shelf depth before construction begins.
Walk the room, open doors, sit at the desk and reach toward the proposed shelving. A mock-up can reveal crowding that a drawing does not show.
17. When built-ins are not the best answer
Skip permanent cabinetry when the room’s future use is uncertain, the wall contains difficult services, the space is rented, or freestanding storage solves the problem with less cost and disruption.
Modular shelving or well-scaled bookcases can provide much of the function while staying easier to move or reconfigure.
A practical planning sequence
- Inventory books, files, equipment and display items.
- Measure the wall, room and circulation path.
- Decide what should be open versus closed.
- Mock up cabinet and shelf depth.
- Choose custom, stock-base or modular construction.
- Resolve shelf span and structural attachment.
- Plan electrical, lighting and cable access.
- Check windows, doors, HVAC and service points.
- Choose materials and finish.
- Finalize trim and styling only after function is resolved.
For the broader work zone, continue with the Home Office Design Guide, Furniture Sizing Guide, and the Storage & Organization Guide.