
Pantry Planning
Pantry shelf depth should follow the item being stored and how often you need to see it. Making every shelf deep enough for the largest appliance often creates dark back rows of forgotten food. Use shallow visibility zones for small goods and deeper dedicated zones for bulk storage and equipment.
Inventory food and appliances → measure containers → group by depth and height → set everyday visibility zones → reserve deep lower storage → test baskets and appliance handling.
1. Inventory the pantry before choosing shelves
List cans, jars, boxed goods, snacks, baking supplies, bottles, baskets, bulk packages and appliances. Measure the largest regular examples in each group.
A pantry designed around today’s real groceries is easier to maintain than one based on an abstract cabinet depth.
2. Keep small items visible
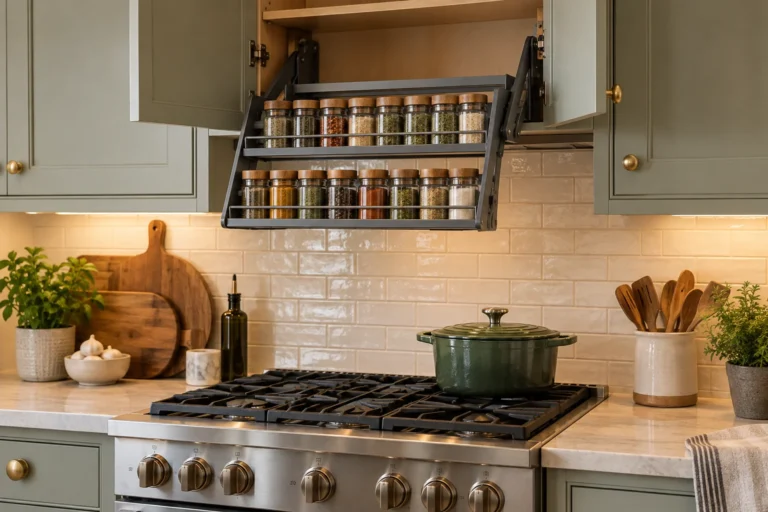
Cans, spice jars and small packets are easier to track on shallower shelves or tiered organizers. The goal is to see inventory without moving the entire front row.
If you use turntables or risers, measure their full operating footprint rather than only the food package.
3. Give baskets enough depth and handling space
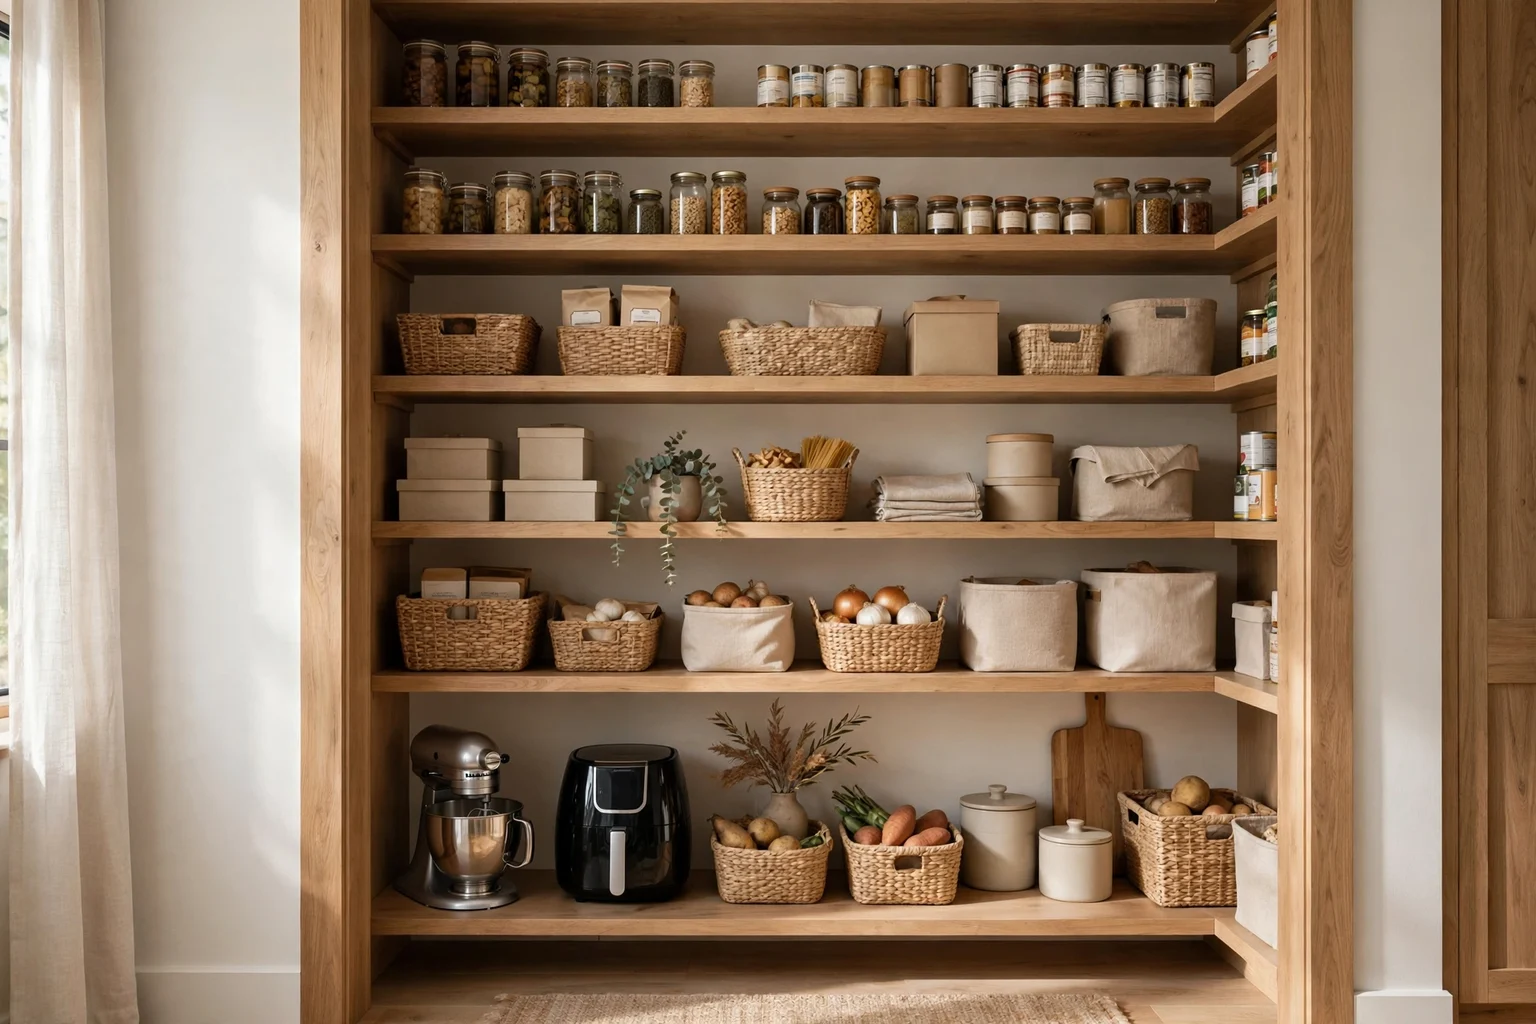
Baskets can group snacks or baking supplies, but their handles and pull-out path add to the shelf requirement. Check that the basket can be lifted or slid out without hitting the shelf above.
Avoid oversize bins that turn a pantry into a series of heavy hidden boxes.
4. Create one or two appliance zones
Stand mixers, air fryers and other bulky appliances benefit from deeper, stronger shelves at comfortable lifting heights. Measure cords, handles and lids as part of the footprint.
Do not place a heavy appliance on a high shelf simply because the opening is tall enough.
5. Vary vertical spacing
Short cans do not need the same opening as cereal boxes or tall bottles. Adjust shelf heights to the category so vertical space is not wasted.
Leave some flexibility for product-size changes rather than making every opening exact to one brand.
6. Protect the pantry aisle
Deep shelves on both sides can shrink a walk-in pantry quickly. Tape the proposed shelf fronts and walk the aisle while carrying a basket or appliance.
Corners need special care because opposing shelves can create inaccessible deep pockets.
7. Use lower zones for heavy and bulk items
Water, bulk flour, pet food and large bins are safer to lift from lower shelves. Keep frequently used lighter foods closer to eye and hand level.
The storage hierarchy should follow both frequency and lifting effort.
8. Plan for cleaning and rotation
Shelves should be easy to wipe and food should be easy to rotate. If the back row cannot be reached without unloading everything, the shelf is probably too deep for that category.
Leave labels or container fronts visible enough that expired or duplicate stock does not disappear.
Planning table
| Check | What to measure | Why it matters |
|---|---|---|
| Cans/jars | Package depth and row visibility | Prevents hidden stock |
| Baskets | Outside dimensions and handles | Controls pull-out access |
| Appliances | Full body plus handles/cord | Sets deep shelf zone |
| Tall goods | Highest recurring package | Sets vertical spacing |
| Aisle | Shelf front to opposite storage | Protects circulation |
Related Dwelanor guides
- Small Pantry Organization — organize categories and visibility
- Storage & Organization Guide — build maintainable systems
- Kitchen & Dining Design Guide — coordinate pantry with kitchen workflow
- Pull-Out Pantry Guide — compare narrow pull-out storage
- Closet Shelf Depth Guide — apply item-led shelf sizing
- Small Space Design Guide — protect circulation in compact homes
Bottom line
Pantry storage improves when depth follows the contents. Keep everyday small goods visible on shallower shelves, reserve deeper zones for baskets and appliances, and protect the aisle so extra storage does not make the pantry harder to use.