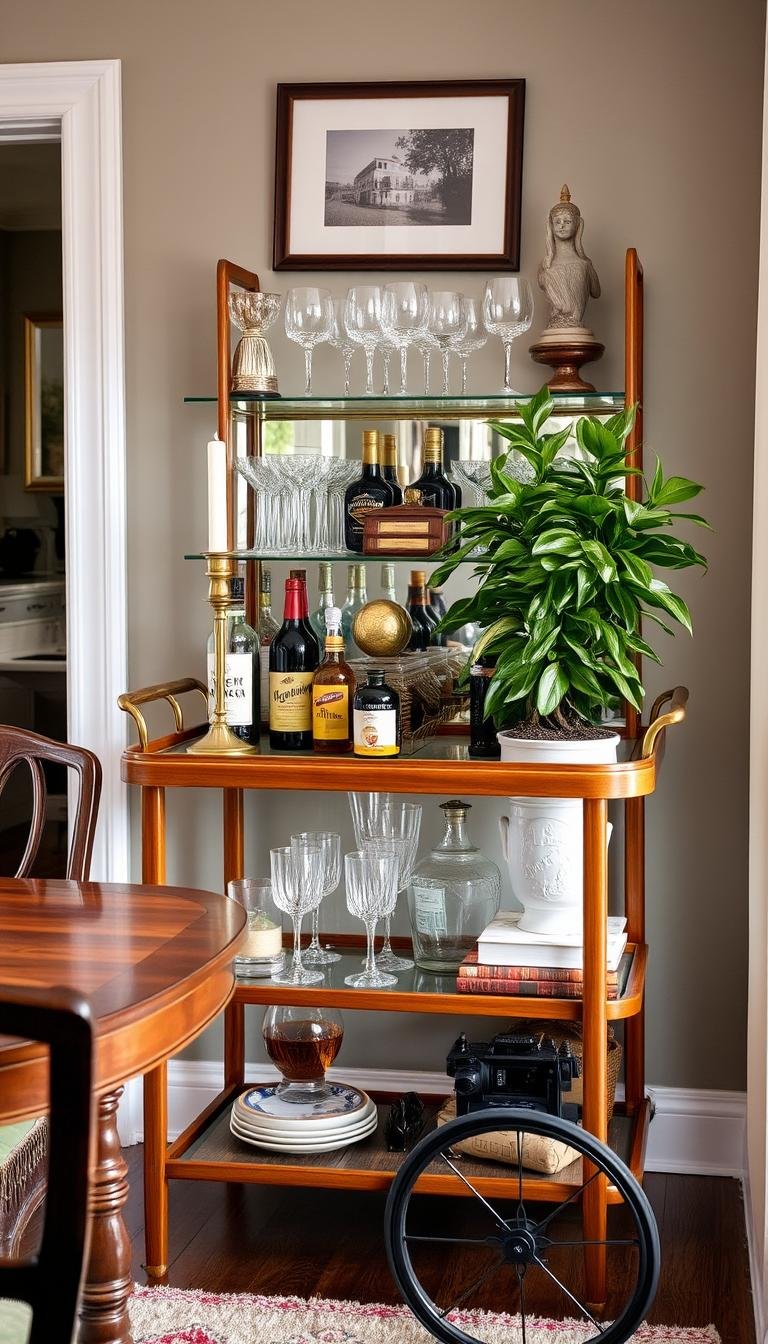
A fold-flat breakfast-tray rack can be useful in a small kitchen when it solves one specific problem: trays are taking up valuable counter or cabinet space, but you still want them within easy reach. The best version is shallow, easy to open and close, securely fixed to suitable wall structure, and positioned where it will not interfere with doors, drawers, switches, appliances, or normal circulation.
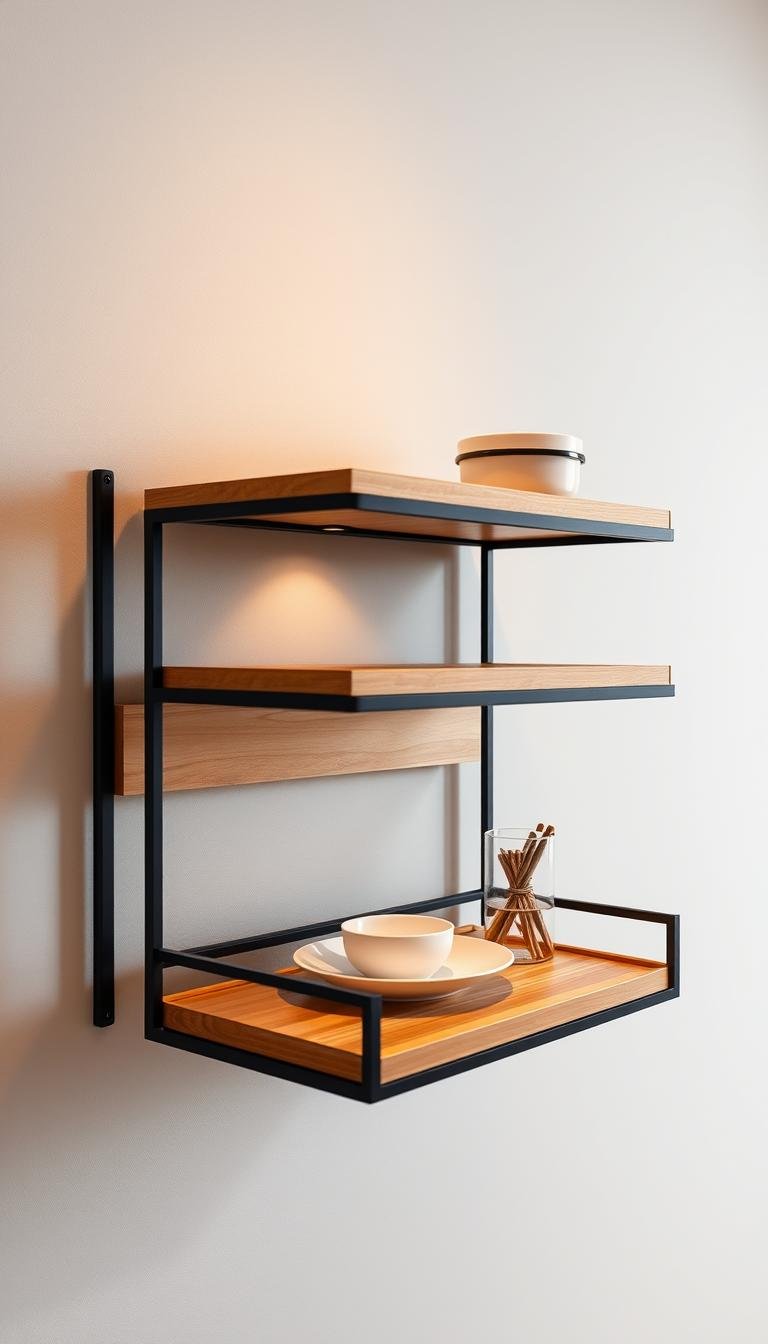
The project is less about finding a clever hinge and more about getting the layout, backing, hardware, and clearances right. This guide focuses on those decisions so the rack feels intentional rather than improvised.
Start by deciding what the rack actually needs to hold
Measure the trays you use most often before designing the holder. Record their width, height, thickness, handle projection, and approximate combined weight. A rack for two lightweight serving trays is a different project from one intended to hold several heavy wood trays.
Keep the storage brief narrow. A wall-mounted folding element is safest and easiest to use when it has one clear job instead of becoming a catch-all for cookbooks, mugs, utensils, towels, and other items.
- Measure the largest tray, not the average one.
- Allow room for fingers to lift a tray out without scraping the wall.
- Account for handles or raised rims.
- Include the weight of the rack itself when choosing fixings.
Choose the location before choosing the hardware
A good location is near the place where the trays are actually used, while remaining outside the busiest walking and working paths. Hold the largest tray against the wall and use painter’s tape to mock up the rack’s open and closed positions.
Check for conflicts with cabinet doors, refrigerator doors, drawers, light switches, outlets, appliance handles, and nearby shelves. If the rack folds outward, also check how far it projects into the room when open.
Do not mount it where an open rack could become a sharp obstacle at hip or head height. In a narrow galley kitchen, a shallow wall solution on a low-traffic wall is usually more sensible than a folding element directly beside the main cooking route.
Use suitable structural backing
The wall connection is the part that should determine the design. Whenever practical, fasten the rack into studs or other known structural backing. If the desired location does not line up with framing, use only anchors that are appropriate for the actual wall material and for the load described by the hardware manufacturer.

Walls can conceal electrical wiring, plumbing, gas lines, and other services. Do not assume a clear-looking wall cavity is safe to drill into. If you cannot establish what is behind the surface, change the location or have the wall checked before drilling.
Tile, plaster, masonry, drywall, and paneled walls all require different drilling and fastening methods. The correct fixing is therefore not a universal screw size; it is the fixing specified for the substrate, hardware, and expected load.
Pick hardware that supports the motion you want
For a simple fold-flat rack, the hardware usually needs to do three things: pivot cleanly, support the tray holder in its open or working position, and keep it closed when not in use.
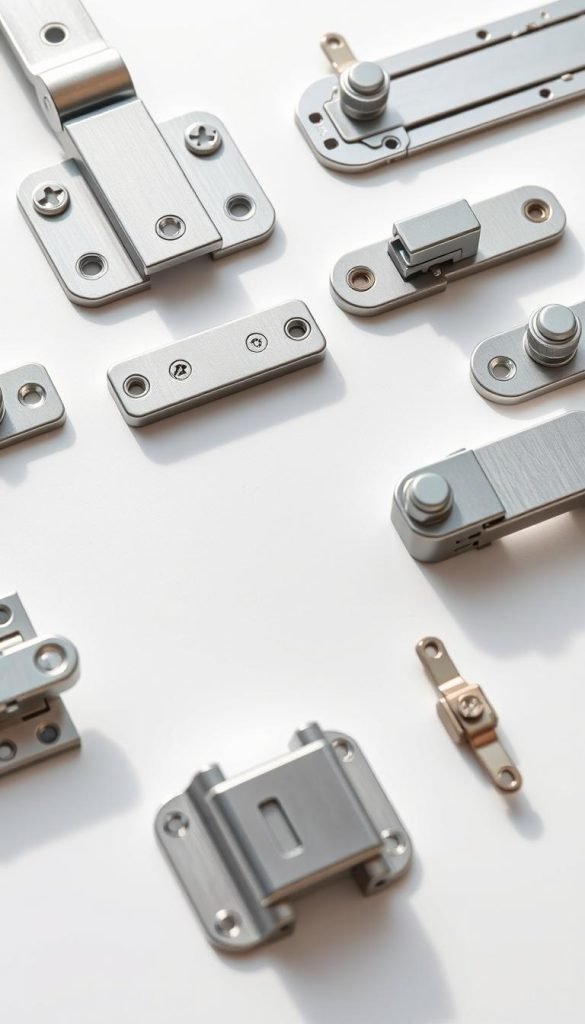
Hinges
A continuous or piano-style hinge can distribute force along a longer edge and keep alignment straightforward. Compact butt hinges can also work when the rack design provides enough material around the screw locations. Use hardware whose published load and installation requirements suit the rack you are building.
Supports
If the rack opens to form a horizontal shelf or ledge, use purpose-designed folding shelf brackets, stays, or another support system rather than expecting the hinge screws alone to resist the load.
Catches
A magnetic catch, mechanical latch, or other positive closure can stop the folded rack drifting open. Position it so it can be released easily without putting fingers near a pinch point.
Keep the rack visually quiet
The most convincing version looks related to the kitchen rather than like a separate DIY attachment. Repeat one or two existing finishes instead of adding several new ones. A painted panel that matches the wall, a wood tone related to nearby shelving, or simple metal hardware that echoes the cabinet pulls is usually enough.
Thin edge profiles help the rack disappear when folded. Avoid decorative brackets or oversized handles if the goal is to reclaim visual calm as well as storage space.
A simple build sequence
- Measure the trays. Confirm the envelope the rack needs to accommodate.
- Mock up the position. Tape the closed outline and the open swing path onto the wall.
- Confirm backing and hidden services. Do this before committing to screw locations.
- Build the holder. Sand edges, pre-finish exposed surfaces, and test-fit the hardware on a workbench where possible.
- Mount the fixed portion. Follow the fixing and bracket manufacturer’s instructions for the wall type.
- Install the moving section. Check that the pivot line is straight and nothing binds.
- Add the support and catch. Make sure the rack cannot drop unexpectedly or drift open.
- Load-test gradually. Start with the rack empty, then add the trays one at a time while checking movement, fasteners, and wall contact.
Details that make it easier to live with
Small protective details are more useful than decorative add-ons. Thin felt or silicone bumpers can stop a folded panel knocking against the wall. A shallow lip can help keep trays upright, provided it does not make removal awkward. Rounded or eased edges reduce the chance of catching clothing or hands.
If the trays have polished or delicate surfaces, line their contact points with a removable non-abrasive material rather than allowing bare screw heads or rough wood edges to touch them.
What to avoid
- Do not rely on an unspecified drywall anchor for a load it was not designed to carry.
- Do not mount the rack over or immediately beside a heat source, cooktop, or other location where grease and heat will make daily use unpleasant.
- Do not place a horizontal fold-out surface where someone can walk into its edge.
- Do not use the rack as a temporary seat, step, or support surface.
- Do not conceal electrical devices, ventilation openings, valves, or required access panels behind it.
When a simpler storage solution is better
A fold-flat rack is worthwhile only when the folding action earns its complexity. If the wall has enough uninterrupted depth, a fixed shallow shelf, vertical tray divider, or inside-cabinet rack may be easier to build and maintain. In a rental, an existing cabinet or freestanding vertical organizer can also avoid unnecessary wall work.
For more small-kitchen ideas, see the galley-kitchen breakfast nook guide, the breakfast-bar guide for kitchens with very little counter space, and the Dwelanor Room Guides.
The practical takeaway
Design the rack around the trays and the wall, not around a favorite piece of hardware. Keep the load modest, use verified structural support, mock up the swing before drilling, and make the closed profile as simple as possible. Done well, the rack should free useful storage space while almost disappearing when it is not needed.