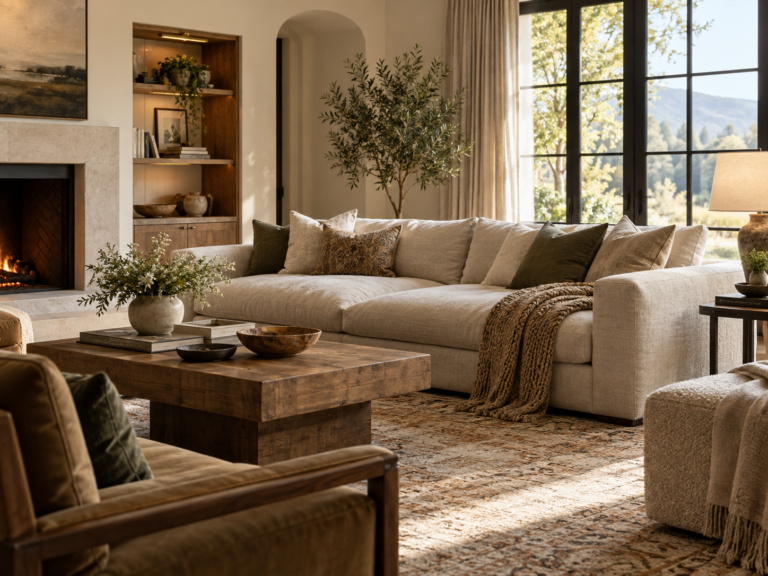
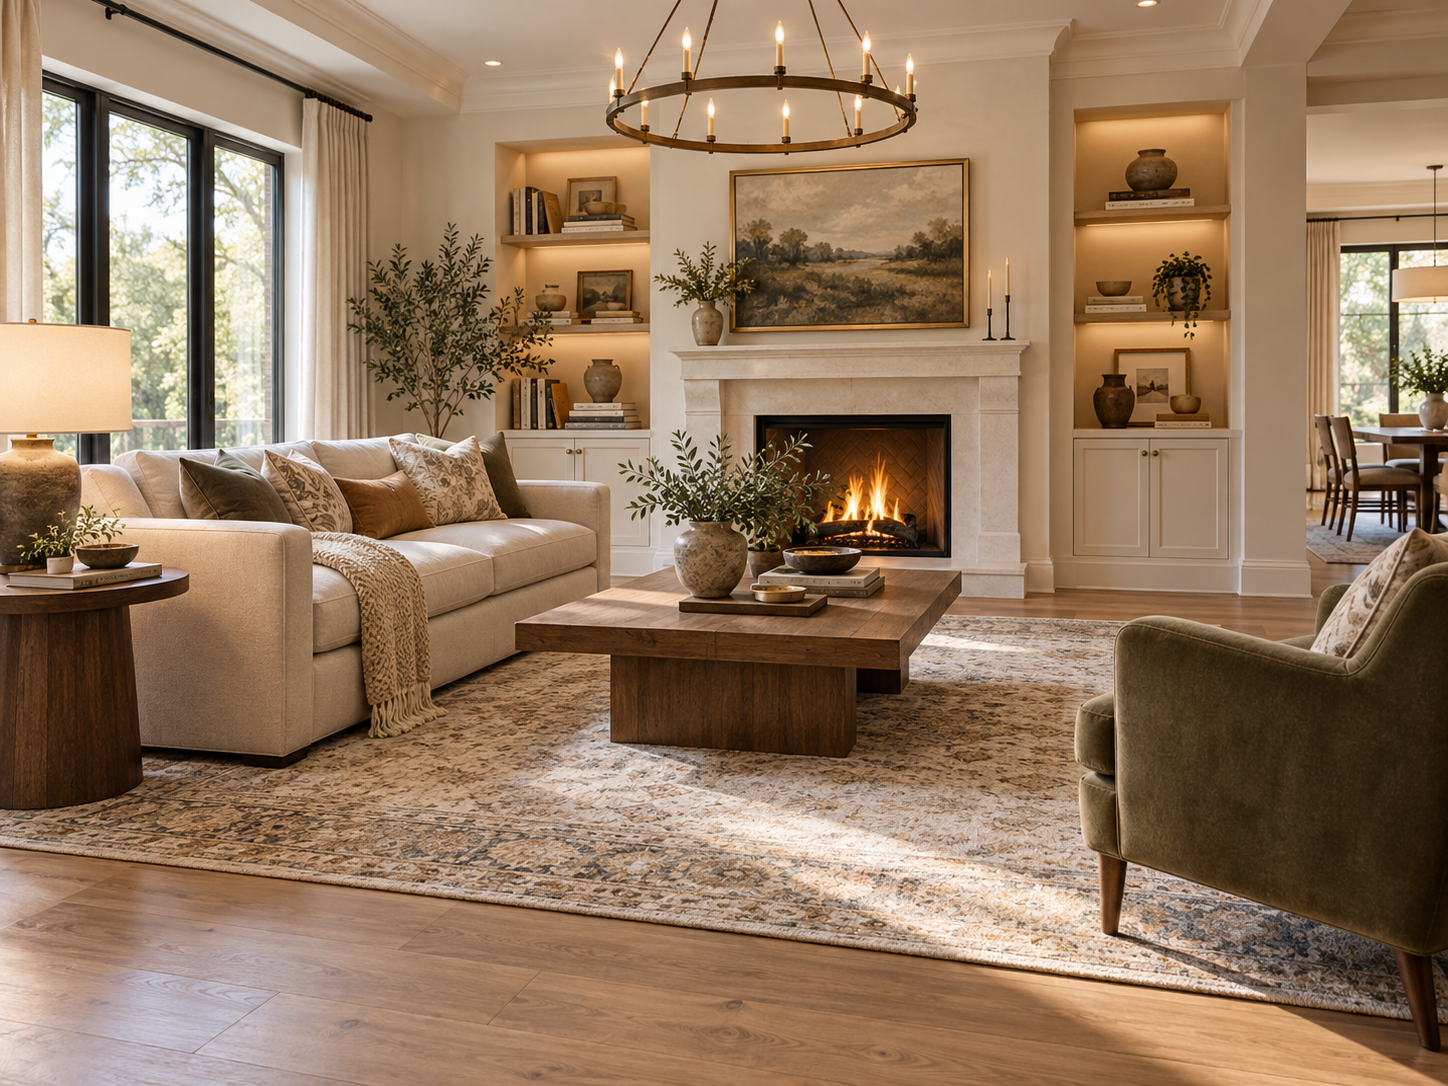
Room Planning Reference
Interior measurements are most useful as starting points, not laws. A room works when the furniture, doors, drawers, chairs, rugs and walking routes can all operate together. This reference collects practical dimensions to help you plan, then shows where a tape-measure test matters more than a generic number.
The useful sequence is room shell → fixed obstacles → active-use zones → furniture footprint → moving parts → circulation → delivery route → visual proportion.
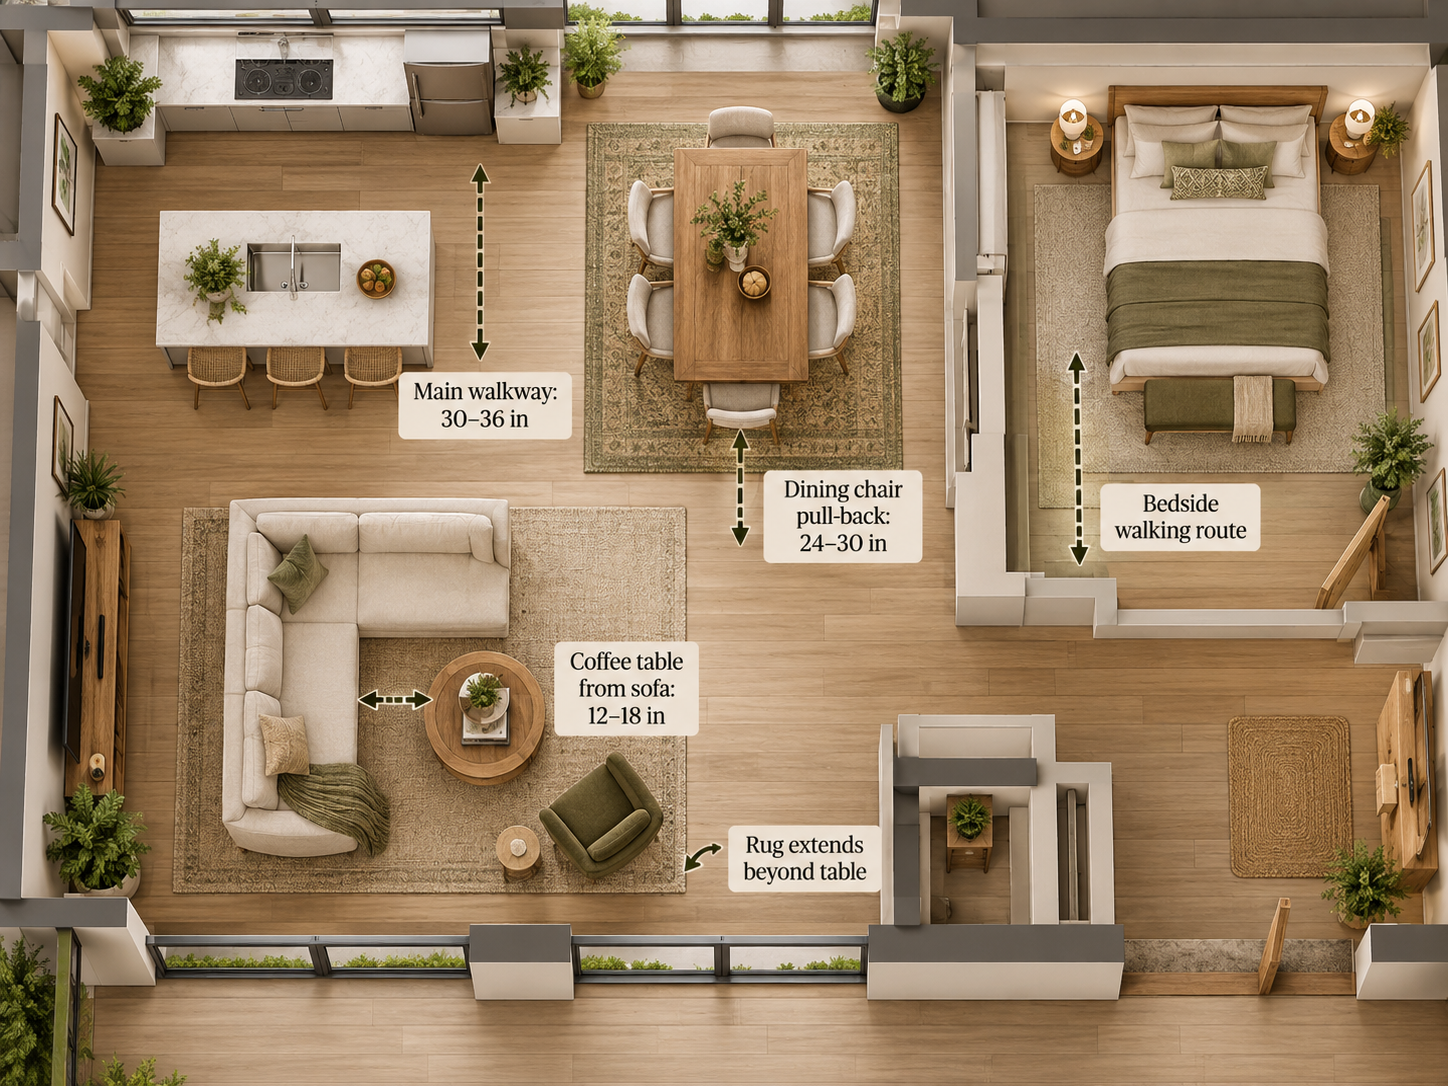
Quick-reference measurements to test
| Planning question | Useful starting range | What can change it |
|---|---|---|
| Walkway through a room | About 30–36 in is a useful starting test | Accessibility needs, traffic volume, door swings, furniture projections |
| Dining chair pull-back zone | About 24–30 in behind the chair is worth testing | Chair depth, armrests, people passing behind, table shape |
| Coffee table from sofa | About 12–18 in often works as a starting range | Seat depth, reach, mobility, table shape |
| Side table height | Near the seated arm height is usually practical | Sofa arm design, lamp size, user reach |
| Rug beyond dining table | About 24–30 in per side is a common starting test | Chair travel, table extensions, room perimeter |
| Space in front of drawers | Drawer depth plus standing room | Handle projection, opposite furniture, traffic path |
| Wardrobe swing zone | Door depth plus access space | Hinged vs sliding doors, bed position, handles |
| Bedside passage | Enough for normal access without turning sideways | Bed size, nightstand width, mobility needs |
| Window treatment width | Measure the actual opening and mounting surface | Inside/outside mount, trim, stack, blackout overlap |
| Furniture delivery route | Every doorway, turn, stair and elevator must be checked | Packaging, removable parts, diagonal movement |
These are planning prompts, not code requirements. Building, accessibility and safety requirements vary by location and project. When a clearance has legal or safety significance, verify the applicable rule rather than relying on a decorating article.
1. Start with the room shell
Measure finished wall to finished wall. Then mark doors, windows, radiators, vents, outlets, switches, built-ins, columns, low ceilings and any permanent feature that affects placement.
Record both width and height where relevant. A wall can be long enough for a cabinet but too short once a window sill, thermostat or sloped ceiling is included.
For compact homes, use the Small Space Design Guide to connect these measurements to circulation, storage and multifunctional furniture.
2. Record movement envelopes
A floor plan becomes much more accurate when moving parts are drawn as zones rather than treated as lines. Mark the full arc of every door, drawer and cabinet fronts when open, recliner or sofa-bed movement, dining chairs pulled back for a person to stand, storage lids and lift-up benches, and appliance doors where relevant.
If two movement envelopes overlap, the conflict matters even when both pieces technically fit while closed.
3. Measure furniture by the deepest point
Retail dimensions can hide projections. A table may have splayed legs, a sofa may have loose cushions that extend beyond the frame and a console may have a base deeper than the top. Use the manufacturer’s dimension drawing whenever possible.
The Furniture Sizing Guide covers scale, fit and room relationships in more detail.
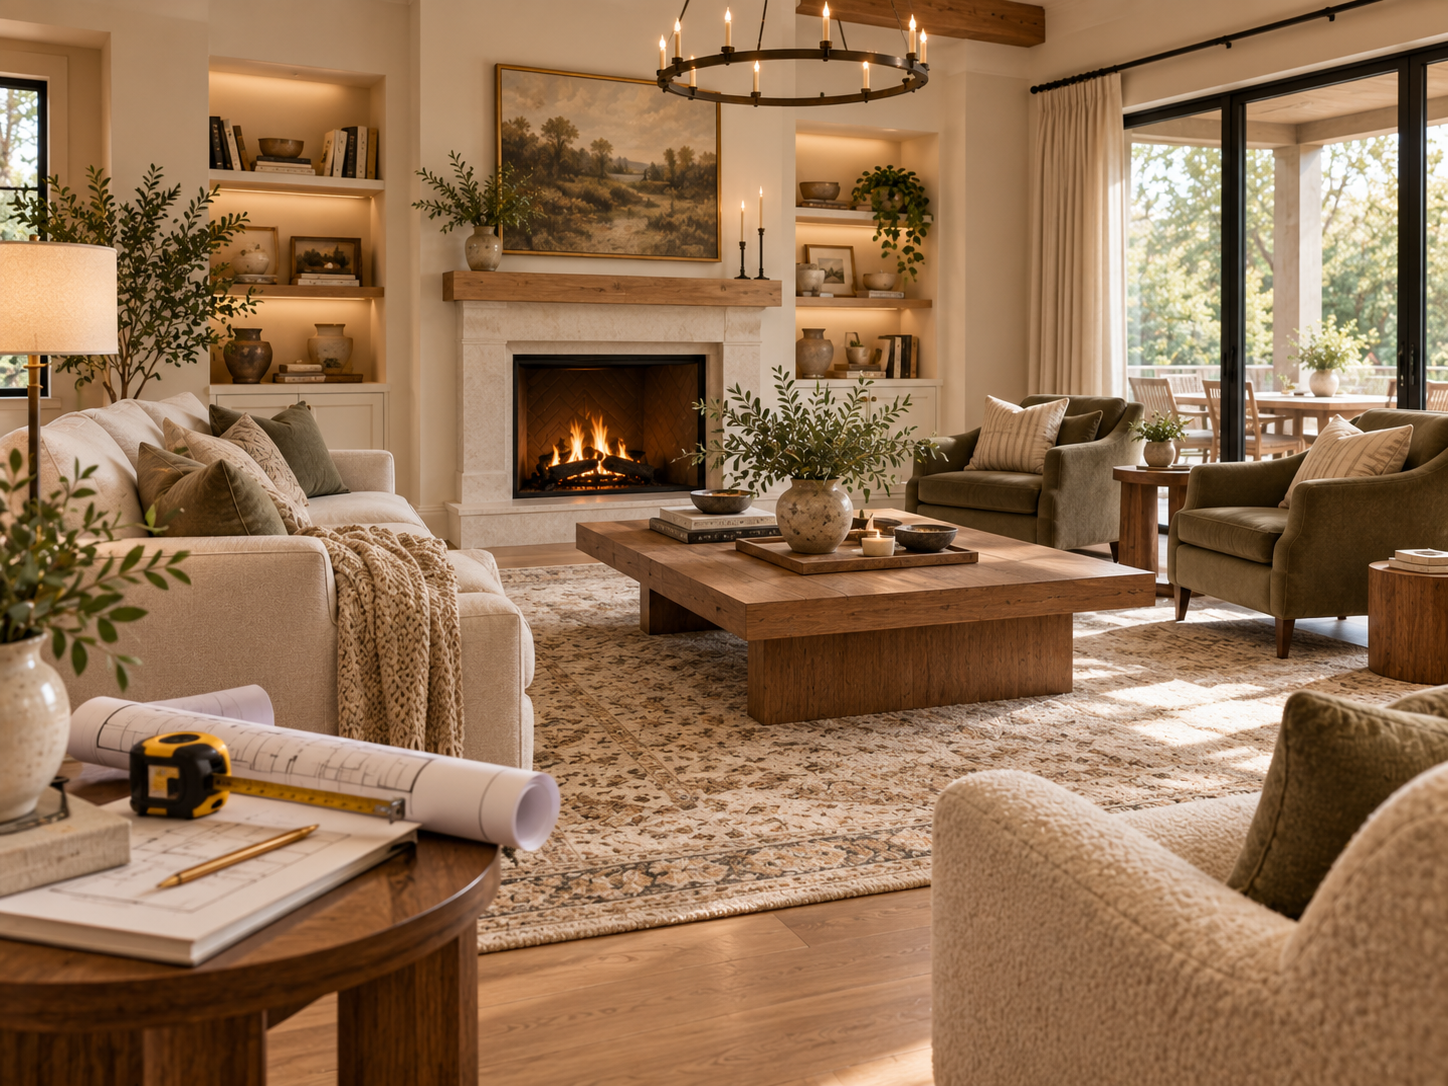
4. Living room measurements
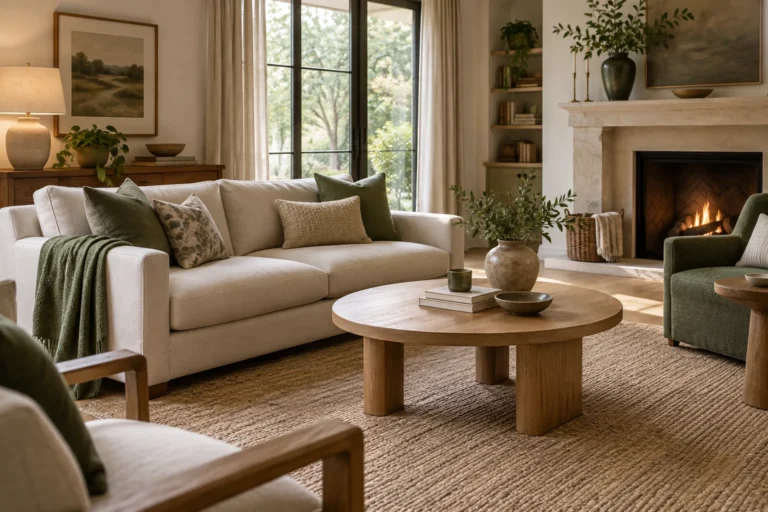
Plan the sofa first, then the chair, coffee table, side tables, rug and TV or focal point. Do not optimize each item separately. The useful question is whether the seating group works as a system.
- Test coffee-table reach from the normal seated position.
- Keep the main walking route out of the coffee-table zone where possible.
- Check side-table reach without forcing the user to lean awkwardly.
- Tape the rug footprint before buying.
Use the Living Room Design Guide for the wider layout and the coffee-table height guide for one focused example.
5. Dining measurements
Dining rooms need both a static table footprint and a moving-chair footprint. Measure the table in the size you use most often, including extension leaves if they are used regularly.
Pull every chair back as a person actually would. That movement should inform the rug and the space behind the chair. If people need to pass behind occupied seats, test that situation too.
See the Kitchen & Dining Design Guide and Rug Size Guide.
6. Bedroom measurements
Mark the bed, nightstands, wardrobe, dresser and any desk as one composition. Bedrooms often fail when storage doors and drawers are ignored until after the bed is placed.
Leave enough real access for making the bed, opening storage and walking through the room. A narrow gap that works on a plan may be irritating every morning.
The Bedroom Design Guide covers the complete room sequence.
7. Entryway and hallway measurements
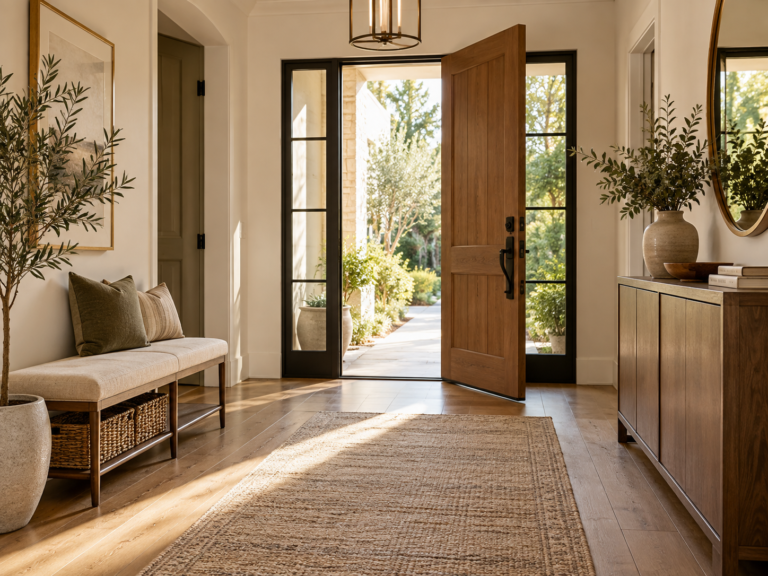
These spaces are circulation first and storage second. Mark the front-door swing, interior doors, stairs and the narrowest section of the passage before adding a bench, console or shoe cabinet.
For a narrow console example, see the 8-inch-deep console table guide. For the whole zone, use the Entryway & Hallway Design Guide.
8. Rugs need furniture measurements
Do not choose a rug from room size alone. The rug should relate to the furniture group and normal movement. A dining rug in particular should be checked with chairs pulled back, while a living-room rug should visually connect the seating.
Use the area-rug guide for material and construction and the Rug Pad Guide for finished thickness and floor compatibility.
9. Window-treatment measurements
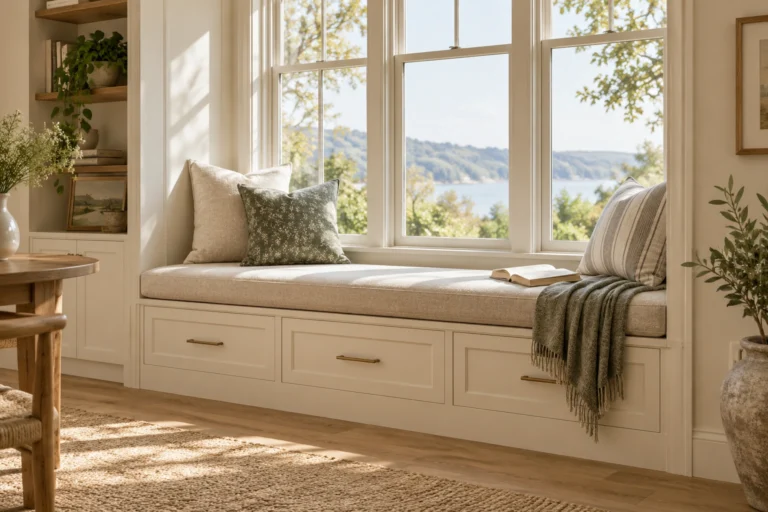
Measure the opening at multiple points rather than assuming it is perfectly square. Record trim depth, handles, radiators, sill projection and how much wall exists above and beside the window.
Inside and outside mounts solve different problems. The Window Treatment Guide compares those systems with curtains, blinds and shades.
10. Measure the delivery path separately
A sofa can fit the room and still fail at the stair turn. Record the product’s delivery dimensions, packaging where available and every narrow point from the exterior entrance to the final location.
What to record in a reusable room worksheet
| Field | Record |
|---|---|
| Room | Finished width, length, ceiling height |
| Openings | Doors, windows, arches, passes |
| Fixed constraints | Radiators, vents, outlets, built-ins, columns |
| Furniture | Width, depth, height, deepest projection |
| Moving parts | Doors, drawers, chairs, recliners, storage lids |
| Delivery path | Doorways, halls, corners, stairs, elevators |
| Confidence check | Second measurement + tape mock-up |
How to use the reference without overfitting the room
Reference dimensions are most useful when they help you identify what to test. They are least useful when they replace the test. If a living room has an angled fireplace, a projecting radiator and a main route to a balcony, its working clearances will not behave like a clean rectangular diagram.
Use three layers of information:
- Reference range: a reasonable starting point for the type of furniture or activity.
- Manufacturer dimensions: the real footprint, projections and operating requirements of the exact product.
- Room mock-up: tape, cardboard or boxes showing the item in the real space.
Worked example: a compact living room
Imagine a sofa footprint that is 84 inches wide by 38 inches deep. Rather than placing it on a plan and stopping there, mark the 38-inch depth on the floor, then add the coffee-table zone and the route to the door. If the route becomes pinched, moving the table, changing its shape or reducing the sofa depth may solve the problem more cleanly than shrinking every piece in the room.
That is why the Coffee Table Clearance Guide and Furniture Delivery Measurement Guide sit beneath this reference as focused supporting guides.
When measurements conflict
Prioritize requirements in this order: safety and code, accessibility needs, essential movement, furniture operation, comfort, then visual proportion. A styling preference should not override a required exit route, a mobility need or a manufacturer’s installation requirement.
Frequently asked questions
Should every walkway be 36 inches wide?
No. Thirty-six inches is a useful planning reference in many contexts, but required accessible routes and building-code clearances are separate questions. Check the applicable rule when legal accessibility or egress is involved.
Are furniture dimensions standardized?
No. Retail categories such as “standard sofa” or “six-seat table” hide large differences in arms, bases, cushions, mechanisms and usable space. Measure the exact item.
Should I measure before choosing a style?
Usually yes for large pieces. Once the workable footprint is known, style choices become easier because unsuitable sizes can be excluded before shopping.
What is the fastest reliable test?
Painter’s tape plus a walk-through is usually the fastest first check. For tall furniture, add a wall-height mark or a cardboard profile so the visual mass is represented too.
Bottom line
Useful interior measurements are relationships, not isolated numbers. Measure the room, the furniture, the moving parts and the route into the room together. Use reference ranges to decide what to test, then let the real space make the final decision.