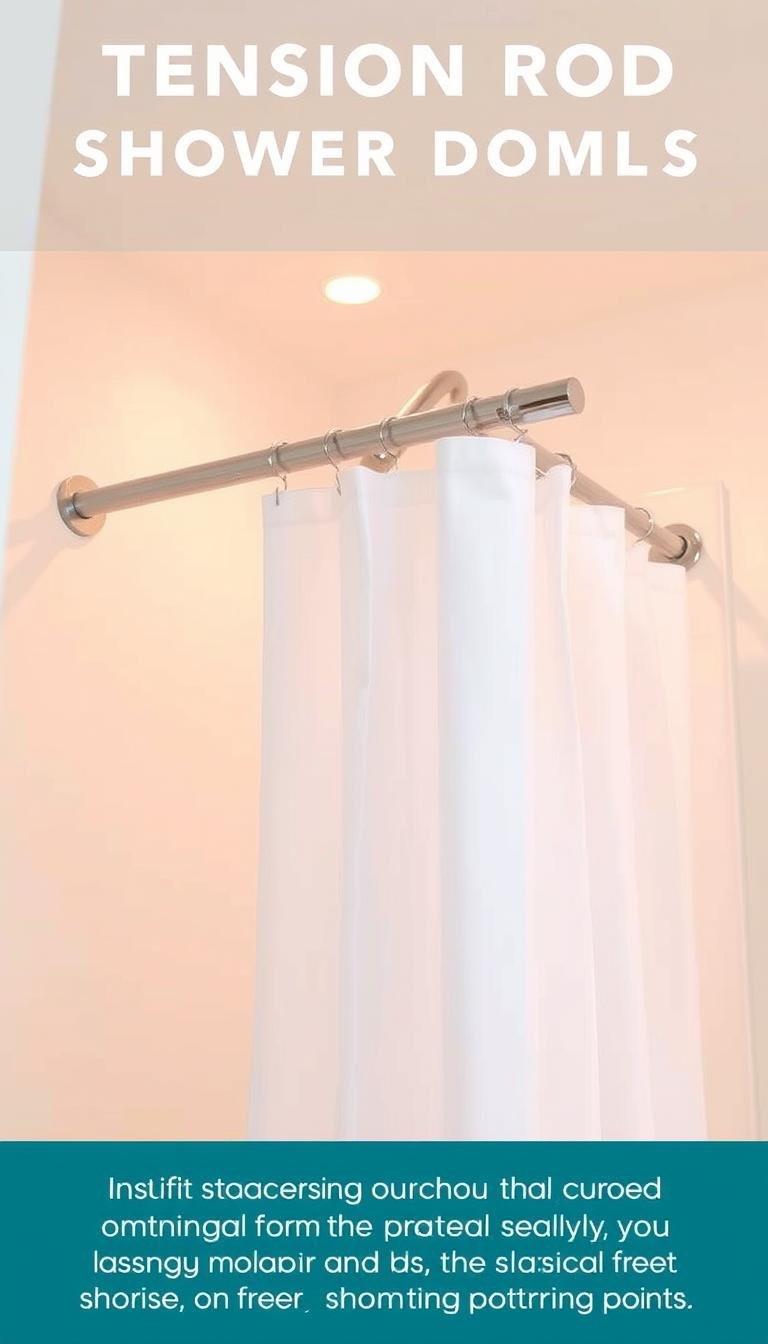
A no-drill shower curtain works reliably when the rod is correctly sized for the opening, both end caps sit on clean flat surfaces, and the curtain stays within the rod manufacturer’s stated load range.
There is no universal weight limit for tension rods. Capacity changes with rod diameter, span, spring mechanism, end-cap design and the exact model, so use the published specification for the rod you are buying rather than a generic number.
Start with the opening, not the rod
Measure the shower opening at the exact height where the rod will sit. Walls can taper slightly, especially in older bathrooms, so do not assume the span is identical at every height.
Choose a rod whose stated adjustment range comfortably includes your measured span. Avoid operating a telescoping rod at an extreme end of its range unless the manufacturer says that configuration is acceptable.
Include the full curtain load
When comparing load ratings, account for the curtain, liner, rings and anything else hanging from the rod. A heavier fabric curtain plus liner places more demand on the rod than a lightweight synthetic setup.
Why end-cap contact matters
The rod can only hold as well as its contact points. Clean the wall where each cap will sit with a product that is safe for the surface, rinse away residue if needed, and let the area dry fully before installation.
- Seat caps on flat tile faces rather than grout joints where possible.
- Avoid loose paint, crumbling plaster or uneven textured surfaces.
- Use the end caps supplied with the rod unless the manufacturer approves alternatives.
- Do not add improvised pads that make the cap unstable or trap moisture against the wall.
How to install a shower tension rod without drilling
- Choose the height. Hold the curtain and liner in place and pick a height that gives suitable overlap without letting fabric drag.
- Clean and dry the contact points. Remove soap film, dust and moisture.
- Set the rod to the opening. Follow the model’s instructions for extending, twisting or compressing it.
- Seat both end caps squarely. Make sure they are on flat surfaces and the rod is level.
- Test before loading. Apply a gentle downward and forward pull. If the rod shifts, reset it before hanging the curtain.
- Add the curtain evenly. Distribute the rings so the load is not concentrated at one end.
If the rod keeps slipping
A correctly installed rod should not need a collection of improvised fixes. If it creeps down the wall, work through the basic causes first.
| Problem | What to check |
|---|---|
| Rod slowly shortens | Confirm the locking or twist mechanism is fully set and the rod is within its rated span |
| End caps slide | Re-clean the contact points and move the caps onto flatter surfaces |
| Rod bows | Check total load and consider a stiffer rod designed for the span |
| Wall surface is too uneven | Use a no-drill system specifically designed for that surface, or choose a permanent mounting method where appropriate |
Do not drill into the telescoping rod, modify its spring mechanism or add structural parts that the manufacturer does not approve. If the rod cannot hold reliably within its stated limits, replacing it is safer and usually less frustrating.
Are curved no-drill rods worth considering?
A curved rod can create more shoulder room in a narrow tub, but not every curved rod is a true tension design. Some require permanent wall brackets. If you want a no-drill curved rod, verify that the exact model is designed for tension-only installation and that your wall surfaces and opening width meet its requirements.
What about adhesive brackets?
Adhesive rod supports can work on some smooth surfaces, but they are not interchangeable. The correct surface, load limit, moisture exposure and required waiting time vary by product.
Use only a bracket whose manufacturer specifically approves the shower environment and your wall material. Follow its surface-preparation and cure instructions exactly rather than relying on a generic waiting time.
If the adhesive product is intended only for dry interior walls, do not repurpose it for a humid shower enclosure.
Magnetic and other no-drill alternatives
Magnetic rods only work where the mounting surface itself provides sufficient magnetic attraction. Tile, drywall and most shower surrounds do not. A product that works on a metal door or appliance should not be assumed suitable for a shower.
Likewise, window tap-in brackets and decorative hooks are not substitutes for a shower curtain support unless their manufacturer explicitly rates them for that use.
Choosing the right rod
- Span: make sure your opening falls within the published adjustment range.
- Load rating: use the exact model specification at your span where provided.
- End caps: look for broad, non-marking contact surfaces suited to the wall finish.
- Finish: choose a moisture-resistant finish that complements the bathroom hardware.
- Stiffness: a rod that flexes excessively under the curtain load is not a good fit for the setup.
The simplest reliable setup
Use a tension rod designed for your measured opening, keep it within its stated range, seat the caps on clean flat surfaces and keep the full curtain setup within the published load limit. If it still slips, move to a sturdier no-drill model or an approved bracket system instead of modifying the rod.
For a better curtain fit, see our shower curtain sizing and style guide and the Dwelanor Room Guides.