The right kitchen backsplash tile is the one that suits the wall, cooking zone, cleaning habits and visual plan. Start with the exact material and finish, then check how it handles splashes, heat-adjacent use, grout, cleaning and edge treatment. Style matters, but the tile has to work as a surface first.
The useful relationship is wall/substrate → tile material → finish → absorption/porosity → grout → cleaning method → edge detail → installation system.
Start with the location
A backsplash can include several different use zones:
- behind the sink;
- behind a range or cooktop;
- under upper cabinets;
- around a window;
- behind a coffee station;
- on an open wall that is mostly decorative.
The more grease, steam, splashes and wiping the area receives, the more important the surface finish and cleaning instructions become.
Ceramic tile
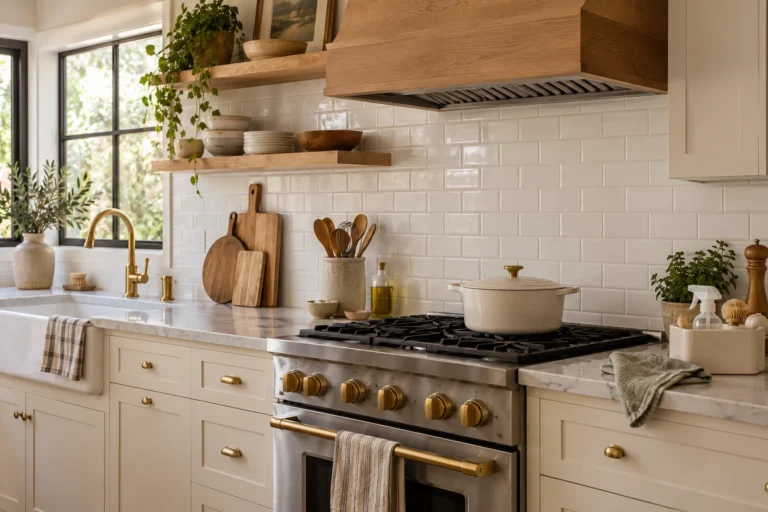
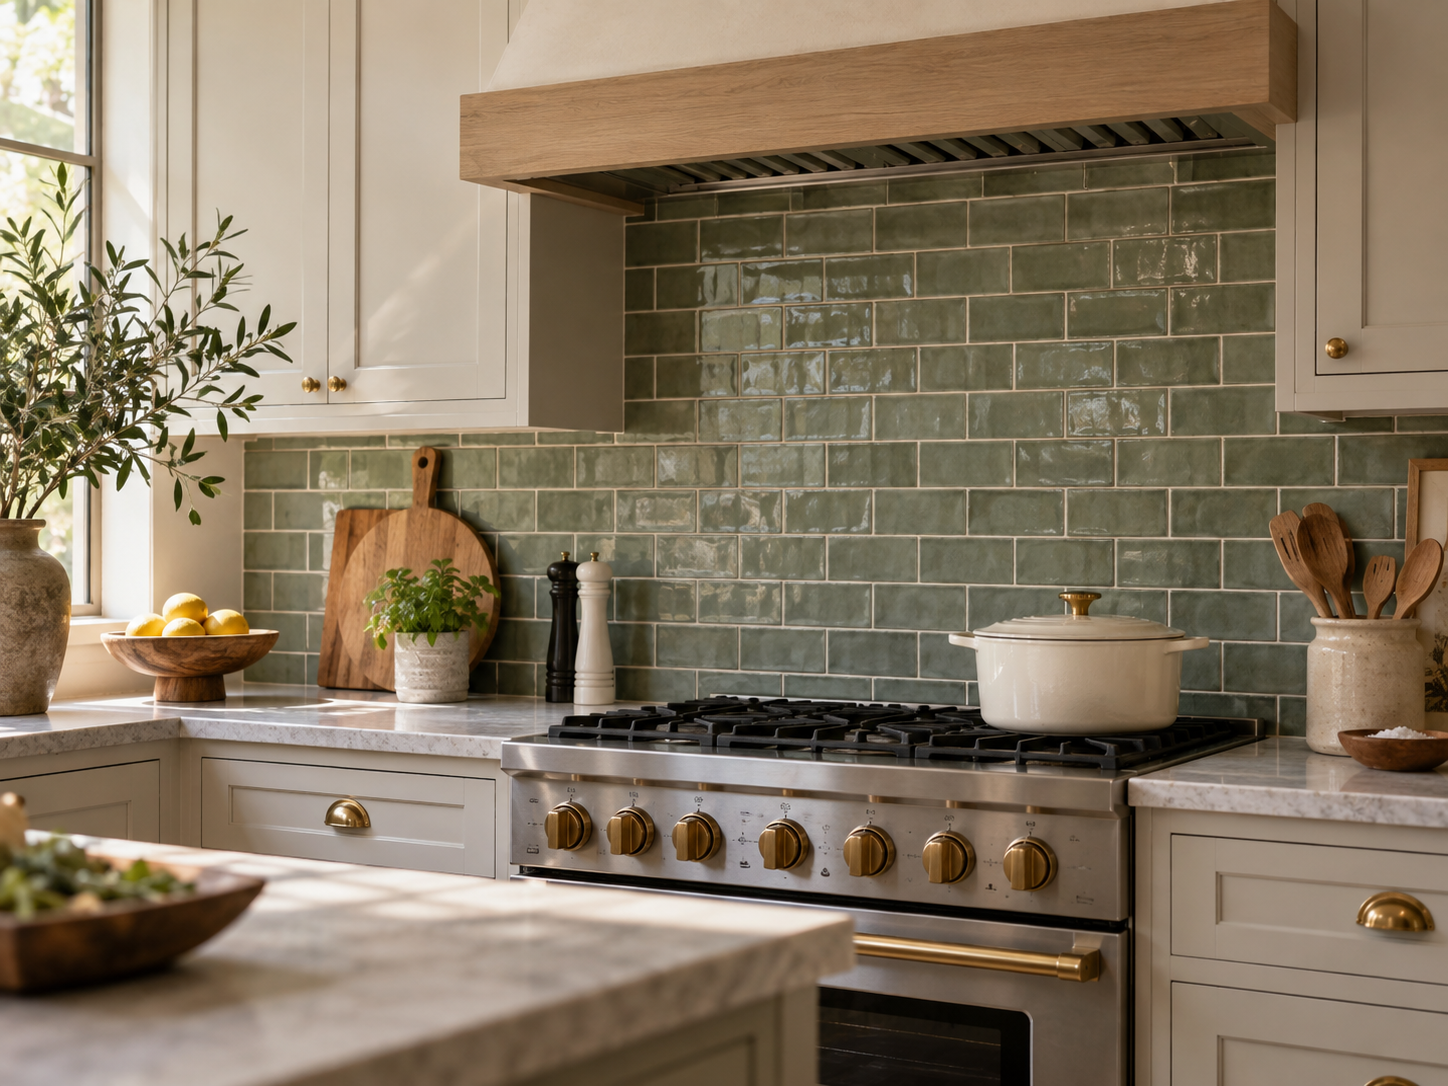
Glazed ceramic tile is a common backsplash material because it is available in many colors, sizes and shapes. The glaze provides the finished surface, while the body and edge may differ from the face.
Check:
- whether the tile is approved for wall use in the intended area;
- how the manufacturer recommends cleaning the glaze;
- whether edge pieces or trim are available;
- joint size and grout recommendations;
- whether shade variation is intentional.
Handmade-look ceramic can have variation in size, surface and glaze. That variation can be beautiful, but it affects layout and joint appearance.
Porcelain tile
Porcelain is a dense ceramic product and can be useful when you want a durable, low-absorption tile with consistent performance. It is available in small formats, large formats and convincing stone-look finishes.
For a backsplash, porcelain is especially useful when:
- you want a marble or stone appearance with a more controlled surface;
- you want fewer joints through larger-format pieces;
- the exact product has a finish suited to frequent wiping.
Large porcelain panels and slabs require careful handling, cutting and installation. Their size can reduce joints, but it does not make installation simpler by default.
Glass tile
Glass can add reflectivity and color, particularly in small accents or simple fields. It also makes installation details more visible because adhesive, backing and cuts may be seen through or reflected by the material.
Before choosing glass, confirm:
- the recommended setting material;
- cutting requirements;
- whether the backing is opaque, translucent or transparent;
- cleaning guidance;
- edge treatment.
Do not assume every glass tile installs like ceramic.
Natural stone
Marble, travertine, limestone and other natural stones can create depth and movement that manufactured tile does not reproduce exactly. They also vary in porosity, chemistry and care needs.
For natural stone, ask the supplier or manufacturer about:
- recommended cleaner;
- whether sealing is recommended for that stone and finish;
- how often any sealer should be evaluated or renewed;
- susceptibility to acids, oils or staining;
- acceptable grout and setting materials.
Do not apply a universal annual sealing schedule to every stone. The correct approach depends on the material, sealer and use conditions.
Metal tile and metal panels
Stainless steel, brass, copper and other metal finishes can create a strong visual accent or a highly wipeable surface, depending on the product.
The material can also show fingerprints, water spots, patina or scratches differently. Check the exact care guidance before using abrasive cleaners or polishing products.
Metal products may be thin tile, solid sheet, coated metal or another construction. Installation and edge treatment vary accordingly.
Large-format slab backsplash
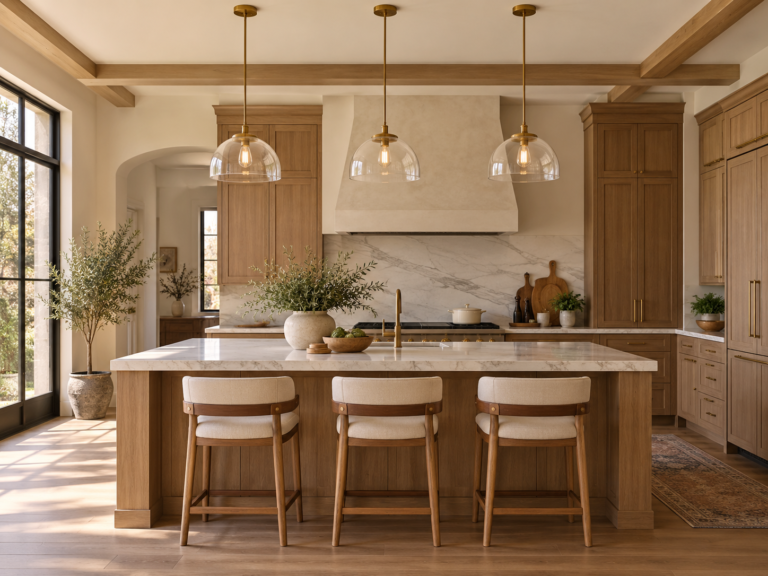
A countertop material continued up the wall can create a very quiet backsplash with few or no field grout joints. Quartz, sintered surfaces, porcelain slab and natural stone can all be used in this way when the product is approved for the application.
Plan:
- panel size and handling;
- seams;
- outlet and switch cutouts;
- wall flatness;
- edge and corner details;
- relationship to the countertop seam pattern.
Large slabs usually require professional templating and installation rather than being treated as oversized DIY tile.
Glossy versus matte
Finish changes both appearance and maintenance.
Glossy: reflects more light and can make glaze variation more visible. It may also show splashes and reflections more clearly.
Matte: produces less reflection and can feel visually quieter. Texture and finish may require different cleaning methods.
Dimensional/textured: adds shadow and depth but introduces more edges and recesses that can collect cooking residue.
Behind a messy cooking zone, heavily sculpted tile may be less convenient to wipe than a smoother surface.
Do not choose only from a showroom sample
Bring samples into the kitchen and place them directly against the countertop and cabinet finish.
View them:
- in morning daylight;
- in evening artificial light;
- with under-cabinet lighting on;
- from the main doorway;
- next to the planned grout color.
Warm and cool lighting can shift how whites, grays and beige tones read.
Grout is part of the material decision
The tile and grout should be selected together. Check the grout manufacturer’s compatibility guidance for the tile material and joint size. For white subway tile in particular, use our white subway tile grout color guide to compare low-contrast white, gray, greige and darker joints under the room’s actual lighting.
Cementitious, epoxy and other grout systems have different mixing, cleaning and maintenance requirements. Do not assume every cement grout needs the same sealer or every specialty grout installs the same way. For ongoing care after installation, use our white-grout maintenance guide to match cleaning, drying and sealing decisions to the actual grout system.
For color strategy, use the Interior Materials & Finishes Guide to compare grout contrast, surface sensitivity and maintenance as part of the complete finish system.
Pattern belongs after material suitability
Once the material and finish make sense, choose the pattern and direction. The same ceramic rectangle can become running bond, stacked, vertical or herringbone, but each layout changes cut complexity and visual rhythm.
For pattern and coverage planning, use the Kitchen & Dining Design Guide to coordinate the backsplash with the countertop, cabinetry, lighting and wider room hierarchy.
Think about the wall substrate
The finished tile is only one layer of the installation. The wall must be appropriate for the tile system and reasonably flat for the chosen format.
Large tiles can make wall irregularities more noticeable. Heavy materials and slab installations require appropriate support and installation methods.
If the wall has moisture damage, loose finishes or structural problems, repair the underlying condition before covering it with tile.
Plan range and cooktop areas carefully
The backsplash behind cooking appliances has to work with the appliance and ventilation installation. Follow the range, cooktop and hood instructions for required clearances and surrounding materials.
Do not use decorative tile choices to override an appliance clearance or wall-protection requirement.
Edge details change the finished quality
Every tile run terminates somewhere. Decide the finish before ordering material.
Options may include:
- factory-finished edge tile;
- bullnose where available;
- metal profile;
- stone or slab return;
- mitered edge where suitable;
- clean transition to painted wall.
Availability depends on the exact tile series and installation.
Order enough for cuts and future repair
Tile projects need overage, but the correct amount depends on pattern, tile size, room geometry, breakage and whether the product has strong shade variation.
Ask the installer or supplier to calculate the quantity for the specific layout instead of applying one fixed percentage to every project.
Keeping a small amount of the exact production batch for future repair can be useful, especially for distinctive tile.
Do not let a trend decide a permanent surface
Color and shape trends change faster than tile installations. Choose a backsplash because it works with the kitchen and you like living with it, not because one shape or color is currently described as “in.”
If you want a stronger trend-driven element, concentrate it in a smaller focal zone that still connects to the surrounding field.
Cleaning should match the exact surface
Use the care instructions for the tile, grout, stone, metal or slab system. Avoid assuming that vinegar, abrasive powders or strong alkaline cleaners are safe for every backsplash.
When multiple materials meet, use a cleaner that is compatible with the most sensitive surface or clean them separately.
A practical backsplash-material sequence
- Identify the sink, cooking and decorative zones.
- Photograph and measure the wall.
- Choose two or three suitable material families.
- Read the product’s installation and care information.
- Bring full samples into the kitchen.
- Compare them beside cabinets and countertops under real light.
- Choose the finish and edge treatment.
- Select compatible grout and setting materials.
- Choose the pattern and coverage.
- Confirm quantity, layout and installation details before ordering.
The simplest answer
For a stylish kitchen backsplash, choose the tile by material suitability, finish, cleaning needs and installation requirements first. Then use color, pattern, grout and coverage to connect it to the rest of the kitchen.