Blackout Curtain Measuring
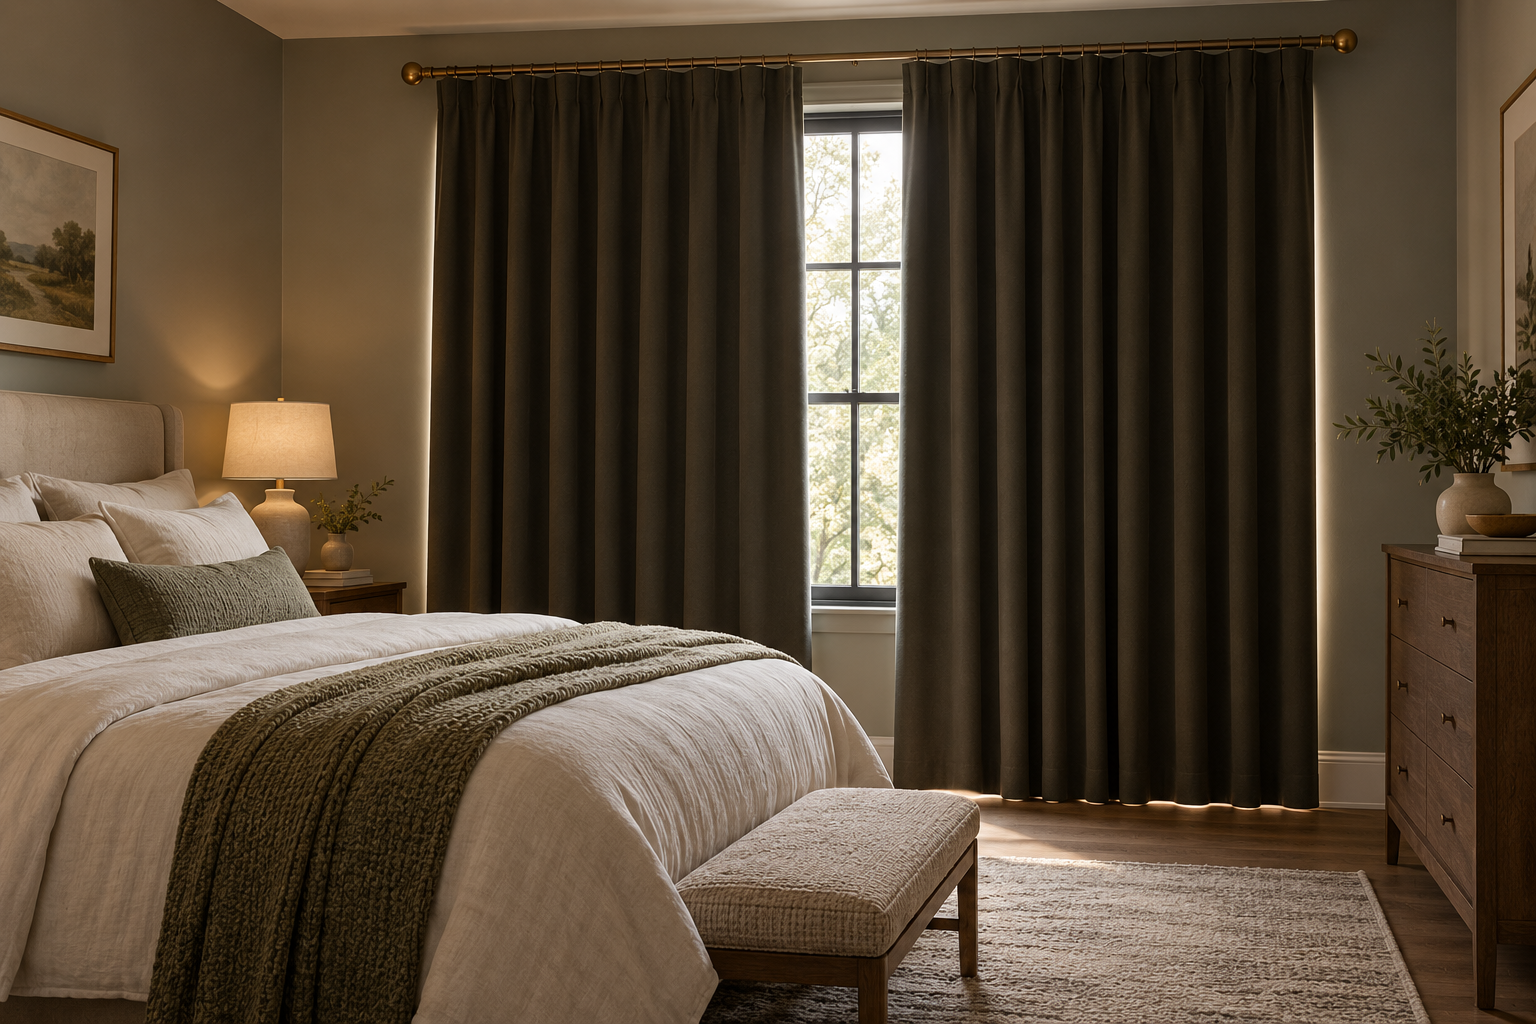
Measure blackout curtains for the light path, not only for the glass width. Light leaks most often appear at the sides, top, center split and bottom. Fabric labeled blackout cannot compensate for a rod that is too narrow or panels that barely meet.
Measure opening → decide rod location → add side coverage → plan center overlap → choose finished length → test stack-back → check obstacles → verify the exact curtain and rod system.
1. Measure the opening and surrounding wall
Record window width and height, trim dimensions, sill projection and the wall available above and beside the frame. A window that is close to a corner needs a different curtain plan from one centered on a broad wall.
Also mark radiators, vents, switches and furniture that may limit curtain length or stack-back.
2. Choose the rod position before panel width
A rod mounted wider than the window can let panels cover the side edges more fully when closed and reveal more glass when open. Mark the proposed brackets and rod ends on the wall.
If the rod cannot extend far because of a corner or cabinet, consider whether a shade plus curtains would control gaps better.
3. Add side overlap deliberately
Stand outside the room in daylight and notice where light enters at the frame edges. The closed curtain should cover enough wall beyond the opening that the side gap is not directly visible from the bed.
Deep rods and stiff headings can create a curved side opening, so projection matters as much as horizontal width.

4. Plan the center join
Two panels that merely touch can separate as fabric relaxes or air moves. Allow enough fullness that the center can overlap or close without tension.
For very light-sensitive bedrooms, a center-return or overlapping track system may work better than relying on two flat panels.
5. Set length from the finished floor and hardware
Measure after rod height is chosen. Curtains that stop too high can leak light below, while excessive pooling may be awkward around radiators, pets or cleaning.
Check whether the heading hangs from rings, hooks or a track because that changes the finished drop from hardware to hem.
6. Include curtain fullness in the order
A panel sold at a certain flat width will cover less wall once it is gathered or pleated. Use the manufacturer’s fullness guidance for the exact curtain or heading style.
Do not assume two panels whose flat widths equal the rod width will look full or close reliably.
7. Test the top gap
Light can leak over a rod mounted low or far from the wall. Check the relationship between heading, rod, wall and ceiling from the sleeping position.
A ceiling track, pelmet or valance can reduce top spill in demanding blackout setups, but adds installation complexity.
8. Mock up at the darkest time of day
Tape the planned rod and curtain edges, then use temporary fabric or existing curtains to simulate coverage. Check after sunset and in strong morning light if possible.
Blackout performance is a system test; judge the installed geometry rather than relying only on fabric marketing.
Planning table
| Check | What to test | Why it matters |
|---|---|---|
| Window | Opening plus trim | Sets base dimensions |
| Side coverage | Wall beyond glass | Controls edge leaks |
| Center | Panel overlap/fullness | Controls split gap |
| Top | Heading and rod-to-wall relationship | Controls upper spill |
| Length | Hardware to finished floor | Controls bottom gap |
Related Dwelanor guides
- Window Treatment Guide — compare curtains, blinds and shades
- Curtain Size & Placement Guide — plan rods, fullness and length
- Curtain Stack-Back Guide — reserve wall space when open
- Blackout Curtain Style Guide — balance darkness and residential style
- Bedroom Design Guide — coordinate the whole sleep zone
- Roller vs Cellular Shades — compare alternative light-control layers
Bottom line
Blackout measuring is about closing the light paths around the window. Size the rod and panels for side, center, top and bottom coverage, then test the actual geometry rather than trusting the fabric label alone.