
Window Treatments
Measure blinds and shades only after deciding where the treatment will mount. An inside mount fits within the opening. An outside mount overlaps it. Mixing those two methods is one of the easiest ways to order the wrong size.
The useful sequence is window condition → mount type → width at several points → height at several points → depth → handles and trim → light-control overlap → manufacturer deductions.
1. Check whether the opening is suitable for an inside mount
Measure the available depth and look for handles, locks, tile, trim or an uneven frame. Some products require more mounting depth than others.
Do not assume the opening is square. Older windows can vary from top to bottom and side to side.
2. Inside-mount width
Measure width at the top, middle and bottom. Follow the exact manufacturer’s instruction about which measurement to submit and whether the factory applies a deduction.
For example, Blinds.com’s current general measuring guide instructs buyers to submit the narrowest of the top, middle and bottom widths for traditional inside-mount blinds and shades, using the exact opening size with no self-applied deduction because the factory handles it. Product-specific instructions can differ, which is why the exact product guide still wins. See Blinds.com’s measuring guide.
3. Inside-mount height
Measure height on the left, center and right. Check the sill shape and anything that could interfere with the bottom rail or shade.
4. Outside-mount width
Outside mounting allows the treatment to overlap the opening. That can help with light gaps, privacy and visual scale, but only if enough flat mounting surface exists around the window.
Measure the opening, then choose overlap according to the product instructions and your light-control goal.
5. Outside-mount height
Decide where the headrail or brackets will sit above the opening and where the treatment should end. Check crown molding, picture rails, radiators, furniture and sill projection.
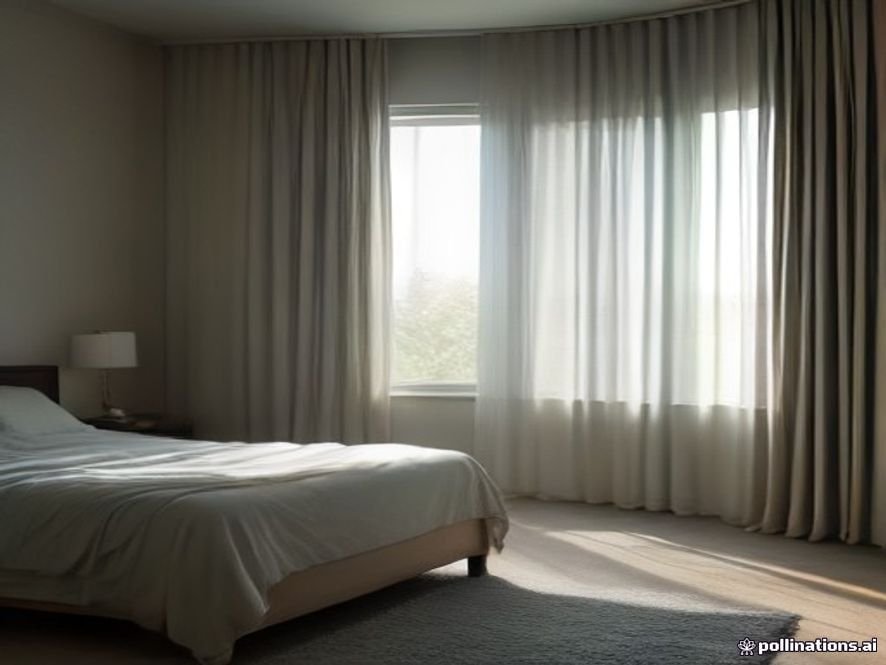
6. Blackout needs extra attention to side gaps
A blackout fabric does not automatically create a blackout installation. Light can leak around the edges, through the top gap or between layered treatments.
Outside mounting with deliberate overlap or layering a shade with curtains may improve darkness where the architecture allows it. The Window Treatment Guide compares blackout, privacy and light-filtering systems.
7. Check handles and moving windows
Crank handles, sash locks and inward-opening windows can conflict with the treatment. Operate the window before finalizing the mount.
8. Measure for stack and view
A raised Roman shade or roller still occupies space. If preserving the glass area matters, note how much of the opening the product covers when raised.
9. Curtains use a different system
Do not apply blind measurements to curtains. Curtain width includes fullness and rod placement rather than a fitted opening size. Use the Curtain Size & Placement Guide for that system.
Measurement worksheet
| Field | Inside mount | Outside mount |
|---|---|---|
| Width | Top / middle / bottom opening | Opening + chosen overlap |
| Height | Left / center / right opening | Mount point to desired bottom |
| Depth | Critical for bracket/product fit | Usually less restrictive |
| Obstacles | Handles, locks, uneven frame | Trim, wall surface, nearby furniture |
| Light control | Expect edge gaps depending on product | Overlap can reduce gaps |

Worked example: deciding between inside and outside mount
Suppose a bedroom window has decorative trim, shallow frame depth and strong street light at night. An inside mount may preserve the trim but leave visible side gaps and may not have enough bracket depth. An outside mount can overlap the opening and improve light control, but it needs adequate flat wall or trim surface and may cover part of the molding.
Neither method is automatically better. The correct choice is the one that matches the frame, hardware and light-control goal.
Common measuring mistakes
- Measuring only once and assuming the opening is square.
- Using a cloth tape that can stretch instead of a rigid steel tape.
- Applying a deduction even though the manufacturer already does it.
- Forgetting crank handles, locks or inward-opening windows.
- Assuming two similar-looking windows are identical.
- Ordering before confirming the product’s minimum mounting depth.
Frequently asked questions
Should I round my measurements?
Follow the product instructions exactly. Many custom products ask for measurements to a specific fraction of an inch and apply their own manufacturing deduction.
Can an outside mount make a window look larger?
Yes, visually, because the treatment can extend beyond the opening. The tradeoff is that it covers more wall or trim and needs a suitable mounting surface.
Is an inside mount always more custom-looking?
No. It can look very clean when the recess is deep and square, but a well-proportioned outside mount can look equally deliberate and may solve light or depth problems better.
What if the window is noticeably out of square?
Follow the product manufacturer’s guidance. An outside mount can sometimes avoid fit problems created by an uneven opening.
A five-minute pre-order measurement check
- Confirm inside or outside mount.
- Measure every window individually.
- Record width and height in the order required by the manufacturer.
- Check minimum mounting depth and bracket surface.
- Operate handles, locks and the window itself.
- Decide whether privacy, daylight or blackout is the priority.
- Re-measure before submitting the order.
For custom products, save a screenshot or copy of the exact measurement rules used for that order. It gives you a clear reference if a later question arises about deductions or submitted dimensions.
Quick mount-choice comparison
| If this matters most | Test first |
|---|---|
| Showing decorative trim | Inside mount, if depth allows |
| Reducing edge light | Outside mount with deliberate overlap |
| Very shallow recess | Outside mount or a product with lower depth requirement |
| Maximum glass view when raised | Check stack height for either system |
| Uneven opening | Product-specific guidance; outside mount may simplify fit |
This table is a decision aid, not a substitute for the exact mounting specification of the blind or shade you order.
Bottom line
Choose the mount first, measure at several points and follow the exact manufacturer’s deduction rules. The most reliable window-treatment order is the one based on the actual opening, actual hardware and desired light control.