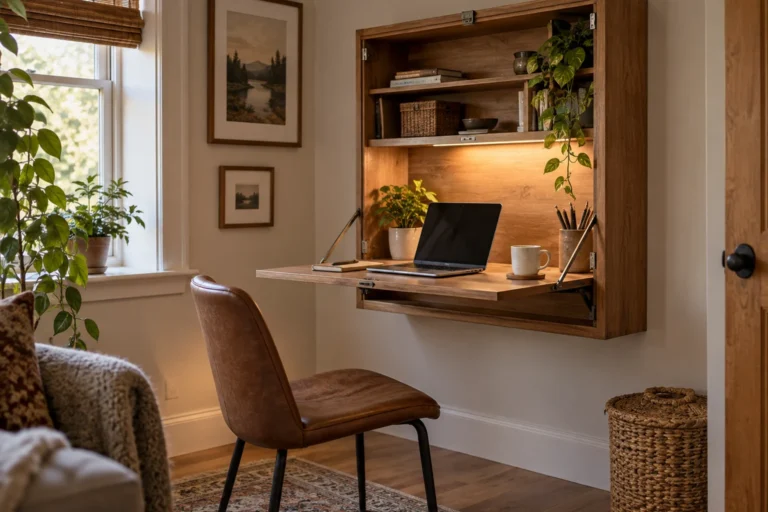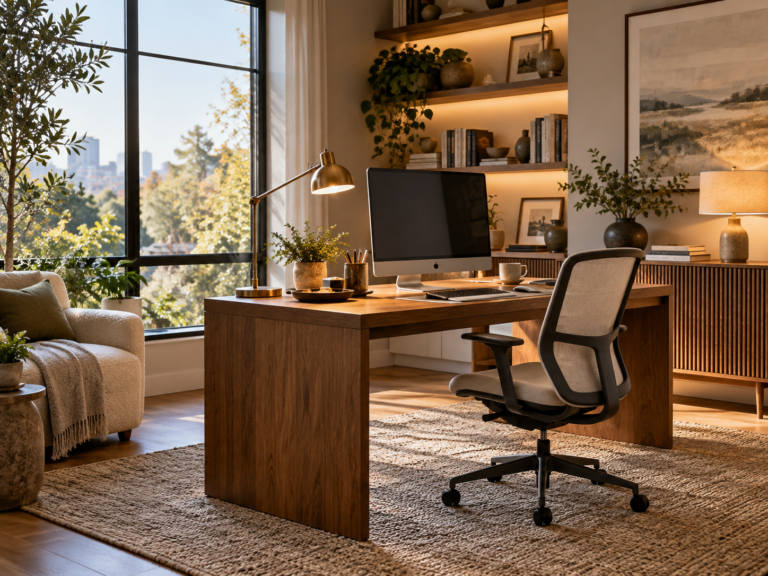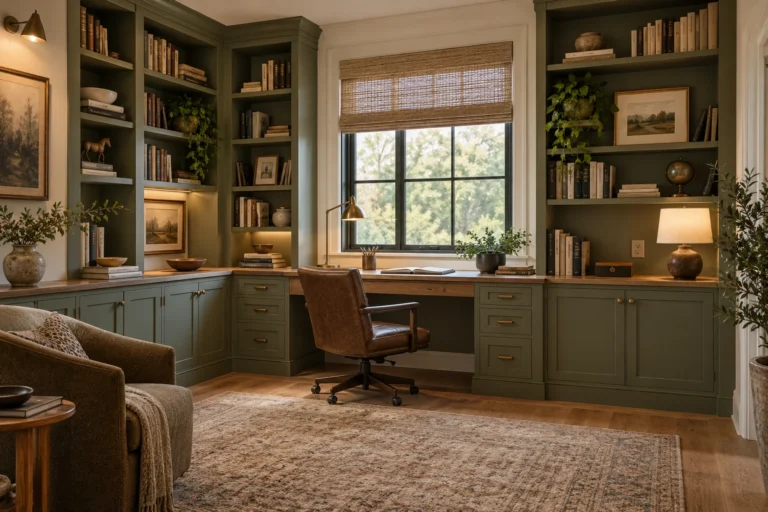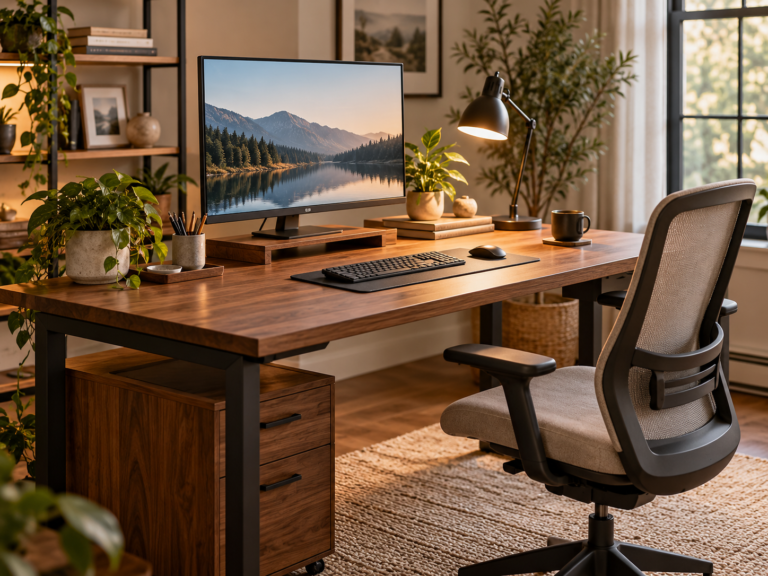
A DIY Murphy desk can be a practical workstation in a small room, but the design should be planned as furniture first and wall decor second. The useful sequence is wall structure → desk size → support hardware → working load → chair and circulation clearance → cables and storage → decorative finish.
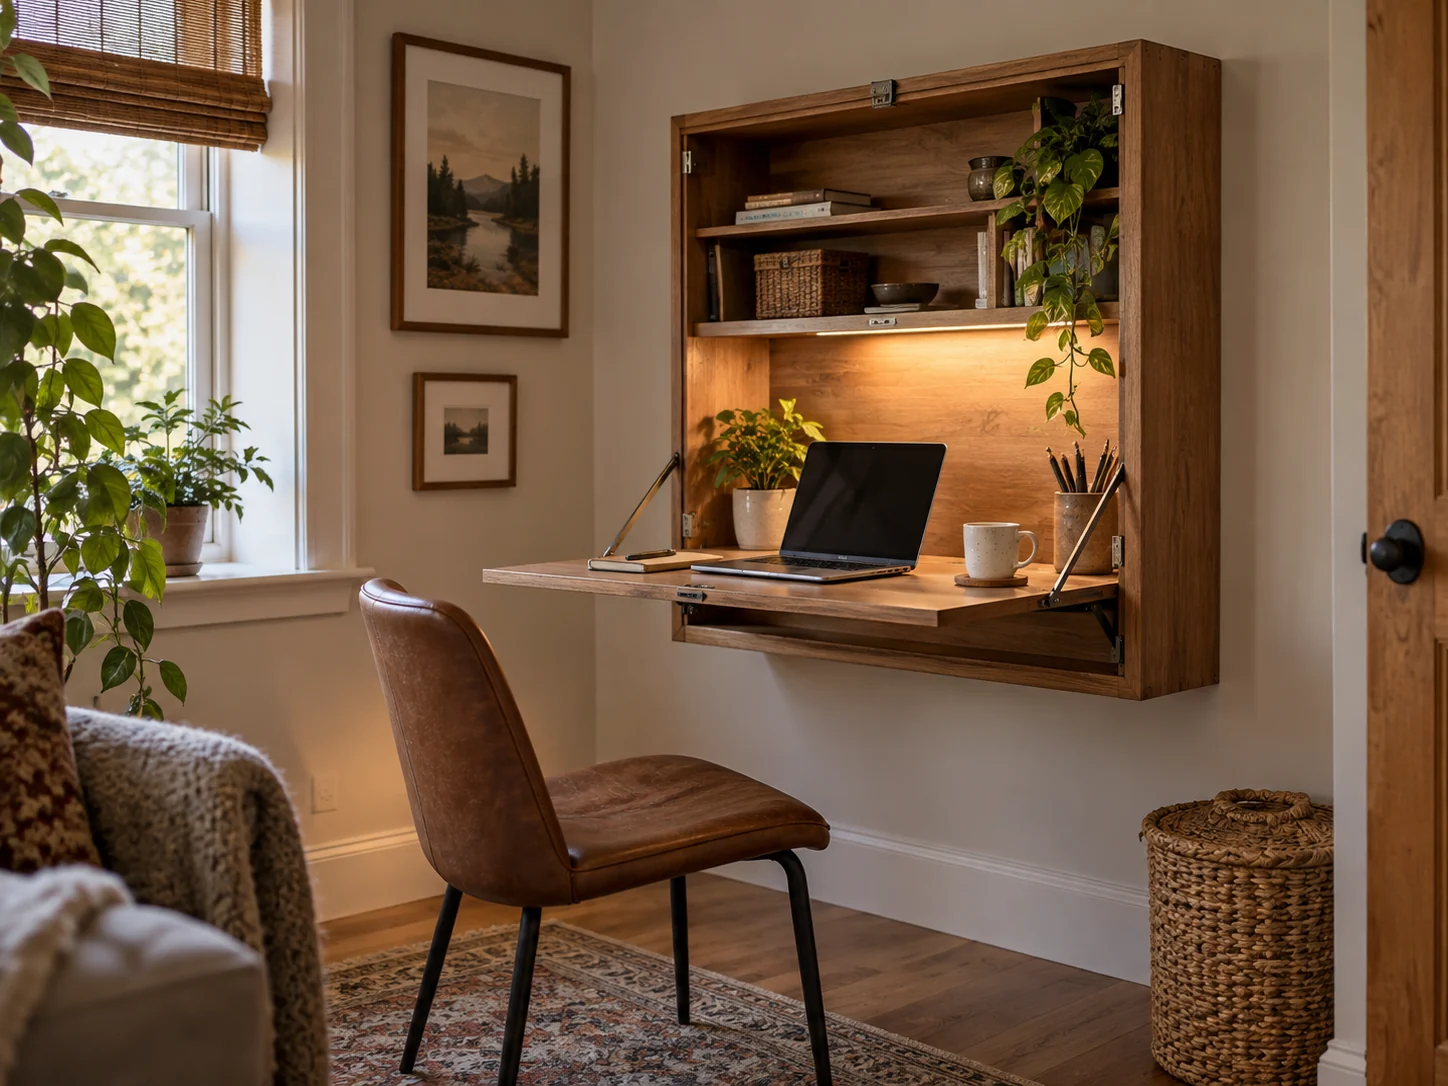
This guide is a planning framework rather than a universal cut list. The correct dimensions and hardware depend on the wall, desktop size, material, support method and expected load. If the structure or mounting method is uncertain, have the plan reviewed before loading the desk with equipment.
1. Start with the wall and the open footprint
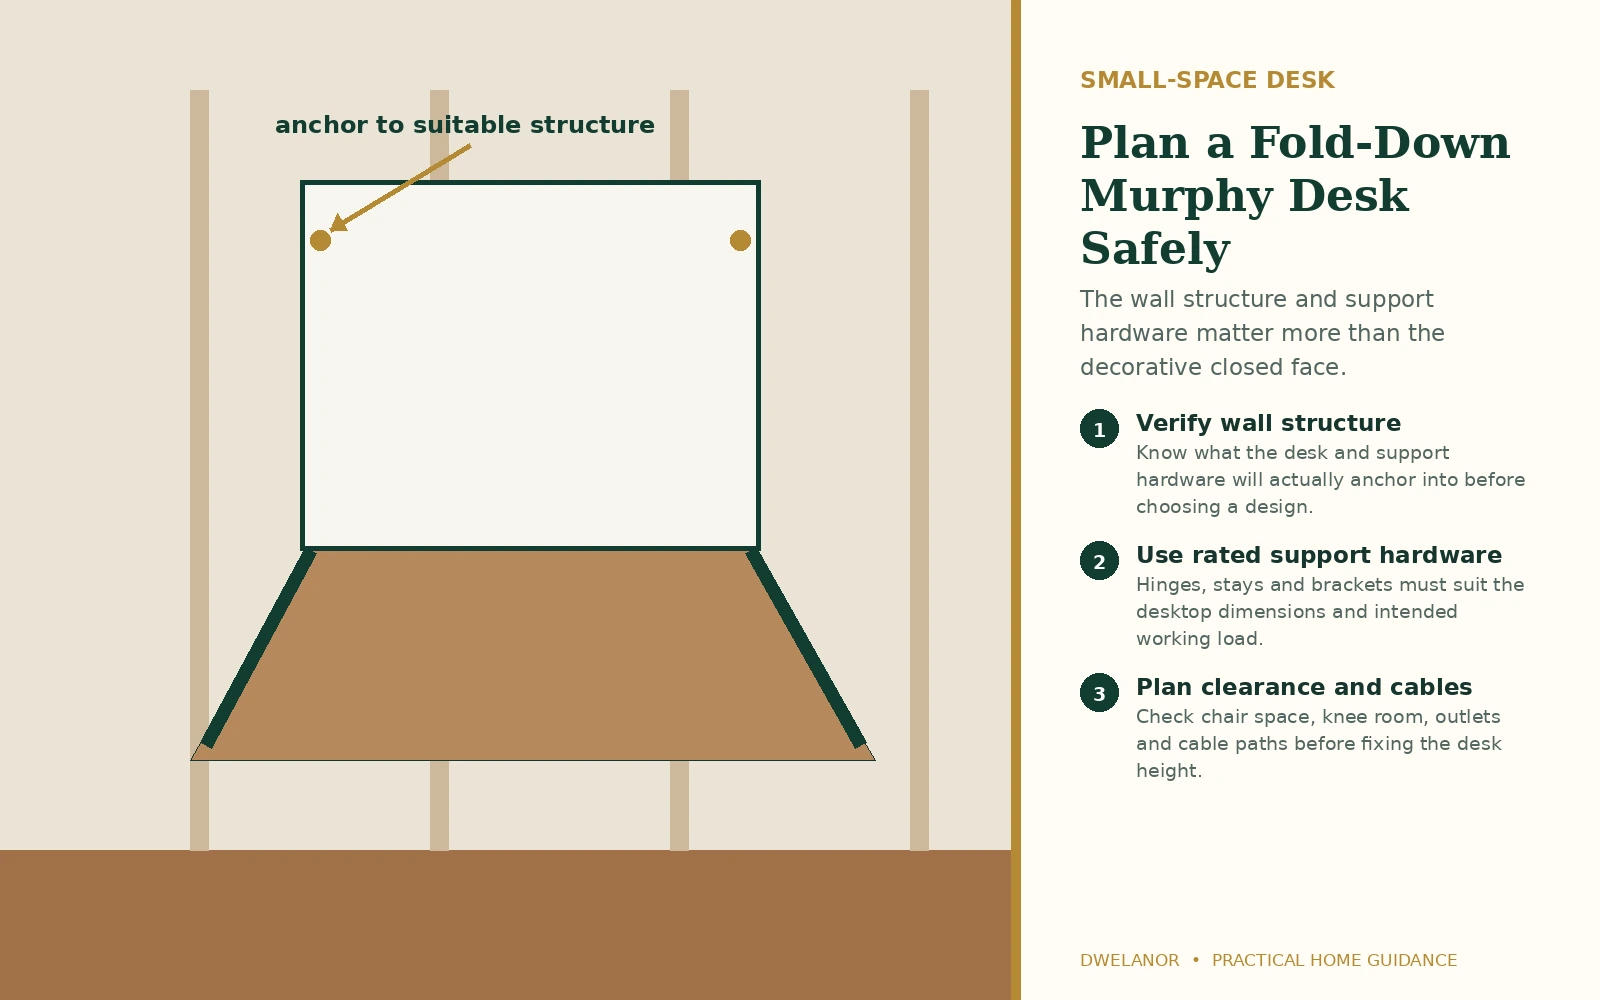
Measure the wall width and height, then map what happens when the desk is open. Check doors, closets, outlets, switches, trim, nearby furniture and the route through the room.
A narrow wall can still support a useful desk, but the open depth and chair clearance often matter more than maximizing width. Mock up the desktop with painter’s tape or cardboard before drilling.
2. Choose the simplest format that solves the problem
A fold-down desk can be as simple as a hinged desktop with purpose-built supports, or as involved as a shallow cabinet with internal storage. More moving parts are not automatically better.
Choose a cabinet format when concealed storage is useful. Choose a simpler hinged panel when the priority is a larger working surface on a short wall with minimal closed depth.
3. Plan the support system before the materials
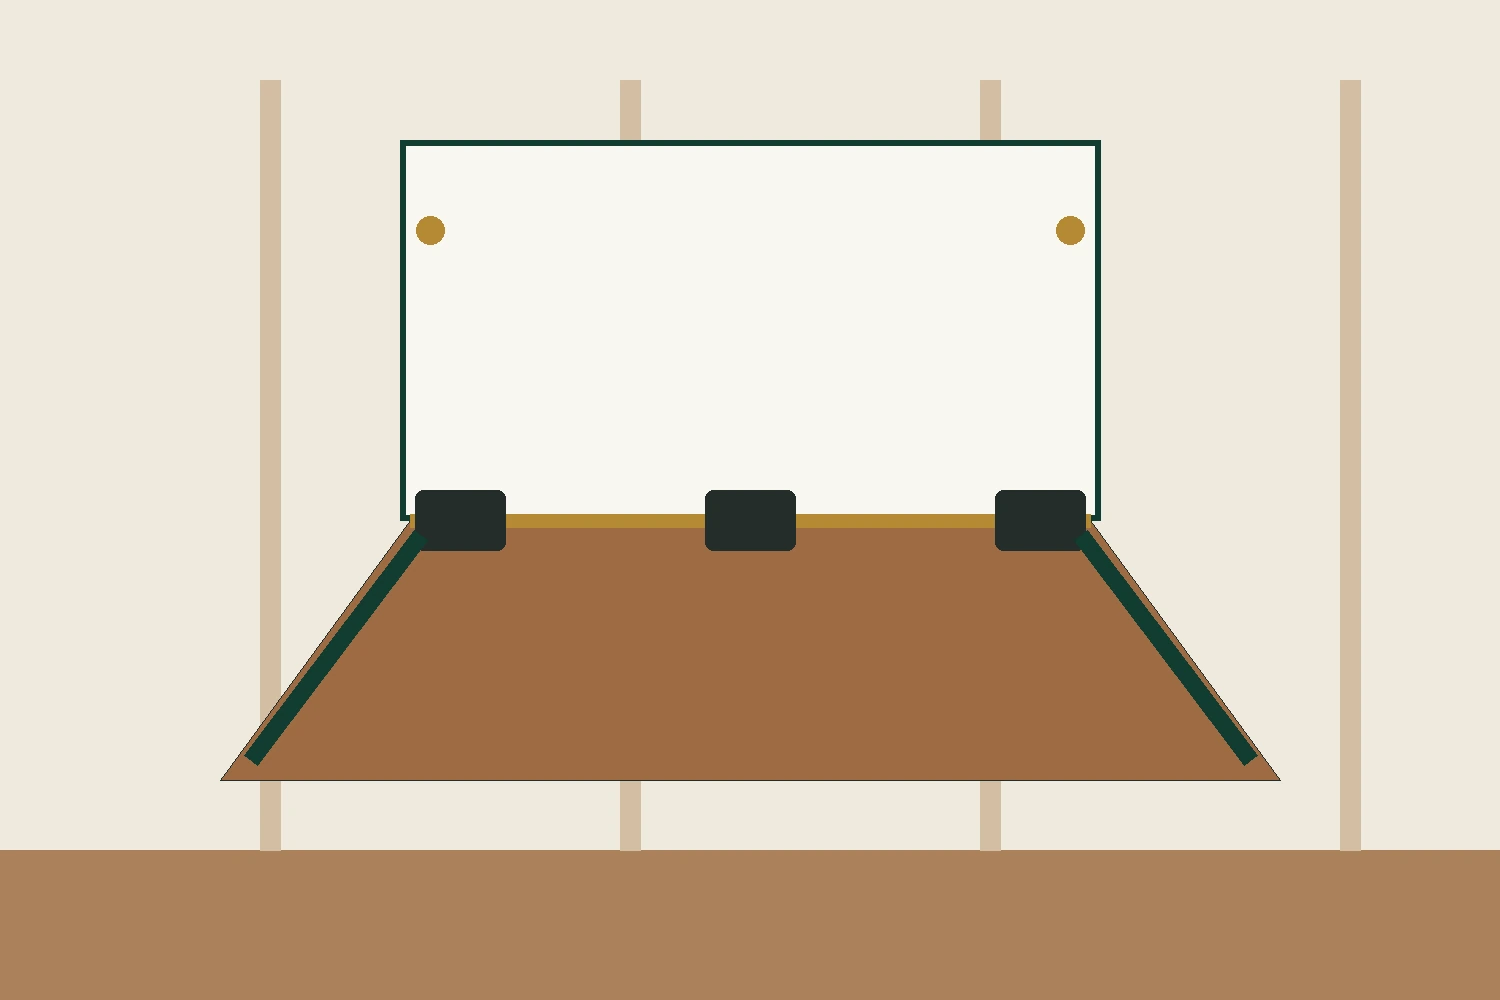
The hinges, wall attachment and desk supports have to work as one system. Depending on the design, support may come from folding brackets, stays, chains or another purpose-built mechanism with published capacity appropriate to the intended load.
Do not copy arbitrary screw sizes, bracket spacing or desktop dimensions from a generic plan. Match the fasteners to the wall structure and follow the hardware manufacturer’s installation guidance.
4. Choose materials around stiffness, weight and finish
Plywood can be practical for a fold-down desktop because it is available in predictable thicknesses and can be relatively dimensionally stable. Solid lumber may work well for frames, trim and decorative faces. Other sheet goods may also be suitable when their stiffness, weight, fastener holding and finish requirements fit the design.
Compare materials by:
- desktop stiffness at the planned span;
- total weight added to the wall system;
- fastener and hinge compatibility;
- edge finishing requirements;
- paint, veneer or clear-finish compatibility.
Test finishes on offcuts before applying them to the completed desk.
5. Build and test the mechanism before loading it
Assemble the frame and desktop square, then test the opening and closing movement slowly. Check hinge alignment, support deployment, latch engagement and clearances before adding equipment.
Correct rubbing, binding, wall movement or loose hardware before the desk is put into regular use. If anything shifts after installation, stop loading the desktop until the cause is understood.
6. Plan cables, lighting and storage before the desk goes on the wall
Power and storage become awkward when they are treated as afterthoughts. Decide where chargers, a laptop, monitor cables and task lighting will live before final mounting.
Keep cables clear of hinges and folding supports. Any internal shelf or compartment should also clear the desktop and equipment when the unit closes.
For the larger room plan, use the Home Office Design Guide. For general scale and room-fit decisions, continue with the Furniture Sizing Guide.
7. Make the closed Murphy desk look like wall art
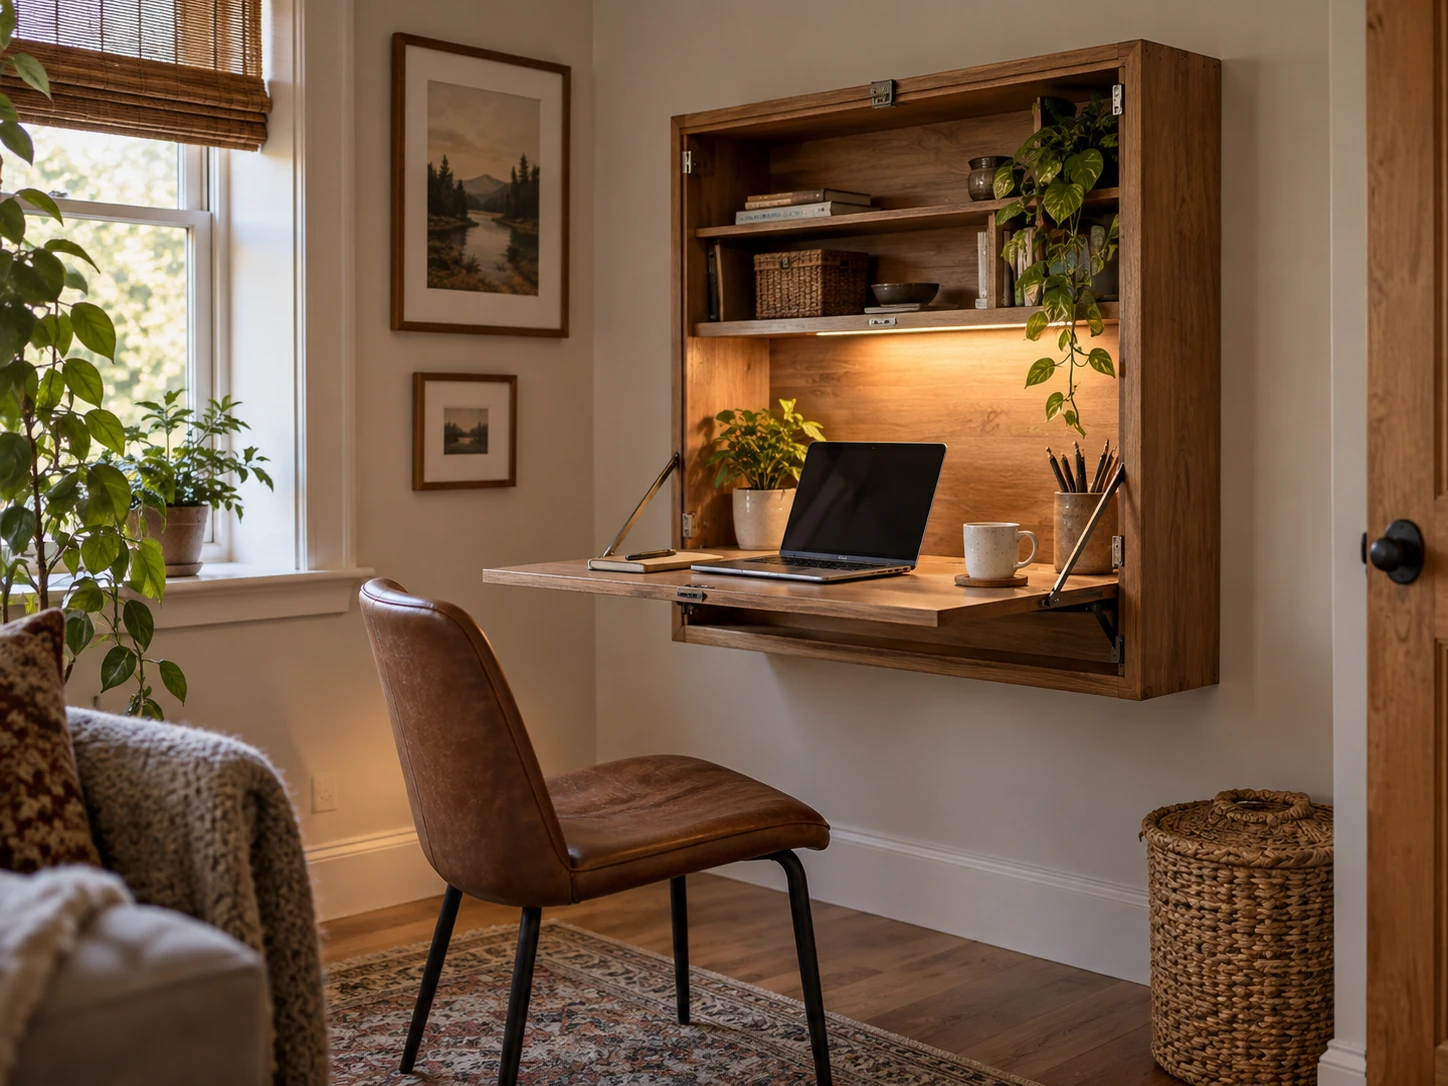
Once the structure and movement work properly, the exterior can be designed to read as wall art instead of office furniture. The easiest approaches are a painted graphic panel, a shallow framed-panel treatment, a cork or fabric-faced notice surface, or a finish that visually continues nearby cabinetry or wall trim.
Choose the decorative treatment after the closed desk has been test-fitted. Added molding, veneer, artwork, hardware or surface layers change the finished thickness and weight, so they have to clear the wall, hinges, latches and opening path.
Choose an art treatment that stays flat and secure
- Painted artwork: geometric blocks, a restrained mural or one large abstract composition adds almost no projection.
- Framed-panel look: shallow molding can make the closed face read like architectural wall art, but keep it clear of moving hardware.
- Printed or paper surface: use only a finish that is compatible with the panel material and does not lift near the edges or interfere with the latch.
- Cork or fabric face: useful when the closed desk should double as a pinboard, provided the added layer is thin enough for the mechanism.
Design the composition for the closed orientation. A graphic that looks balanced on a horizontal desktop may look wrong once the panel rotates upright. Mock up the artwork on paper or with painter’s tape while the desk is closed before committing to the final finish.
8. What if the wall is only 3 feet wide?
A 36-inch wall can still support a useful fold-down workstation. The important checks are the real open depth, chair clearance, equipment footprint and circulation around the desk.
On a short wall, a simple fold-down panel may provide more usable work surface than a deep cabinet. Use the mock-up stage to decide whether storage is worth the extra closed depth.
9. Safety and maintenance checks
- Use support hardware with published capacity appropriate to the intended load.
- Follow the hardware and fastener manufacturer’s installation instructions.
- Do not rely on decorative trim or drywall alone when the design requires structural support.
- Keep moving parts clear of fingers, cords and stored objects.
- Recheck visible hardware periodically and stop using the desk if anything loosens, binds or shifts.
If the wall construction is uncertain, the desk is unusually large or heavy, or the support system is improvised rather than purpose-built, have the mounting plan reviewed by a qualified professional.
Related guides
Plan desk placement, glare, lighting, storage, cables and a calm work zone.
Plan footprint, circulation, delivery access and real-world furniture fit before buying or building.

Use circulation, storage and flexible furniture to make compact rooms easier to live in.