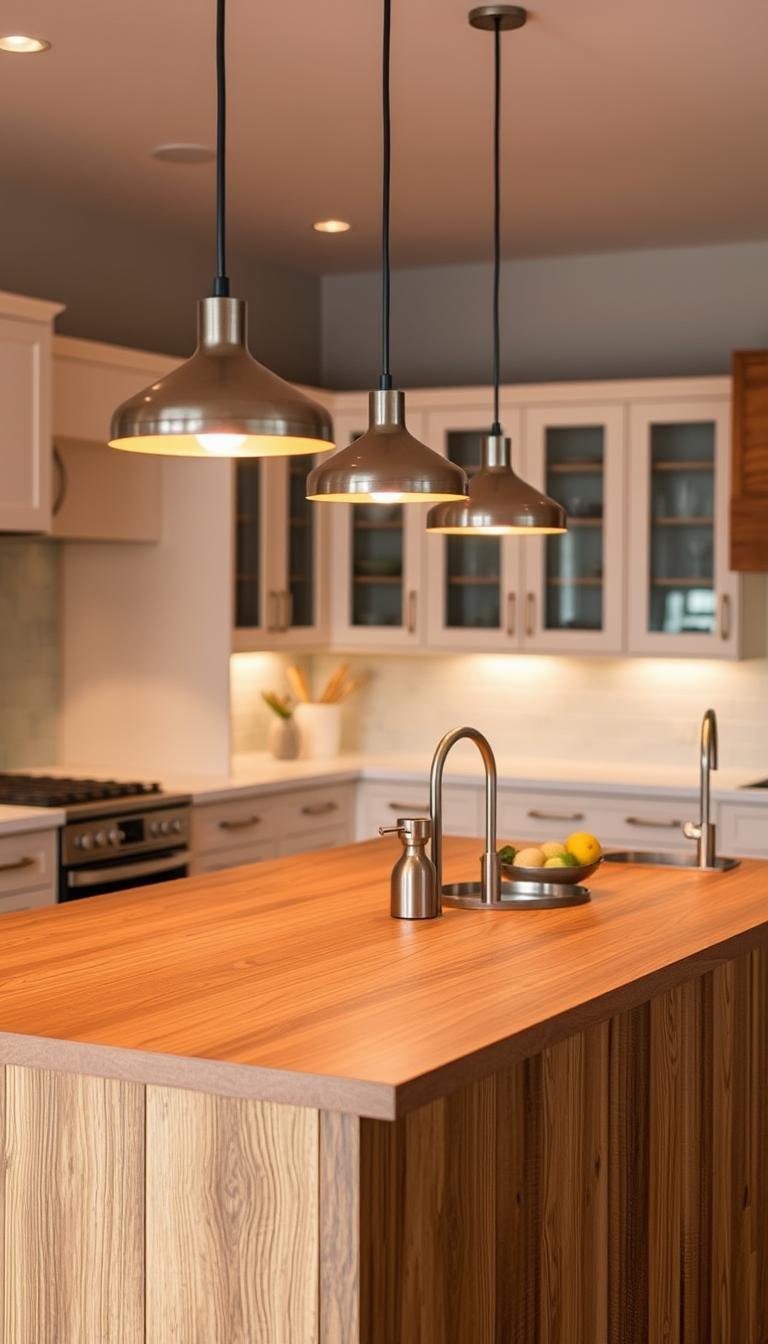
For a 9-foot kitchen island, pendant spacing should be planned from the actual fixture width and the visual centers, not from one universal 24-inch or 30-inch rule. Two larger pendants or three smaller pendants can both work. The right layout depends on shade diameter, usable island length, task-light spread and how much breathing room you want at the ends.
The useful relationship is island length → fixture count → shade diameter → centerline spacing → end clearance → light spread → sightlines.
Two pendants or three?
A 9-foot island is long enough for either layout.
| Layout | Usually works best when | Main thing to check |
|---|---|---|
| Two pendants | The fixtures are visually larger or more sculptural | Enough light reaches the middle and ends of the island |
| Three pendants | The fixtures are smaller or you want a more continuous rhythm | The shades do not become crowded |
| One linear fixture | You want a simpler continuous composition | Fixture length, light spread and scale |
Do not decide by island length alone. A pair of 20-inch domes occupies very different visual space from three 8-inch mini pendants.
Start with fixture diameter
Before calculating centers, record the widest dimension of the shade. Spacing is easier to judge when you know the physical gap that will remain between fixtures.
Kichler currently notes that multiple mini pendants often need roughly 12 to 24 inches between their widest points, with the spacing increasing as pendant diameter grows. That is a useful reference for understanding why shade width matters more than one fixed center-to-center number.
See Kichler’s current pendant planning guidance.
Use the island centerline as the anchor
Mark the midpoint of the 108-inch island first. From there:
- with three pendants, the middle fixture typically sits on the island centerline;
- with two pendants, the pair should sit equally to either side of that centerline.
This keeps the lighting composition tied to the island rather than to a nearby cabinet seam or ceiling joist.
If the electrical boxes do not line up with the desired composition, treat relocation as a separate electrical decision. Do not distort the whole layout simply to avoid evaluating the ceiling conditions properly.
A practical way to lay out three pendants
For three fixtures, divide the island visually into thirds and place the middle fixture on the centerline. Then mock the outer fixtures at equal distances from the center.
Lumens currently suggests dividing an island into thirds for a three-pendant layout, which is a useful starting framework. The final position still needs to be adjusted for actual shade diameter and end breathing room.
With three medium pendants, you are usually aiming for a composition where:
- the middle light clearly owns the center;
- the two outer lights mirror each other;
- the physical gaps between shades look intentional;
- the outer shades do not crowd the island ends.
A practical way to lay out two pendants
For two pendants, Lumens recommends a quarter-point approach as a starting layout: divide the island length into four equal sections and place the fixtures around the first and third quarter points.
On a 108-inch island, that framework would place the centers roughly 27 inches in from each end. Treat that as a mock-up position, not a final drilling instruction. A very large shade may need more breathing room, while a narrower fixture may look too far apart at those centers.
The final check is visual balance plus useful light on the work surface.
Measure both center-to-center and shade-to-shade
Center-to-center measurements are useful for electricians and symmetry. Shade-to-shade measurements are useful for judging visual crowding.
For example, two fixtures can have generous center spacing but still nearly touch if their shades are unusually wide. The opposite is also true: narrow pendants can look disconnected even when the centers sound reasonable on paper.
Record both numbers before final installation.
How much space should be left at the island ends?
There is no universal six-inch end rule that works for every pendant. The amount of breathing room should scale with the fixture.
Check:
- shade radius or half-width;
- how close the fixture would appear to the island edge;
- whether the island has seating at the ends;
- nearby cabinet doors, refrigerator doors or circulation paths;
- how the row looks from the adjoining room.
A large dome usually needs more visual space at the ends than a small cylinder.
Fixture count should follow light spread too
Spacing is not only decorative. Each pendant has a beam pattern or diffuser that determines how much of the island it illuminates.
Two large fixtures may provide enough overlap for a 9-foot surface. Three smaller fixtures may distribute light more evenly. If the pendants are primarily decorative and the island already has strong recessed/task lighting, visual rhythm may matter more than output.
Do not assume more pendants automatically means better task lighting.
Keep the height question separate
Spacing and height interact visually, but they should be solved as separate measurements. For most islands, start around 30 to 36 inches from countertop to pendant bottom, then adjust for sightlines and fixture scale.
Our kitchen island pendant height guide covers that vertical decision in detail.
Account for island seating
If stools sit along one side, stand and sit at every position during the mock-up. Check whether the shades:
- block faces during conversation;
- create glare at seated eye level;
- feel visually heavy over the seating edge;
- interfere with the view across an open-plan room.
Sometimes shifting the entire row slightly toward the working side of the island can improve function, but only if the composition still feels intentional.
Do not center on the sink or cooktop automatically
If the island contains a sink or cooktop, the lighting row should still be designed around the island as a complete composition. A sink does not automatically require a pendant directly above it, and a cooktop introduces appliance, ventilation and clearance considerations that may make decorative pendants inappropriate in that zone.
Resolve the island layout first, then verify whether any built-in appliance changes the allowable lighting arrangement.
Use a full-size mock-up before electrical work
This is the highest-value step.
- Mark the island centerline with painter’s tape.
- Mark candidate pendant centers.
- Cut circles or shapes from cardboard matching the actual shade diameter.
- Hang them with string at the proposed height.
- View the setup from every main room angle.
- Check seated sightlines and island work zones.
- Adjust the centers before the ceiling points are finalized.
Mocking up the real shade size prevents the most common mistake: spacing by numbers that ignore physical fixture scale.
A simple decision sequence
- Measure the full island length and width.
- Choose the fixture before finalizing centers.
- Record the shade’s widest dimension.
- Decide whether two or three fixtures better suit the scale.
- Mark the island centerline.
- Lay out symmetrical candidate centers.
- Measure the actual shade-to-shade gaps.
- Check breathing room at the ends.
- Mock up the shades at full size.
- Confirm the final height and electrical support separately.
The simplest answer
For a 9-foot island, there is no single perfect center-to-center number. Start with two larger or three smaller pendants, anchor the layout on the island centerline, and use the actual shade diameter to decide the final spacing.
Continue with our island pendant height guide, sink pendant height guide, under-cabinet lighting guide, and the Dwelanor Room Guides.