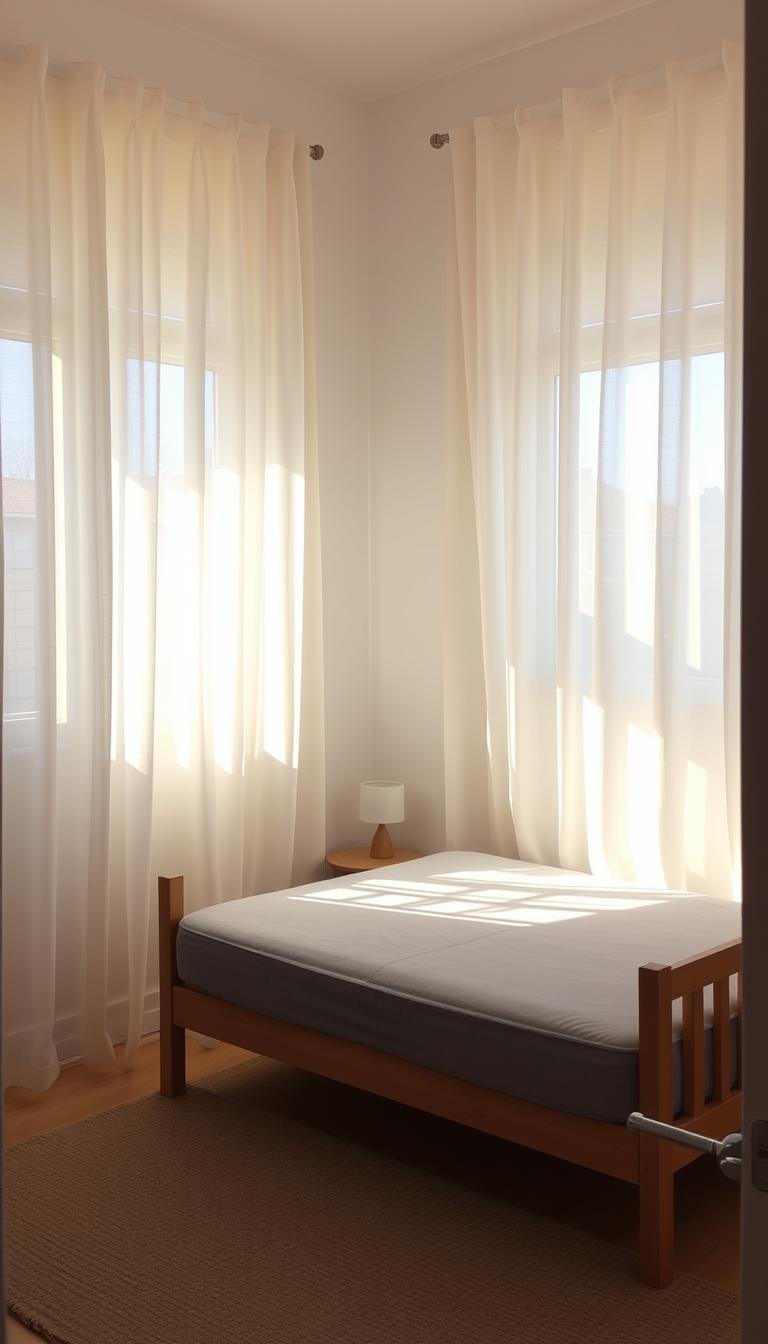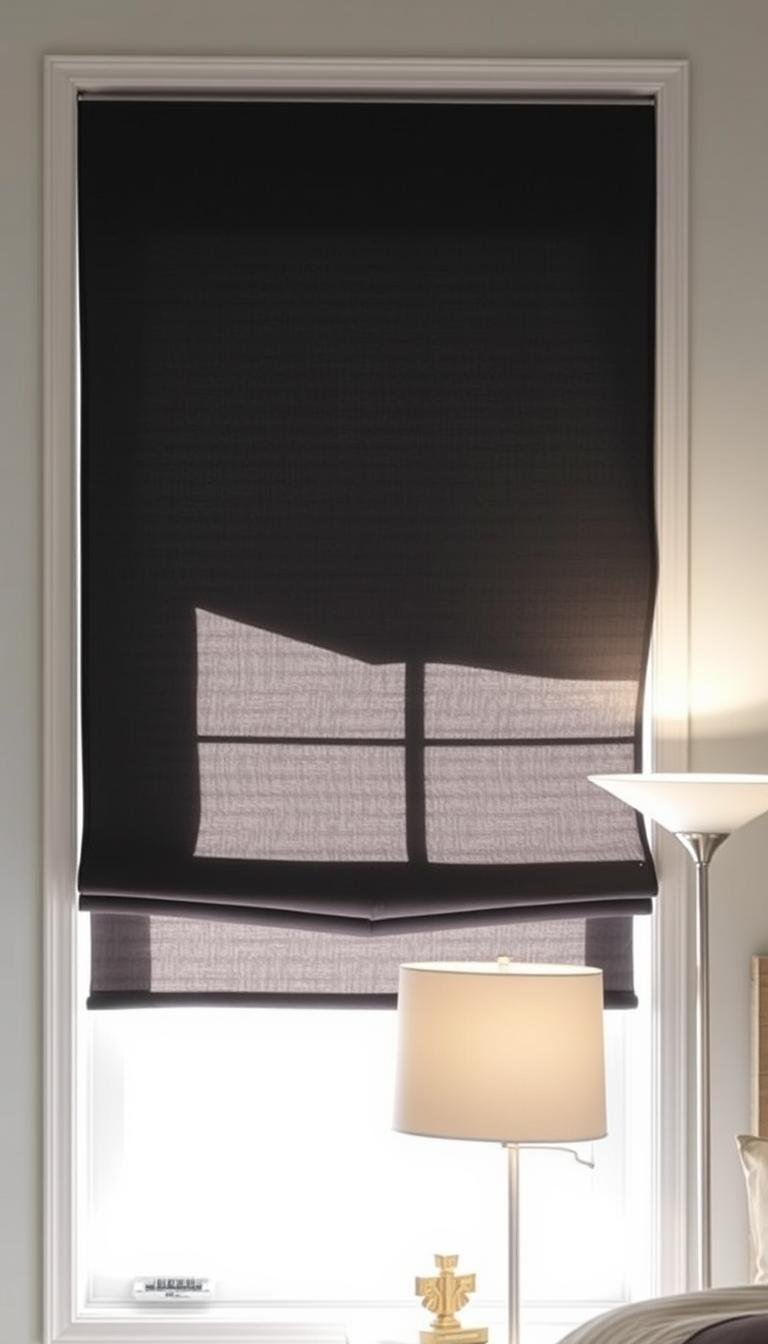
Adding a blackout liner to curtains you already like can improve light control without replacing the visible fabric. The right approach depends on the curtain heading, panel weight, rod or track capacity, window size and whether you want a permanent or removable retrofit.
The useful decision chain is existing curtain → lining type → attachment method → finished weight → edge coverage → care compatibility.
Start by checking the existing curtain
Before buying lining, inspect the curtain itself. Note:
- heading type;
- panel width and length;
- face-fabric weight;
- existing lining, if any;
- rod, ring or track system;
- care instructions;
- condition of seams and header tape.
A lightweight decorative panel may hang differently once a heavy blackout layer is added. The hardware also has to carry the increased weight.
Coated blackout lining
A purpose-made coated blackout lining is designed primarily to stop light transmission through the fabric.
Compare coating type, hand feel, weight, care instructions and whether the lining can be sewn or must be attached another way. Some coated fabrics have heat restrictions, so do not iron them unless the manufacturer permits it.
Thermal blackout lining
Some blackout liners are also marketed for thermal performance. These are often heavier and may add body to the curtain.
Treat any insulation benefit as secondary to the core job of light control, and use manufacturer performance information rather than assuming every thick liner will meaningfully change room temperature or energy use.
Detachable blackout liners
Detachable liners can work with compatible hooks, header tape, rings or proprietary clips. They are useful when the decorative curtain needs separate cleaning or when you want to remove the liner during part of the year.
Check the exact header system before ordering. A liner designed for pinch-pleat hooks will not automatically work with an eyelet or rod-pocket curtain.
Measure the finished curtain, not just the window
For a retrofit, measure the actual curtain panel because that is the piece the lining must work with.
Record:
- finished width;
- finished drop;
- header depth;
- distance from the header to the hem;
- side-seam position;
- existing lining dimensions, if present.
Follow the lining or workroom instructions for seam and hem allowances rather than applying one universal number.
Keep the lining slightly independent at the bottom
Many professionally lined curtains allow the face fabric and lining to hang somewhat independently at the hem so the two materials do not fight each other.
The exact construction depends on the heading, fabric and sewing method. If you are unsure how to line a valuable or heavy curtain, a workroom can usually retrofit it more cleanly than an improvised home method.
Check the rod or track capacity
Blackout lining can add meaningful weight. Before hanging the modified curtain, check:
- rod or track capacity;
- bracket spacing;
- ring or glider capacity;
- wall attachment;
- center support on wide spans.
Use the hardware maker’s instructions rather than assuming the existing brackets are adequate simply because they held the unlined curtain.
Light can still enter around the edges
A perfectly opaque liner does not make the whole window black if light still enters around the sides, top, sill or center opening.
If stronger darkness is needed, consider:
- greater side overlap;
- a wraparound or return-style rod;
- better center overlap;
- a shade behind the curtain;
- another compatible perimeter-light solution.
Our blackout curtain guide covers the full window system.
Do not assume every curtain can be lined safely
Very delicate fabrics, weak seams, loose weaves, heavily embellished panels and some specialty coatings may not tolerate extra stitching or weight well.
If the curtain is expensive, vintage or difficult to replace, test the attachment method carefully or use a separate removable layer instead of altering the panel.
Care instructions need to work together
A washable curtain attached permanently to a dry-clean-only liner creates a care conflict. Check both materials before combining them.
For detachable systems, separate cleaning can be easier. For sewn linings, choose materials with compatible care requirements whenever possible.
What about no-sew methods?
No-sew attachment can work when the liner and curtain are specifically designed for compatible hooks, rings or tapes. Generic fusible products and adhesives are less predictable because they can change drape, stiffen fabric or react badly to coatings.
If you want a no-sew retrofit, choose a purpose-built detachable system rather than improvising with household adhesive.
How dark should the room be?
Not every room needs maximum blackout. A guest room or living space may only need stronger privacy and reduced glare. A shift-work bedroom may need much more careful perimeter control.
Decide the performance target before adding a heavy liner to every curtain in the room.
Use the liner to preserve the visible design
The strongest reason to retrofit a liner is that you already like the face curtain. Keep the decorative fabric doing the visual work and let the lining handle opacity.
This is especially useful with:
- linen-look panels;
- printed cotton curtains;
- velvet drapery;
- custom curtains that match the room palette;
- rental-friendly curtains you want to reuse later.
A practical retrofit sequence
- Inspect the curtain construction and hardware.
- Choose sewn-in, detachable or separate-layer lining.
- Check care compatibility.
- Measure the actual curtain panel.
- Confirm the rod or track can carry the finished weight.
- Attach the lining using the system intended for the materials.
- Hang the curtain and check the drape.
- Test darkness at night.
- Address side, top or center gaps only if needed.
For related bedroom window planning, see our cordless blackout shade guide, quiet bedroom shade guide, and the Dwelanor Room Guides.