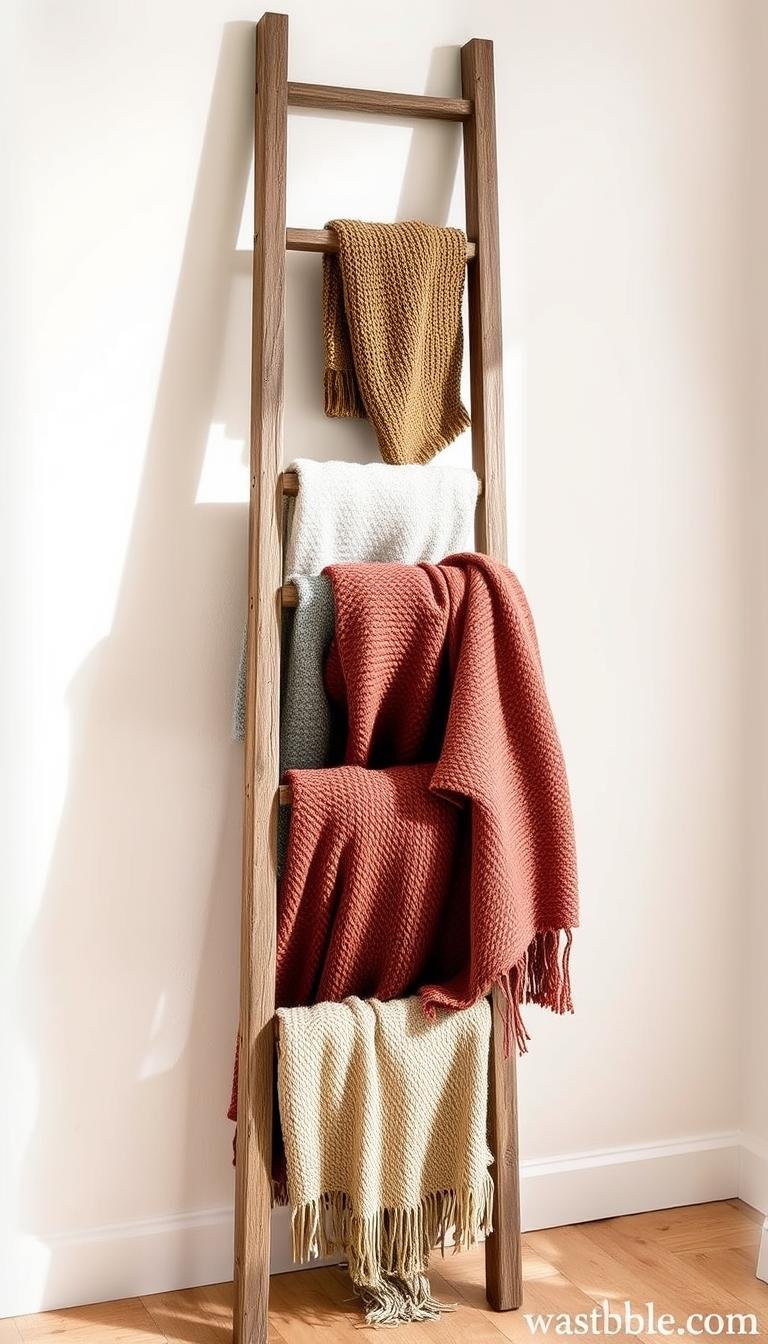
An old wooden ladder can become a stable blanket rack, but only after the frame is cleaned, inspected, and repaired. Any rot, cracked rungs, loose joints, protruding nails, or splintered wood should be dealt with before the ladder is used indoors.
For a decorative leaning blanket ladder, trim damaged leg ends square, smooth snag points, add felt pads where the wood meets the floor and wall, and use a discreet wall restraint so the piece cannot slide or tip.
Rung spacing around 12–14 inches gives folded throws and quilts room to drape without bunching. Structural joints should rely on appropriate fasteners and wood glue rather than decorative brads alone.
The steps below focus on stability, textile protection, and a clean decorative finish rather than treating an old ladder as ready-to-use furniture.
Key Takeaways
- Clean and dry the piece before starting repairs.
- Remove the top cap and trim rotten ends to improve the look and balance.
- Space rungs 12–14 inches for neat quilt display.
- Use strong fasteners, glue, countersinks, and plugs for durability.
- Add felt pads, brass caps, and a wall strap for floor and stability protection.
- Finish with stain and seal to preserve wood and protect textiles.
Plan your DIY blanket ladder project the right way
Before cutting or fastening anything, sketch the finished height and rung layout. A simple plan makes it easier to keep the proportions attractive while checking that the final piece will be stable in its intended location.
Define the goal: this is a decorative leaning blanket rack, not a climbable ladder. Choose the finished height and rung spacing to suit the wall, blankets, and room proportions rather than treating one dimension as universal.
Tools and materials depend on the frame
Fastener length, drill bits, glue, replacement wood, and finishing products should match the thickness and condition of the actual ladder. Structural joints need appropriate mechanical fastening and sound wood; decorative brads alone are not enough.
If the ladder has old painted surfaces, assess the coating before sanding or scraping. Vintage paint can contain lead, so use lead-safe practices when that risk is present.

How can I turn an old ladder into a blanket rack that doesn’t wobble?
Start by cleaning and drying the frame so soft wood, old fasteners, cracked joints, and snag points are easy to spot before any decorative work begins.
Clean and assess
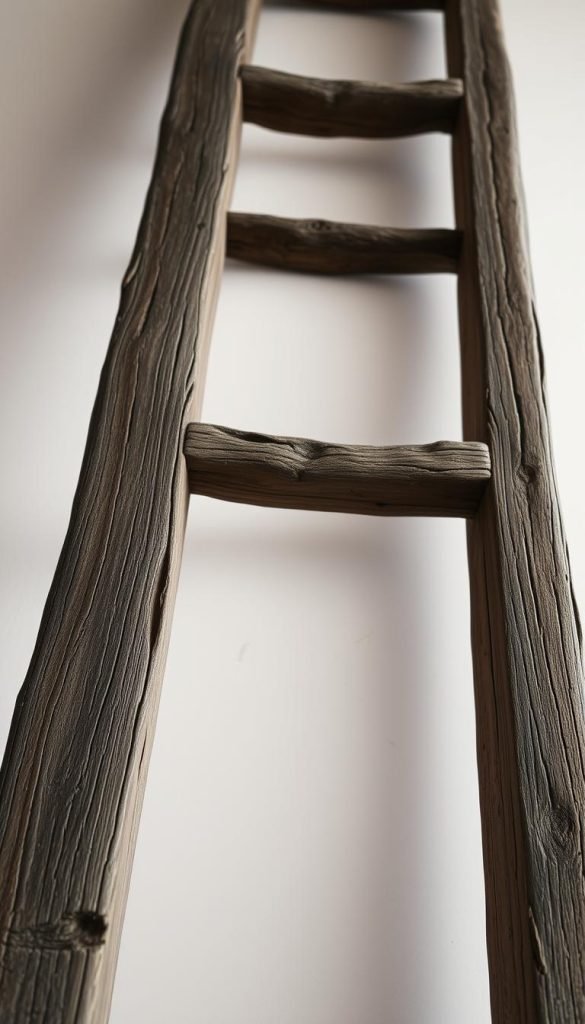
Remove surface dirt and let the wood dry fully before judging its condition. Check the rails, rungs, joints, and lower leg ends for rot, splits, loose fasteners, protruding metal, and snag points.
Deconstruct only as much as necessary
If an A-frame ladder is being converted to a single leaning section, separate components carefully so sound wood is not split or weakened in the process.
Repair or reject weak parts
Loose joints may be repairable; rotten, badly split, or structurally questionable wood should be replaced rather than cosmetically disguised. If extensive repair is needed, building a new decorative blanket ladder may be safer and easier.
Joinery, spacing, and final fit
Lay out the rung spacing to suit the blankets and overall height, then choose fasteners and glue appropriate to the wood thickness and joint design. Confirm the feet sit evenly and the rack leans predictably before finishing.
- Level feet and confirm lean before finishing.
- Add felt pads and optional back pads to protect walls.
- Use a discreet strap for zero-wobble peace of mind.
| Issue | Action | Tools/Parts |
|---|---|---|
| Dirty frame | Wash and dry, inspect | Hose, cloth |
| Loose or cracked rungs | Re-glue or replace | Glue, screws, clamps |
| Rot at feet | Trim and level | Saw, sandpaper, felt pads |
| Wobble | Adjust lean, add strap | Shims, wall strap |
Finish it without creating new hazards
Once the frame is structurally sound and any old-paint risk has been handled appropriately, smooth obvious snag points and choose a finish compatible with the existing surface.
Paint, stain, or preserve the existing character
A new stain requires bare, suitable wood; a painted vintage ladder may be better left intact or recoated rather than aggressively stripped. Follow the finish manufacturer’s preparation and cure instructions, especially before placing textiles against the surface.
Protect the blankets, floor, and wall
Make sure no sharp fasteners, rough edges, uncured coatings, or residue can contact fabric. Felt or other non-marking pads can protect the wall and floor, while a discreet anti-tip restraint helps prevent the rack from sliding or falling.
- Keep the rack decorative; do not use it for climbing.
- Use a restraint appropriate to the wall and finished rack weight.
- Do not hang delicate textiles until the finish is fully cured and no residue transfers.
Conclusion
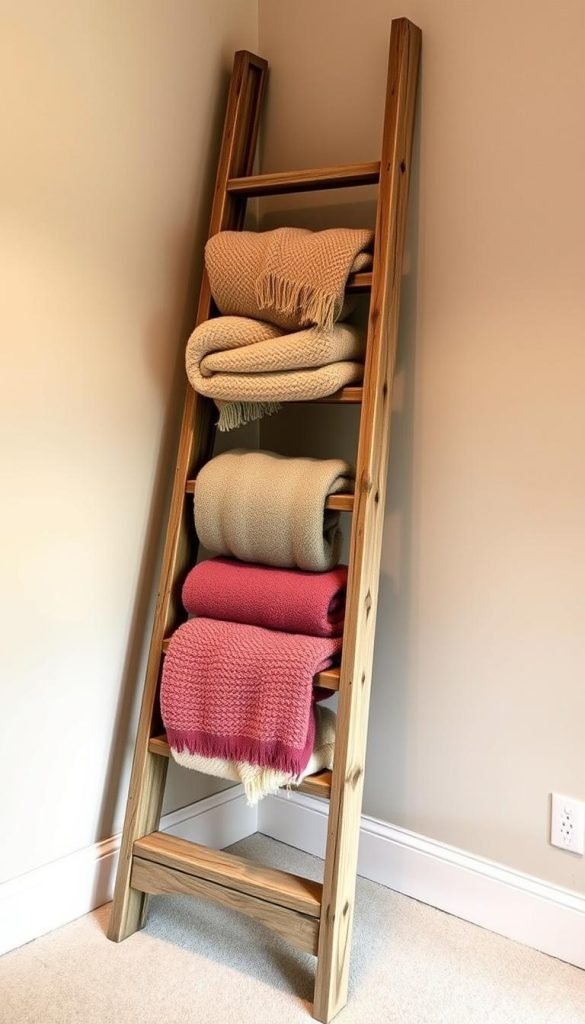
Final checks focused on fit and finish: level feet, even rungs, and a protective seal for the wood.
My checklist condensed the post into clear steps: clean and dry, remove the top cap, repair or replace soft spots, and set 12–14 inch spacing with vertical rungs.
I used predrilling, glue, countersunk screws, and neat dowel plugs for strong joins. Then add floor and wall protection as needed, and use a suitable anti-tip restraint so the decorative rack cannot slide or fall.
One last step was a thin coat of stain or paint and a sealer, then a quick fabric test so no dyes transfer to the blanket. This simple diy left me with a stable, stylish blanket ladder ready for everyday use.