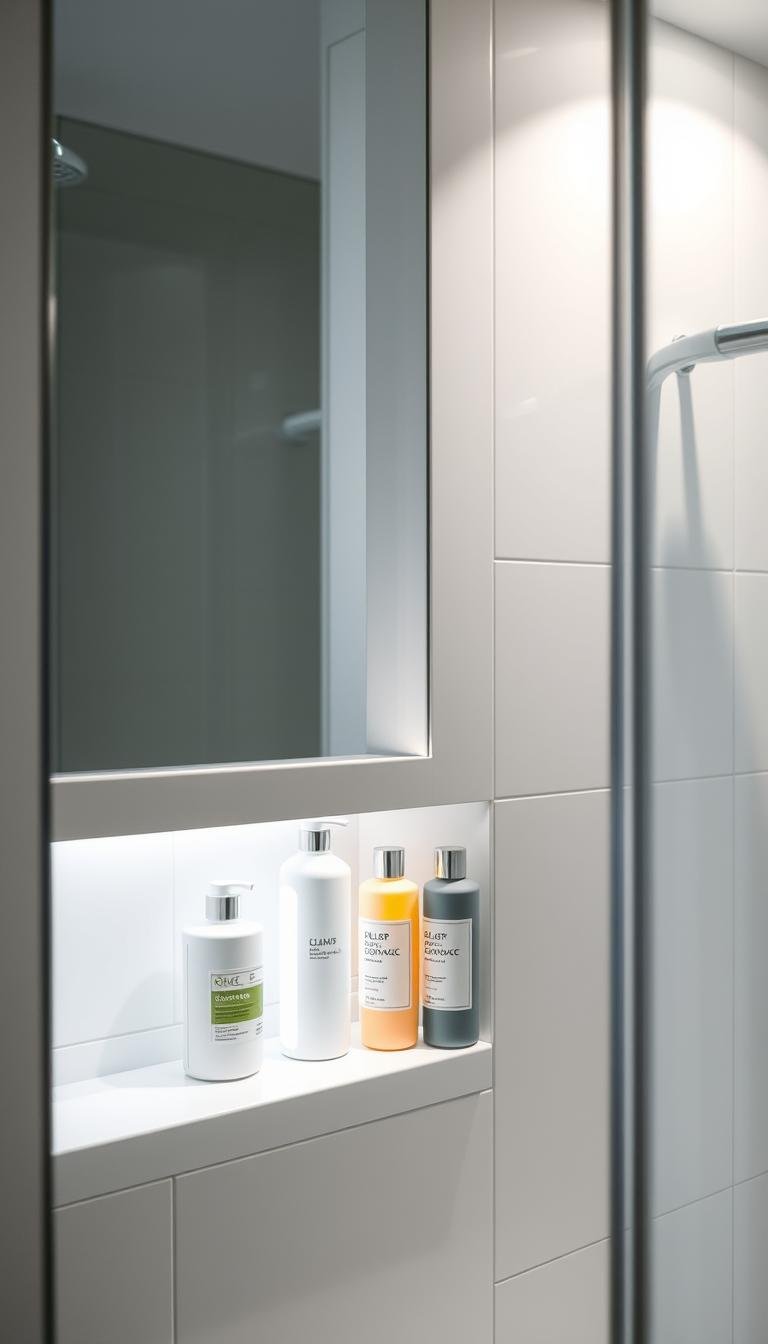
A good shower niche starts with the products it must hold and the wall system it must fit into. Size, placement, shelf layout and tile should be planned together with waterproofing rather than treated as a decorative cutout added late in construction.
The useful sequence is products → wall construction → waterproofing system → niche size → shelf layout → placement → tile module → edge detail → installation.
1. Measure the real products first
Do not design the niche around an abstract shampoo bottle. Measure the tallest pump bottle, widest container and any shared products that need to fit. Allow enough usable height for pumps to operate and enough depth for containers to sit securely.
For a more specific bottle-sizing example, see how to size a shower niche for full-size bottles.
2. Choose the wall carefully
Some walls contain plumbing, electrical work, insulation or structural framing that makes a niche difficult or inappropriate. Exterior walls can create additional thermal and moisture concerns depending on climate and construction.
Do not cut framing casually. Confirm the wall assembly and any structural implications before altering it.
3. Waterproofing is the critical system
A shower niche interrupts the wall plane and introduces several corners, seams and horizontal surfaces. It must be integrated into the shower’s complete waterproofing system using compatible materials and methods.
Follow the manufacturer’s installation details for the membrane, foam board, prefabricated niche or other system. Where local requirements or uncertainty apply, use qualified bathroom installation expertise.
4. Finished dimensions matter more than rough dimensions
Framing, backer, waterproofing, thinset and tile all reduce the final usable opening. Plan from the desired finished niche and work backward through the wall build-up.
This is especially important when a tall bottle barely fits on paper.
5. Decide between one opening and multiple shelves
A single tall opening offers flexibility but can leave small products scattered. A shelf can separate tall bottles from soap, razors and smaller containers. Multiple shelves work when their finished heights match the actual products.
Do not add shelves simply for symmetry if they make the useful openings too short.
6. Vertical, horizontal and corner niches
| Type | Useful when |
|---|---|
| Vertical niche | You want multiple shelf heights in a narrow stud bay. |
| Horizontal niche | The wall structure and waterproofing plan support a wider opening and several users need access. |
| Corner shelf or corner niche | A full framed niche is impractical and compact storage is enough. |
| Prefabricated niche | You want a system component designed to integrate with a particular waterproofing approach. |
7. Place the niche where it is easy to reach
Consider who uses the shower, whether people stand or sit, and where water spray lands. The niche should be reachable without awkward bending or turning into the stream.
In a shared shower, one taller vertical niche can serve users of different heights better than several small openings placed only for visual symmetry.
8. Coordinate the niche with the tile layout
Tile lines can make a niche look intentional or visibly improvised. Before setting the niche height, draw the proposed tile module on the wall and see where grout joints, trims and shelves will land.
Do not sacrifice usable niche dimensions merely to force perfect tile symmetry, but coordinate both goals early enough that they do not fight each other.
9. Plan the sill and shelves to shed water
Horizontal niche surfaces should be detailed so water does not sit against corners or edges. The waterproofing and tile installation need to follow the system manufacturer’s guidance for slope and drainage.
Solid-surface shelves can reduce grout joints, while tiled shelves may integrate more quietly with the wall. Material suitability still depends on the exact product and installation.
10. Edge details affect the finished look
Metal trim, bullnose tile, mitered edges and slab returns can all finish the niche perimeter. Choose the approach before tile is ordered because not every tile line includes matching edge pieces.
Use the Materials & Finishes Guide for broader tile and material planning.
11. Keep the niche visually calm
The niche is primarily storage. If every bottle is brightly branded, a quieter tile or simple shelf arrangement can help the shower feel less cluttered. Decant products only when it is safe and practical to retain required labels and instructions.
Shower niche checklist
- Real products have been measured.
- The wall is suitable for the opening.
- The niche is integrated with the waterproofing system.
- Finished dimensions are calculated after all wall layers.
- Shelves match actual bottle heights.
- Placement is comfortable for the users.
- Tile and edge details are coordinated before installation.
- Horizontal surfaces are detailed for water management.
Next: use the Bathroom Design Guide, Bathroom Vanity Guide and Bathrooms library.