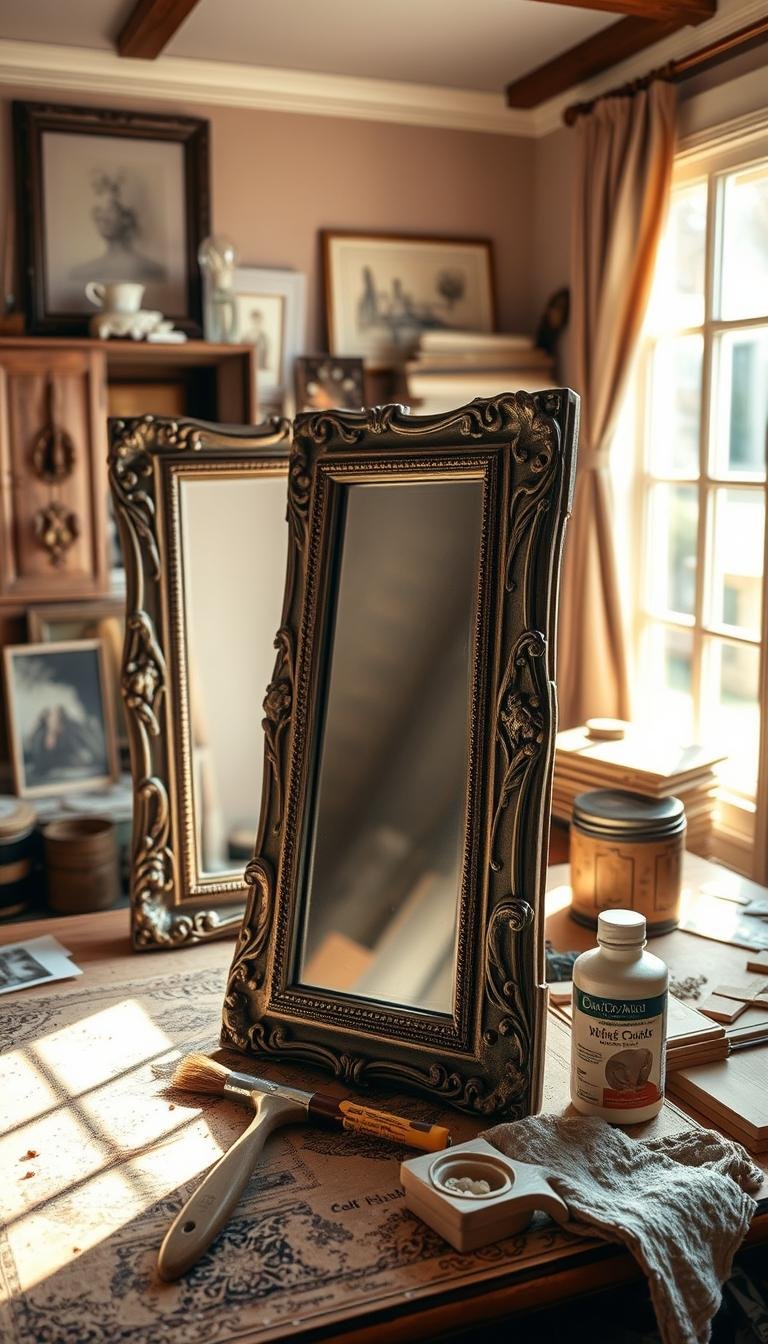
A builder-grade sheet mirror can be made to look more finished with a frame, but the safest retrofit starts by identifying how the mirror is mounted and keeping its existing support system intact. The frame is decorative; it should not accidentally become the component holding the mirror on the wall.
The useful relationship is existing mirror → mounting method/clips → wall and edge clearances → frame material → attachment method → bathroom humidity → finish.
First, identify how the mirror is supported
Look at the top, bottom and sides of the mirror. Common installations may use visible clips, channels, concealed mirror mastic or a combination of support methods.
Do not remove clips simply because they interfere with a decorative frame. They may be part of the mirror’s required support. If the mirror mounting is unclear, loose or damaged, have a mirror/glass professional inspect it before adding trim.
Choose between a purpose-built frame and a custom trim frame
| Approach | Best when | Main check |
|---|---|---|
| Purpose-built mirror framing system | You want a straightforward retrofit around an installed mirror | Compatibility with mirror dimensions and clips |
| Custom wood/PVC/composite trim | You want a specific profile or antique-style finish | Attachment method, moisture and edge clearances |
| Separate new framed mirror | The existing mirror is damaged, poorly positioned or insecure | Safe professional removal and new mounting |
A retrofit framing kit can reduce guesswork because its attachment method is designed around an existing mirror. Custom trim gives more design freedom but requires more careful planning.
Measure the outside mirror dimensions and every obstruction
Measure the full width and height of the installed glass. Then record:
- mirror clips or channels;
- distance to adjacent walls;
- backsplash height;
- faucet projection;
- sconces or vanity light;
- outlets and switches;
- cabinet or door swing;
- uneven gaps between mirror and wall.
The frame profile has to clear all of these. A wide ornate molding can look attractive on a workbench but crowd a faucet, outlet or light fixture once installed.
Do not notch away structural mirror support casually
If visible clips project beyond the glass, either choose a framing system designed to accommodate them or use a frame profile/spacing method that clears them.
Avoid chiseling large recesses into trim while it is held against installed glass, and do not remove mirror clips unless the mirror mounting system has been evaluated and an appropriate alternative support method is provided.
If adhesive touches the mirror, use a mirror-compatible product
Some adhesives can damage mirror backing or fail on glass. If the chosen framing system requires bonding to the mirror, use only an adhesive that its manufacturer specifically approves for mirrors and the frame material.
Follow the published bead placement, curing, surface-preparation and ventilation instructions. Adhesive should not squeeze into the visible reflective area.
Where a frame can be attached to the wall around the mirror instead, that can keep the decorative frame independent from the glass—but the wall construction and frame design still need suitable fasteners.
Account for the reflection at the frame edge
A raw, unfinished back edge can be visible in the mirror reflection. Before installation, finish the back/inside edge that may appear reflected.
This is especially important with thicker molding or frames that sit slightly proud of the glass.
Choose a frame material for bathroom conditions
The area above a vanity can experience humidity and occasional splash. Compare:
- solid wood: warm and easy to customize, but needs an appropriate finish;
- moisture-resistant composite/PVC trim: stable in humid conditions, though profiles and paint compatibility vary;
- metal framing systems: thin and durable when designed for the application.
Standard MDF can swell if exposed edges absorb moisture. If a composite material is used, follow its manufacturer’s bathroom and finishing guidance rather than assuming any painted board is moisture proof.
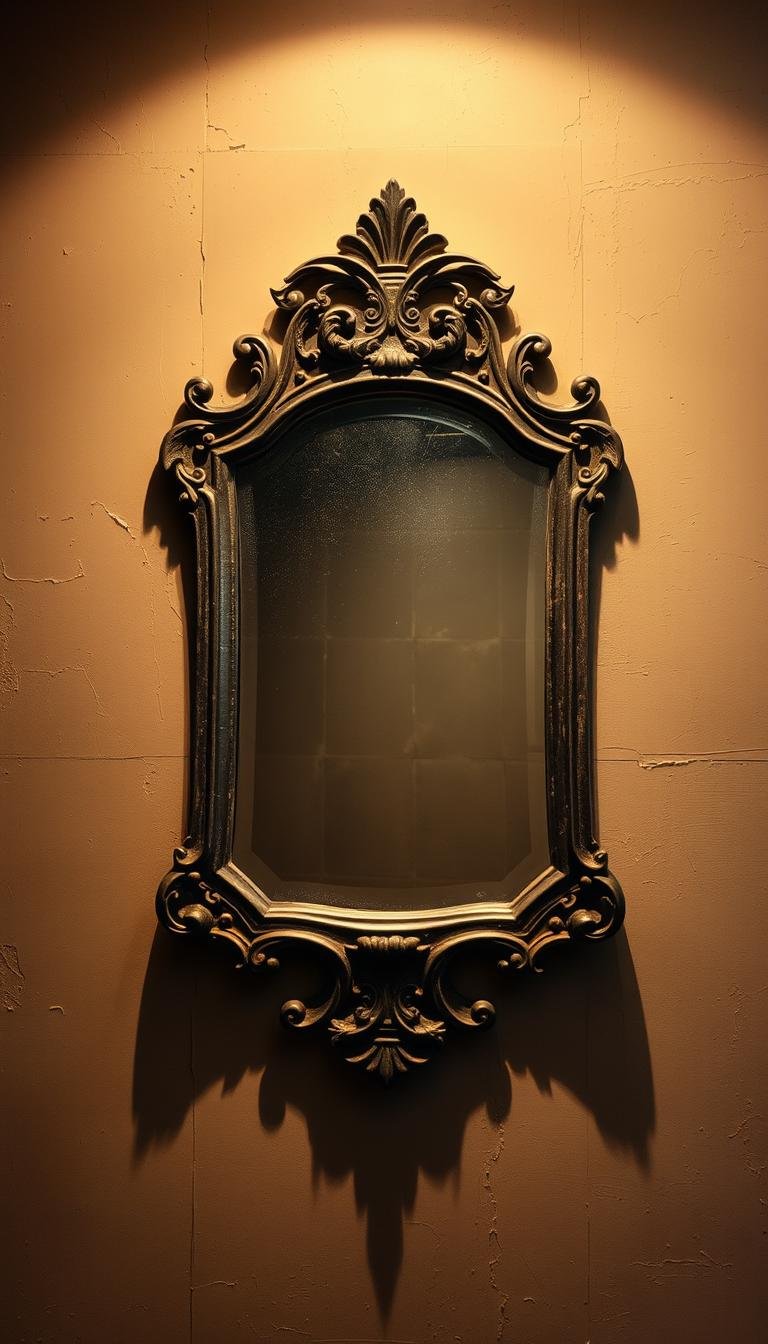
Create an antique look with shape and color—not fake structural wear
An antique-style frame can come from:
- a traditional molding profile;
- aged brass, bronze or warm metal tones;
- muted painted wood;
- layered paint/glaze products intended for the substrate;
- soft ivory, charcoal, deep green or wood-tone finishes.
You do not need to aggressively gouge or damage the material to make it look older. Keep corners, joints and mounting surfaces structurally sound.
Test the finish away from the mirror
Cut, assemble and finish as much of the frame as practical away from the installed glass. This keeps sanding dust, paint overspray and finish chemicals away from the mirror, faucet and countertop.
Follow the coating manufacturer’s curing instructions before installation. A finish that feels dry to the touch may not be fully cured.
Mitered frame or simple butt joints?
Mitered corners suit traditional molding profiles and make the frame read like a conventional picture frame. They demand accurate cutting and assembly.
Butt-jointed boards can create a simpler craftsman-style frame and are easier to fabricate from straight stock.
Choose the joint style based on the frame profile. The visual goal matters more than making the project artificially “beginner” or “advanced.”
Should you remove the mirror first?
Usually not just to add a frame. Large builder mirrors can be heavy, and the removal method depends on whether they are clipped, channel-mounted or bonded to the wall.
If the mirror needs removal because it is damaged or positioned poorly, use a glass professional or another qualified installer—especially when the mirror is large or bonded with mastic. Do not treat removal as a casual step in a decorative framing project.
Coordinate the frame with the vanity wall
The frame should connect visually to the vanity, faucet, sconces, cabinet hardware, countertop and wall finish.
You can:
- repeat a warm metal finish from the faucet or lighting;
- use a wood tone related to, but not necessarily identical to, the vanity;
- use a dark frame to define a pale tile or painted wall;
- use an ornate profile against a relatively quiet wall finish.
If the wallpaper or tile is already highly patterned, a simpler frame often works better than adding another elaborate element.
Check the mirror after installation
Once the decorative frame is installed, confirm:
- the original mirror supports remain secure;
- the frame does not push or twist the glass;
- no adhesive has entered the visible area;
- corners and joints are stable;
- the frame clears fixtures and outlets;
- the finished surface can be cleaned without saturating exposed edges.
When framing is the wrong fix
Replace or professionally address the mirror instead if:
- the glass is cracked or badly desilvered;
- the mirror is loose;
- the wall support is uncertain;
- the mirror is significantly too large/small for the vanity;
- clips or channels are damaged;
- adding a frame would obstruct lighting or electrical devices.
A practical project sequence
- Identify the existing mounting system.
- Measure the mirror and nearby fixtures.
- Choose a purpose-built system or custom frame approach.
- Select a bathroom-suitable material.
- Mock up the profile around the mirror.
- Cut and finish pieces away from the installed glass.
- Use the approved wall or mirror attachment method.
- Keep the original mirror support intact unless professionally redesigned.
- Inspect the completed frame and glass.
The Dwelanor approach
Frame the mirror without turning a decorative upgrade into a glass-support experiment. Preserve the mirror’s safe mounting, use compatible materials and attachment methods, and let the molding profile and finish provide the antique character.
For related decisions, see our bathroom vanity mirror styles, 48-inch vanity mirror sizing guide, old-window bathroom mirror guide, and heavy mirror mounting guide.