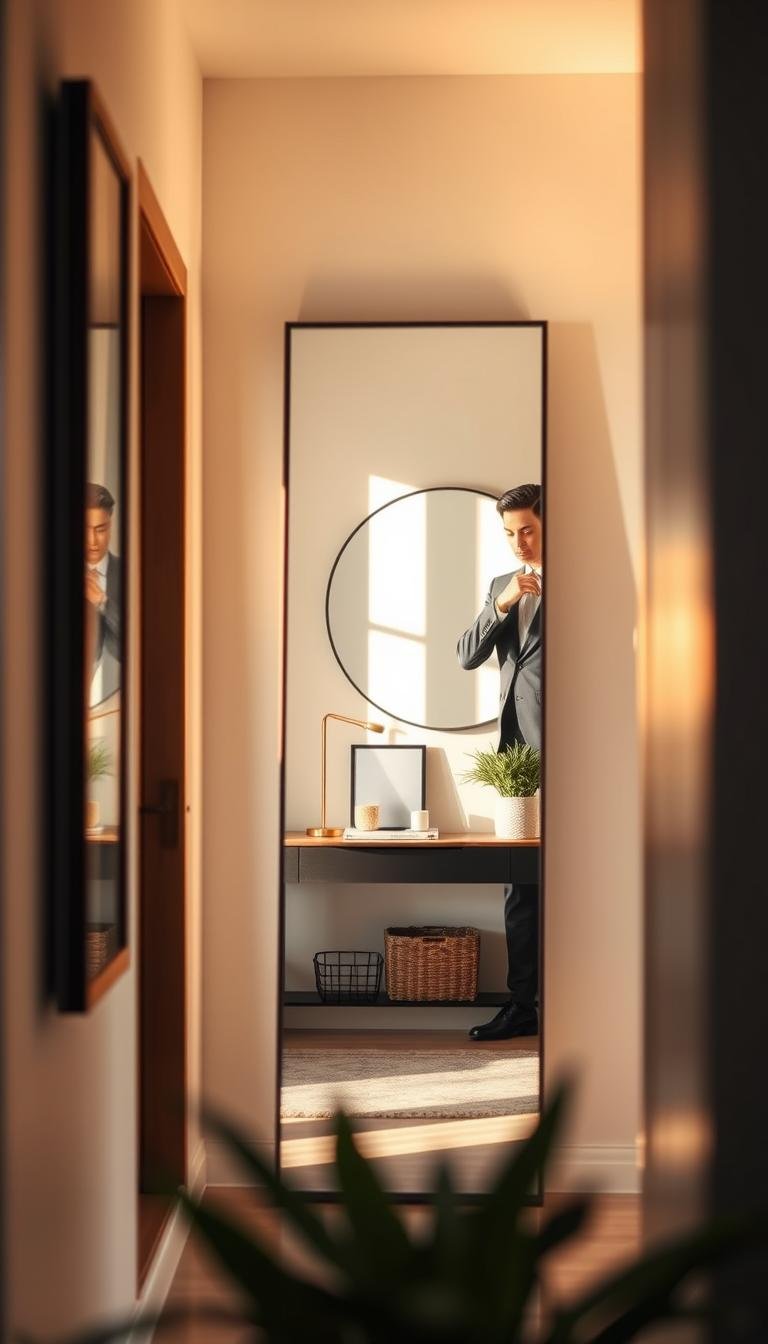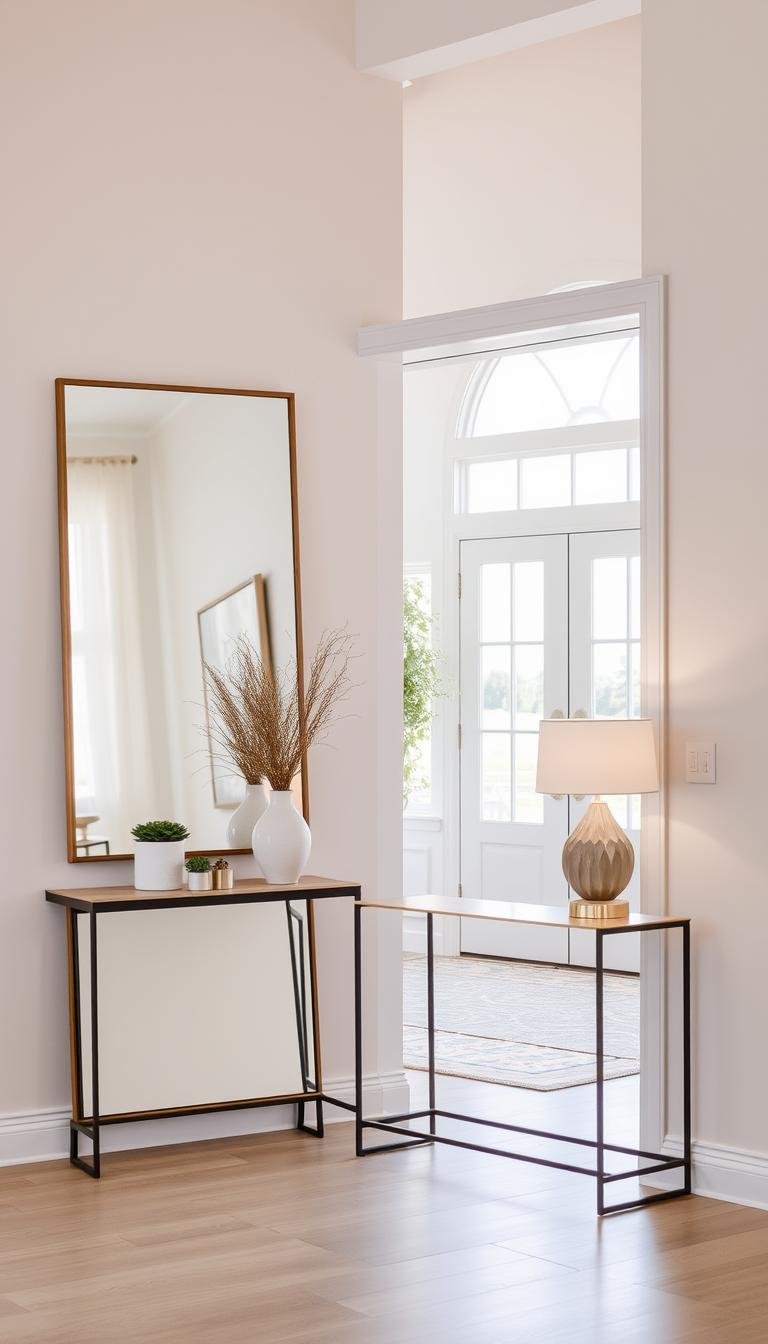
For a full-length mirror in an entryway, start with what the mirror needs to show, not with a fixed center height. A useful full-length mirror should let regular users see their outfit comfortably while fitting the wall, clearing nearby furniture and doors, and mounting securely for its actual weight.
The most useful relationship is mirror height → user sightline → bottom-edge position → wall width → nearby furniture → traffic path → mounting system.
Start with the full reflection you actually need
A full-length mirror works when the user can see from head to roughly shoe level from a natural standing position. Because mirrors reflect angles, the glass does not have to start at the floor to show the entire body.
Instead of applying one universal bottom-edge height, test the real mirror or tape out its dimensions on the wall. Stand where you will normally check your appearance and confirm that the tallest and shortest regular users can see what they need.
Bottom-edge height matters more than a generic centerline
For a tall mirror, the bottom edge usually determines whether shoes and lower legs are visible. A mirror mounted very high can still look balanced but fail as a full-length mirror.
Mock up several bottom-edge positions and check:
- whether shoes remain visible;
- whether the frame clears baseboards;
- whether the mirror feels crowded by a console or bench;
- whether floor cleaning remains practical;
- whether children or pets are likely to strike the lower frame.
The best position is the lowest practical placement that gives a useful reflection without creating a collision or mounting problem.
Measure the mirror’s outside dimensions, not just the glass
A thick wood or metal frame changes both the visual size and the mounting points. Record:
- overall outside height and width;
- glass dimensions;
- frame depth;
- finished weight;
- location of D-rings, cleat, brackets or other supplied hardware.
Use the overall frame size when checking wall proportion and door clearance. Use the manufacturer’s hardware layout when marking the actual mounting points.
Entryway placement is a circulation decision
Entryways are transition zones. A mirror can be perfectly proportioned and still be a bad installation if it narrows a walkway, catches an opening door, or sits where bags and coats repeatedly hit it.
Check the mirror against:
- front-door swing;
- closet doors;
- bench or console depth;
- coat hooks;
- shoe storage;
- stair landings;
- the main walking path.
If the wall is narrow, a slim vertical mirror is usually more useful than a very wide frame that reduces usable circulation.
Above a console table: treat the mirror and furniture as one composition
When a full-length mirror is above or beside a console, the relationship between the two matters more than a fixed “6-inch rule.”
Ask:
- Is the mirror supposed to function as full-length, or mainly as an entryway focal point?
- Does the console block the lower reflection?
- Does the mirror width feel proportionate to the furniture?
- Are lamps, trays or tall objects likely to cover the useful reflective area?
If full-body viewing is the priority, mounting the mirror beside the console often works better than directly above it.
Beside a bench: protect the lower frame
A bench creates a useful drop zone but also adds bags, shoes and daily movement near the mirror. Leave enough separation that the frame is not constantly bumped when people sit down or put on shoes.
A narrow mirror beside the bench can visually stretch the entry while keeping the reflection clear. If the bench is centered below the mirror, check that seated users do not hit the frame when standing.
Use painter’s tape before drilling
Tape the full outside dimensions of the mirror onto the wall. Then stand at the entry door, at the typical viewing position, and from nearby rooms.
This helps you judge three things at once:
- Function: Can users see what they need?
- Scale: Does the mirror feel too small or too dominant on the wall?
- Flow: Does it interfere with doors, furniture or movement?
Move the tape outline before moving the real mirror. A five-minute mock-up is easier than patching several sets of holes.
Do not use eye-level rules designed for artwork
Advice such as “hang the center at 57–60 inches” is often intended for artwork, not full-length mirrors. A tall mirror has a different job.
Center height can be useful for checking visual balance, but full-body visibility, mirror dimensions and user height should determine the final position.
Mirror shape changes the perceived height
A tall rectangle gives the most predictable full-body reflection. An arched top can add vertical emphasis while keeping the lower section practical. Rounded and organic shapes can work too, but the usable reflective width may narrow toward the edges.
| Mirror type | Main strength | What to check |
|---|---|---|
| Tall rectangle | Maximum predictable reflection | Door and furniture clearances |
| Arched full-length | Softens an angular entry | Overall height and top clearance |
| Leaning mirror | Relaxed look, easy visual placement | Tipping risk and manufacturer anchoring requirements |
| Organic/asymmetrical | Decorative focal point | Usable reflective area and mounting orientation |
Leaning mirrors still need a safety plan
A large leaning mirror can look casual, but it should not simply rest unsecured in a busy entry. Follow the mirror manufacturer’s anti-tip or anchoring instructions.
Entries see bags, children, pets, vacuum cleaners and frequent foot traffic. A heavy glass object that can slide or tip is not worth the aesthetic shortcut.
Mounting depends on the full support chain
The correct hanging method depends on the mirror’s finished weight, supplied frame hardware, wall construction and fasteners. Do not assume one drywall anchor or generic screw is appropriate for every full-length mirror.
The support chain is:
mirror/frame → frame attachment points → hanging hardware → fasteners → wall structure.
Each part must be compatible with the others. When the mirror is large, heavy, unusually shaped, or mounted in an awkward location, use a second person or qualified installer for the final lift.
French cleats can simplify large-mirror alignment
A compatible French cleat can distribute support across a wider horizontal line and make final alignment easier. It still has to be correctly attached to both the mirror frame and the wall using hardware appropriate for the load and substrate.
Do not add a cleat to a frame unless the frame can safely accept it. Follow the mirror maker’s instructions when a mounting system is supplied.
Use the reflection to improve the entryway
Before choosing the wall, look at what the mirror will reflect. A mirror can visually brighten an entry when it picks up daylight, a lamp, artwork or an attractive view into another room.
It can also reflect clutter, an open bathroom door, exposed storage or a harsh light source. Check the reflection from normal standing height before drilling.
Small entryways: use the mirror to create depth without clutter
In a narrow entry, a tall mirror can create more visual depth than several small decorative objects. Keep surrounding styling restrained so the wall does not become visually crowded.
Useful pairings include:
- a slim mirror + narrow console;
- mirror + low shoe bench;
- mirror + one wall sconce outside the frame clearance;
- mirror + shallow key tray or drop zone.
For more narrow-space planning, see our narrow hallway guide.
Full-length mirror vs. decorative entry mirror
These are related but different intents. If the mirror’s main job is checking an outfit, prioritize complete usable reflection. If it is mainly decorative above a console, proportion and composition can take priority.
Trying to make one small mirror perform both jobs often creates compromise. In a larger entry, a decorative console mirror and a separate full-length mirror can work better than forcing one piece to do everything.
Continue with our guides to hanging a heavy mirror safely, preventing frame marks, creating a front-door drop zone, and the Dwelanor Room Guides.