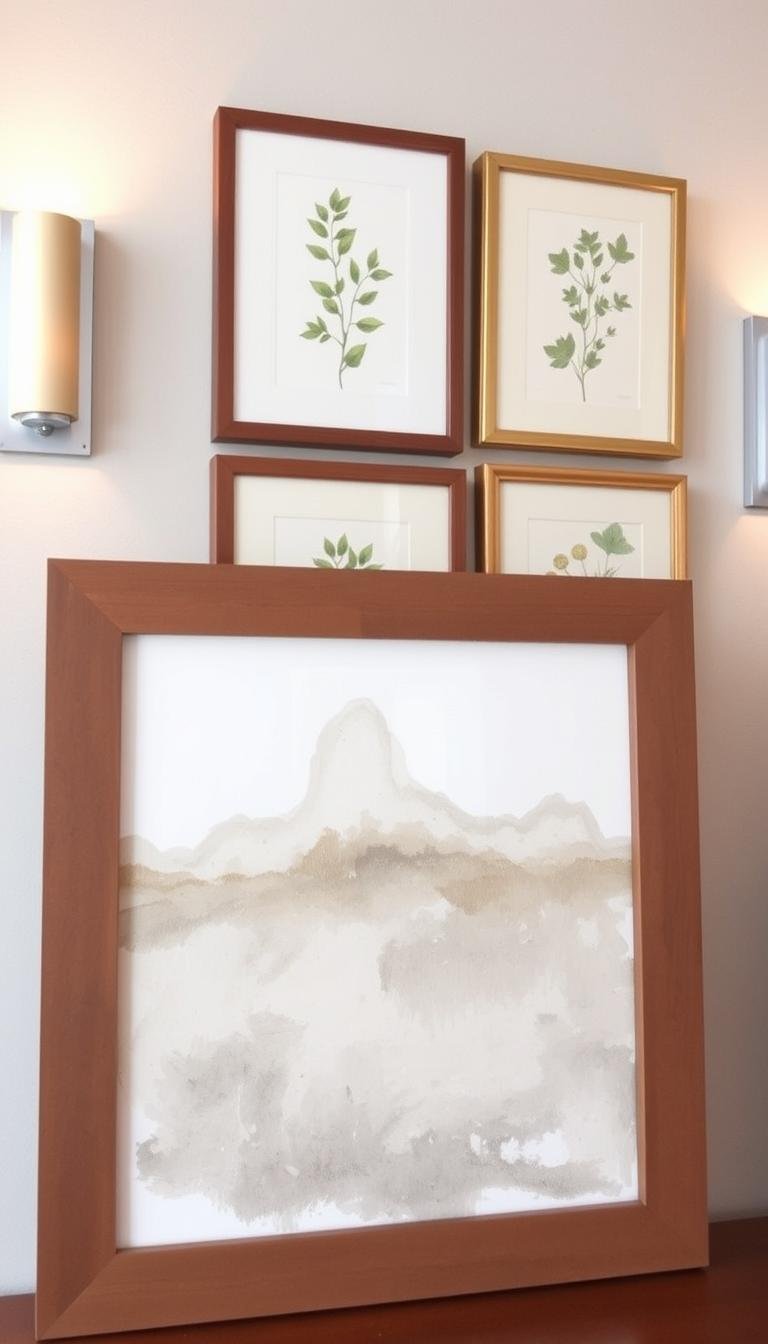
Black or dark outlines behind picture frames usually come from dust and friction at the contact points, or from the exposed wall changing color differently from the area covered by the frame. Start by identifying which problem you have before cleaning or repainting.
If the mark is surface dirt, dust first, then spot-test a microfiber cloth with warm water and a mild detergent. Wipe gently, rinse with a clean damp cloth, and pat dry so the paint finish is not abraded.
If the color difference remains after cleaning, the surrounding paint may have changed with age or light exposure. In that case, matching paint and a careful feathered touch-up may be more effective than more aggressive cleaning.
For prevention, add small rubber or felt bumpers behind the frame, use hardware appropriate to the frame weight, and reduce movement so the back edge cannot repeatedly rub the wall.
Why picture frames leave marks on walls
A quick surface check and a look at the room’s light exposure usually narrow down the cause. The two most common possibilities are surface grime from repeated contact or a color difference caused by the exposed paint aging differently from the area hidden behind the frame.
Surface dirt vs. color change
If a gentle clean removes the dark outline, surface dirt or friction is the likely cause. If the covered area still looks noticeably different afterward, the exposed paint may simply have changed color with age and light exposure.
Quick inspection checklist
- Test with a fingertip or microfiber to spot dust on the wall.
- Check the paint sheen and finish, because cleanability and visible rubbing vary by product.
- Map how much direct light hits the area through the day.
- Examine contact points where wood or metal frame edges meet the wall for scuffs.
- Try a small clean in an inconspicuous spot; if shade stays different, plan for primer and repaint.
How to stop picture frames from marking walls
Small buffers and stable hanging hardware reduce rubbing at the contact points. The goal is to keep the frame from shifting against the paint while using hardware appropriate to the frame weight and wall construction.
Protective buffers: Small rubber, silicone or felt bumpers on the lower back corners can reduce friction and keep hard frame edges off the wall.
Appropriate hanging hardware: Match hooks, anchors or fasteners to the frame weight and the wall substrate. Heavier frames and mirrors may need attachment into studs or another suitable structural support.
Flexible display systems: Picture rails and gallery tracks can reduce repeated holes when artwork moves frequently. Adhesive products should only be used within the manufacturer’s stated weight and surface limits.
Reduce movement over time
Use a hanging method that keeps the frame stable and level rather than allowing it to swing or rub against the wall. Wide or heavy frames may benefit from two contact points or purpose-built stabilizing hardware.
- Wipe dust from bumpers and frame contact points periodically so grit does not abrade the paint.
- Clean and dry the surface before using any adhesive product, and follow the manufacturer’s surface-preparation instructions.
Step-by-step fixes for existing marks
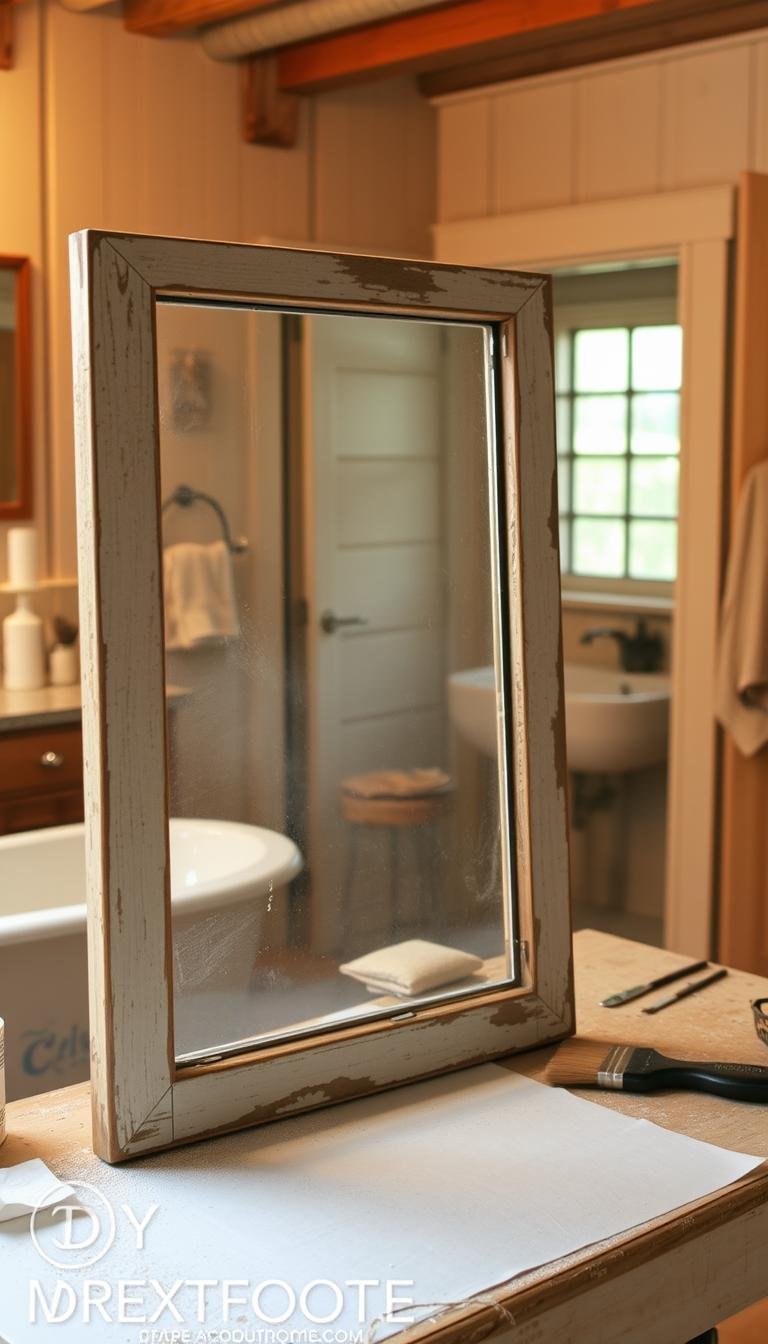
Start with the least aggressive treatment. Remove the frame and nearby hardware, then dust the covered wall with a dry microfiber cloth so you can see whether the outline is loose dirt, scuffing or a true color difference.
Gentle clean first: mild detergent, microfiber cloths, and spot testing
Mix a small amount of mild detergent with warm water. Lightly dampen a clean cloth and test in a hidden spot. If the paint reacts, stop and rethink.
Wipe the marked area gently without scrubbing. Rinse with a second damp cloth to remove soap, then pat dry. Check in natural light before moving on.
When UV discoloration shows: prime and repaint, plus feathering for better blend
If the shade difference remains after cleaning, treat it as UV-related fading. Clean and let the area dry thoroughly.
Spot-prime the patch, then apply matching paint in thin coats. Feather the edges outward so the transition blends smoothly. Allow each coat to dry before deciding on another.
Color matching when the original paint is unavailable
If leftover paint is gone, use a small sample from an inconspicuous area if the paint retailer offers color matching. A photo can help with a rough match, but lighting and camera processing make it less reliable than a physical sample.
Even a good color match can look different if the existing wall paint has aged or if the sheen is not identical, so test a small area before committing to a larger touch-up.
- Fill small holes with lightweight spackle and sand smooth before priming.
- Protect adjacent wood trim with tape for clean edges.
- Reinstall hanging hardware with bumpers to prevent future rubbing.
| Step | Action | Why it matters |
|---|---|---|
| 1 | Remove frame and dust area | Reveals whether grime or fading caused the outline |
| 2 | Gentle clean, rinse, dry | Removes dirt without harming paint |
| 3 | Prime and feathered repaint | Seals and blends faded patches |
| 4 | Color match or chip to counter | Ensures the new paint fits surrounding finish |
For more display and wall-planning ideas, see our guide to adhesive strips for heavier frames, our guide to keeping gallery wall frames level, and the Dwelanor Room Guides.