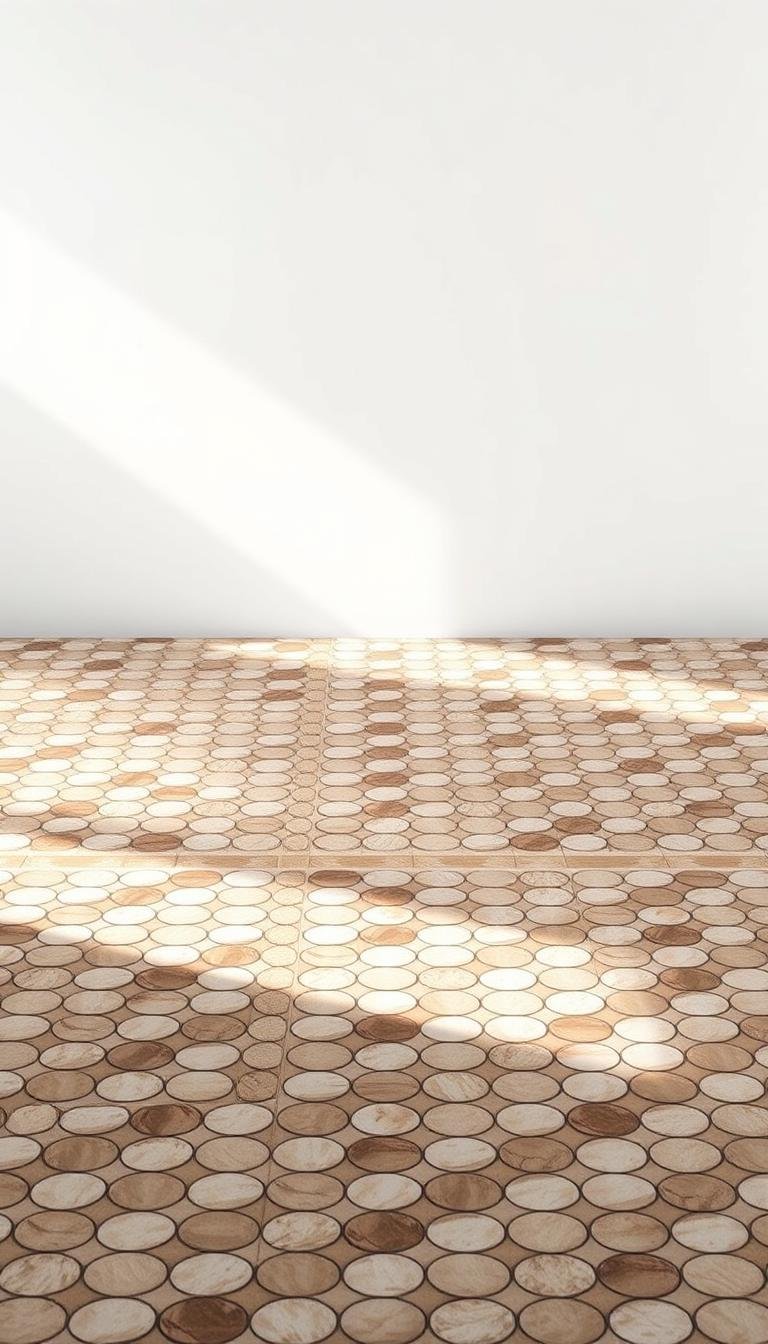
Peel-and-stick flooring can create the visual rhythm of penny-round mosaic, but the convincing options are floor-rated products with a small repeating pattern, restrained simulated grout lines and a finish that does not look like a glossy printed sticker. It will not be identical to real penny tile, but it can echo the scale and graphic effect in a lower-complexity floor finish.
The useful relationship is floor product → floor-use rating → printed pattern scale → substrate → adhesive system → room exposure → wear/cleaning → finished visual effect.
First, confirm that the product is actually flooring
Many peel-and-stick sheets with penny, hex or mosaic graphics are designed only for walls and backsplashes. A wall sticker should not be assumed suitable underfoot.
Before comparing colors, verify the manufacturer describes the product for the intended floor application and publishes requirements for:
- approved substrates;
- room/use limitations;
- installation temperature;
- surface preparation;
- cleaning;
- wear or warranty coverage where provided.
If floor use is not clearly documented, remove the product from the shortlist.
What makes a printed floor look more like penny-round mosaic?
Real penny tile creates many small circular units separated by grout. A printed or embossed resilient floor has to suggest that structure on a much larger manufactured tile or plank.
Compare these attributes:
- Circle scale: smaller repeated circles generally read closer to true penny mosaic.
- Repeat size: a large obvious repeating block can reveal the printed-sheet effect.
- Simulated grout: subtle grout lines look more convincing than thick high-contrast outlines.
- Sheen: lower-gloss finishes often look less like printed plastic.
- Color variation: slight variation can add depth, but excessive faux texture can make the pattern look artificial.
View samples from standing distance
A close-up product image can make any printed pattern look detailed. The real test is how the floor reads from several feet away once the pattern repeats across a room.
Order a sample when possible. Place several repeats together on the existing floor and view them from the doorway. Look for obvious seams, repeated “special” dots and large pattern blocks that reveal the print.
Black-and-white vs tonal penny-round effects
Black and white creates the strongest graphic effect and can suit retro, traditional or high-contrast rooms. It also makes alignment and repeat inconsistencies more visible.
Gray, cream, beige or low-contrast patterns are easier to integrate with wood vanities, warm walls and quieter rooms because the floor reads as texture rather than a dominant grid.
Choose the contrast level based on the rest of the room, not simply on how “real” the faux grout appears in a thumbnail.
Know what material you are buying
“Peel-and-stick” describes the installation method, not one universal floor material. Products can differ in vinyl construction, thickness, surface layer, backing and adhesive.
Compare the current manufacturer specifications for the exact product rather than treating all self-adhesive flooring as equivalent.
| Attribute | Why it matters |
|---|---|
| Overall thickness | Affects transitions and how strongly subfloor imperfections may telegraph |
| Surface/wear construction | Influences scuffing, cleaning and product durability |
| Tile/plank dimensions | Determines seam frequency and pattern repeat |
| Adhesive system | Determines substrate prep and installation conditions |
| Approved rooms | Defines where the manufacturer supports the product |
Subfloor condition matters more than the pattern
Self-adhesive flooring needs a substrate that meets the product’s requirements. Dust, grease, loose coatings, deep grout joints, moisture problems and uneven surfaces can interfere with adhesion or show through the finished floor.
Do not assume you can install directly over every old floor. The manufacturer may require removal, patching, leveling, priming or another preparation step depending on the substrate.
If the existing material may contain asbestos or another hazardous material, do not sand, grind or aggressively remove it without an appropriate assessment and work plan.
Be cautious over existing tile
Installing over ceramic or porcelain tile can be possible for some products, but deep grout joints and lippage can telegraph through a thinner resilient finish.
Follow the new flooring manufacturer’s instructions for existing tile. If leveling or patching is required, use products compatible with the substrate and adhesive system.
Bathrooms: “water resistant” does not mean shower-floor safe
A self-adhesive resilient tile may be approved for ordinary bathroom floors while still being unsuitable inside a shower or another continuously wet assembly.
Do not make a non-approved floor suitable for a wet zone by adding perimeter caulk or another improvised seal. Use the product only in locations the manufacturer explicitly permits.
For a full bathroom floor, also consider the toilet flange, doorway transition, vanity footprint and how water from the tub or shower is normally contained.
Kitchens, laundry rooms and entries
These spaces can expose a floor to grit, dropped objects, rolling loads, appliance movement and repeated cleaning.
Check:
- whether the product is approved for the room;
- cleaning-product limitations;
- whether appliances may be installed or moved over it;
- floor protection under heavy furniture;
- transition requirements at adjacent floors.
A visually convincing penny pattern is not useful if the floor system does not suit the room.
Pattern alignment deserves a dry layout
Before peeling any backing, lay out several pieces and identify how the printed circles cross the tile edges.
Use a straight reference line based on the room geometry and product instructions. A small alignment error can become obvious in a highly regular dot pattern.
Also check whether pieces are directional. Rotating one tile may interrupt the simulated grout pattern even if the outside dimensions still fit.
Cutting around toilets and door jambs
Follow the flooring maker’s recommended cutting tools and technique. Use templates where useful around complex curves instead of repeatedly trimming installed material.
Do not rely on decorative caulk to conceal large cutting gaps. The finish should meet fixtures and transitions according to the flooring and installation requirements.
Is peel-and-stick flooring renter friendly?
Do not assume removability from the words “peel and stick.” Adhesives can bond differently to paint, old flooring, concrete, plywood and other substrates, and removal can leave residue or damage a weak underlying finish.
If this is a rental:
- check the lease and obtain approval where required;
- confirm the manufacturer’s removal guidance;
- test a sample on the actual substrate if practical;
- document the original floor condition.
A floor product designed for permanent installation should not be marketed as damage-free merely because it uses pressure-sensitive adhesive.
How much should you order?
Measure the room area and use the manufacturer’s carton coverage and layout guidance. Pattern alignment, cuts and room shape create waste, so allow extra material based on the actual plan rather than applying one universal percentage.
Buying enough from the same production run can also reduce the chance of small visual differences between batches.
What if no convincing penny-round floor product exists?
Do not force a substitute that no longer matches the design goal. Small hexagons, checkerboards and star patterns may be attractive, but they are different visual entities.
If the penny-round look is important, compare:
- floor-rated resilient products with a genuinely small circle repeat;
- real porcelain or ceramic penny mosaic installed as part of an appropriate floor system;
- a simpler resilient pattern if budget or installation constraints make real mosaic impractical.
How to style a penny-look floor
A small-scale floor pattern already creates movement. Keep nearby materials comparatively quiet:
- simple vanity fronts;
- restrained wall color or tile;
- one or two repeated metal finishes;
- plain textiles rather than multiple competing small patterns.
In a small bathroom or powder room, the floor can be the patterned layer while the vanity and mirror provide stronger shapes.
Quick buying checklist
- Confirm the product is rated for floors.
- Confirm the room is an approved application.
- Compare pattern scale and repeat from standing distance.
- Check overall thickness and transition implications.
- Verify the actual substrate is approved.
- Read preparation and primer requirements.
- Dry-layout the pattern before exposing adhesive.
- Follow cleaning and curing guidance.
- Do not use the product in a shower/wet assembly unless explicitly approved.
The Dwelanor approach
Choose the floor system first and the penny-round illusion second. A successful faux-mosaic floor should be suitable for the substrate and room, install according to its manufacturer’s instructions, and still read convincingly once the pattern repeats across the whole space.
Continue with our peel-and-stick bathroom tile guide, white subway tile grout guide, powder room design guide, and tiny bathroom spa guide.