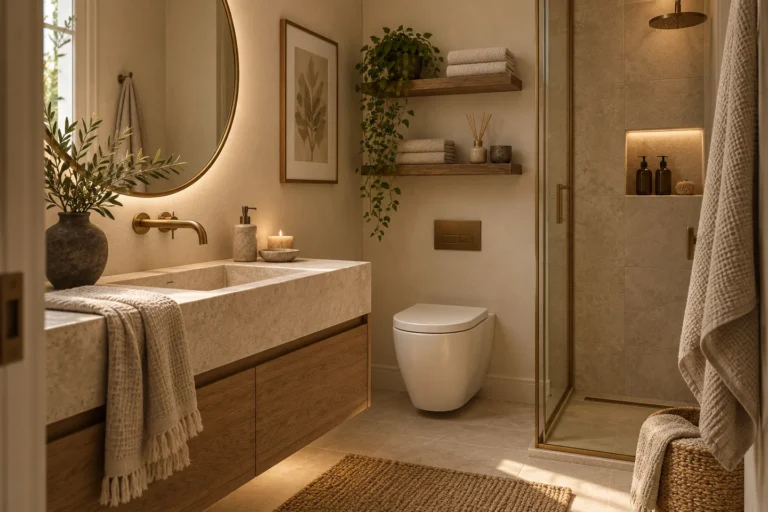
Peel-and-stick tile can work well in a bathroom when the product is rated for the surface, moisture level, and location you plan to use it.
This guide compares common options including Auliget Faux Stone, Smart Tiles Metro, Sunwings Stone Composite, JCampbell Floor Appliques, and Style Selections Graphite Stone LVT using published specifications, installation requirements, material type, moisture suitability, ease of cutting, and likely tradeoffs.
Pay particular attention to where a manufacturer permits installation. A product that works well on a backsplash or powder-room wall is not automatically suitable for a shower enclosure or wet floor.
Below you’ll find practical comparisons for walls, backsplashes, floors, heat-prone areas, and budget-focused projects.
What is the best peel-and-stick tile for a bathroom?
The best peel-and-stick tile for a bathroom is the one explicitly approved for the exact location you plan to cover. For a vanity backsplash, that means a wall product rated for bathroom humidity and splash exposure. For a floor, use flooring rated for foot traffic, the existing substrate, and the bathroom’s moisture conditions. For a shower or tub surround, do not assume a product is suitable unless the manufacturer specifically approves direct wet-area use.
After location approval, compare realism, cutting, seam visibility, removal, wear, and price. Suitability comes first; appearance comes second.
Where peel-and-stick tile can make sense in a bathroom
Peel-and-stick products are most useful for limited-scope updates where the manufacturer explicitly approves the surface and moisture conditions: for example, some vanity backsplashes, dry wall areas, or floor applications using floor-rated products.
Know the limits: “waterproof,” “water-resistant,” vinyl, or stone-look does not automatically mean shower-safe. Heat, steam, direct spray, substrate condition, and adhesive limits all matter.
- For renters, check both adhesion and removal guidance on the exact wall or floor finish.
- For floors, compare wear, wet-area approval, substrate requirements, and repairability.
- For walls, compare moisture and heat limits as well as pattern and ease of cutting.
Choose by location before you compare products
Peel-and-stick tile should be filtered by installation location first. A wall backsplash product and a floor-rated vinyl tile solve different problems and should not be ranked against each other as though they were interchangeable.
- Backsplash or vanity wall: look for a wall product approved for bathroom humidity and splash exposure.
- Dry bathroom floor: use only flooring specifically rated for foot traffic and the existing substrate.
- Direct shower or tub spray: do not assume a peel-and-stick product is suitable; follow the manufacturer’s exact wet-area approval.
- Renter use: test a sample on the actual painted surface and check removal guidance before covering a large area.
This structure also makes future affiliate recommendations more useful: products can be compared inside the correct use case rather than pushed into a single “best tile” list.
What to check before buying
Read the product’s approved surfaces and locations before comparing pattern or price. For flooring, check the wear layer, required subfloor condition and wet-area limitations. For wall products, check heat and moisture limits, substrate requirements and whether the adhesive is repositionable or intended to become permanent.
Do not infer “shower safe” from words such as waterproof, vinyl or stone-look. The installation location has to be explicitly permitted by the manufacturer.
For future product comparisons, Dwelanor should surface these exact specifications beside each recommendation so readers—and AI search systems—can see why the product fits the use case.
For vanity walls and backsplashes: prioritize approved wall products
For vanity walls and backsplashes, compare products that are explicitly approved for bathroom wall use. Check the substrate requirements, moisture exposure allowed, heat limits near lights or vents, and whether the adhesive is repositionable or permanent.
Interlocking sheets can make seams less obvious, but pattern realism and easy cutting should come after installation approval. If a manufacturer does not clearly permit the intended location, skip the product.
For humid bathroom walls: check moisture and adhesive limits
Thin vinyl wall tiles can be easy to cut around outlets and corners, but installation success depends on the actual wall surface and the product’s stated moisture limits.
Repositionable adhesive can be useful for alignment, while more aggressive adhesives may make removal harder. Treat “water-resistant” as a product claim with a defined scope—not permission for direct, continuous shower spray unless the manufacturer explicitly says so.
For heat-prone walls: verify temperature ratings
Walls near heat sources need a product with an explicit temperature rating and approved installation distance. Material thickness or a “stone composite” label is not enough evidence by itself.
Also check how heat affects the adhesive, what substrate preparation is required, and whether removal can damage drywall. Treat products with permanent or high-bond adhesive accordingly.
For bathroom floors: use flooring, not decorative wall appliqués
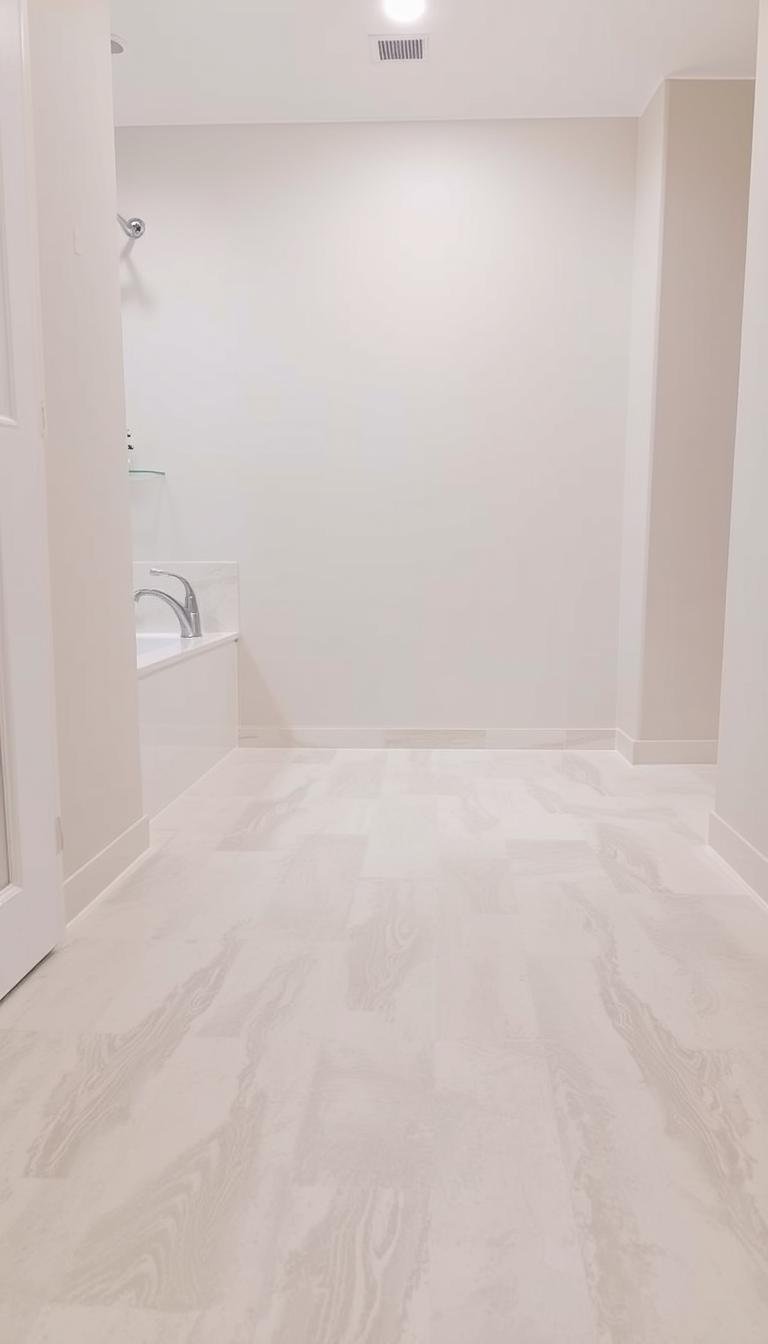
For a floor, start with products explicitly rated for foot traffic and the existing substrate. Check wet-area limitations, wear-layer information, slip considerations, seam care, and whether spot replacement is supported by the manufacturer.
Thin decorative appliqués or wall stickers should not be promoted as bathroom flooring unless their manufacturer specifically rates them for that use.
Compare value by total project cost, not a stale per-square-foot winner
Prices change, so compare current cost per square foot only among products that already meet the installation requirements. Include waste, primer or patching materials, cutting tools, spare tiles, and any required edge or transition treatment.
A cheaper box is poor value if the product is not approved for the bathroom floor, needs extensive substrate correction, or is difficult to replace later.
How to compare price and value
Compare current cost per square foot only after filtering for products that are approved for the intended location. Then add the real project costs: waste, surface repair, primer if required, cutting tools, transitions, spare pieces, and any manufacturer-required edge treatment.
Do not assume a higher price automatically means better bathroom suitability. The useful specifications are location approval, material and wear construction, substrate requirements, heat/moisture limits, and the warranty or return terms.
Installation and maintenance: follow the product system
Surface preparation
Clean, dry, flat substrates generally give adhesives the best chance to work, but the exact prep depends on the product. Some systems require priming or patching; others restrict installation over existing tile, textured paint, concrete, or certain resilient floors.
Layout and application
Dry-fit the layout before removing backing, especially around fixtures and thresholds. Follow the manufacturer’s acclimation, rolling or pressure, seam, temperature, and cure instructions rather than using a universal installation recipe.
Care and repairs
Use only cleaners and maintenance methods approved for the surface. Steam, solvents, abrasive cleaners, edge sealants, or heat-assisted repairs can damage some products or adhesives, so check the manufacturer’s care guidance before trying a fix.
The rule that matters most
Use the tile only where the manufacturer says it can be used. A convincing pattern and strong adhesive do not make a wall sticker into flooring, and a floor-rated tile does not automatically make it suitable for a shower enclosure.
Prepare the substrate exactly as required, dry-fit the layout, and keep a few spare pieces if the product is designed for spot replacement. For related bathroom decisions, see our tiny bathroom spa guide, shower-niche sizing guide, and backsplash tile guide.