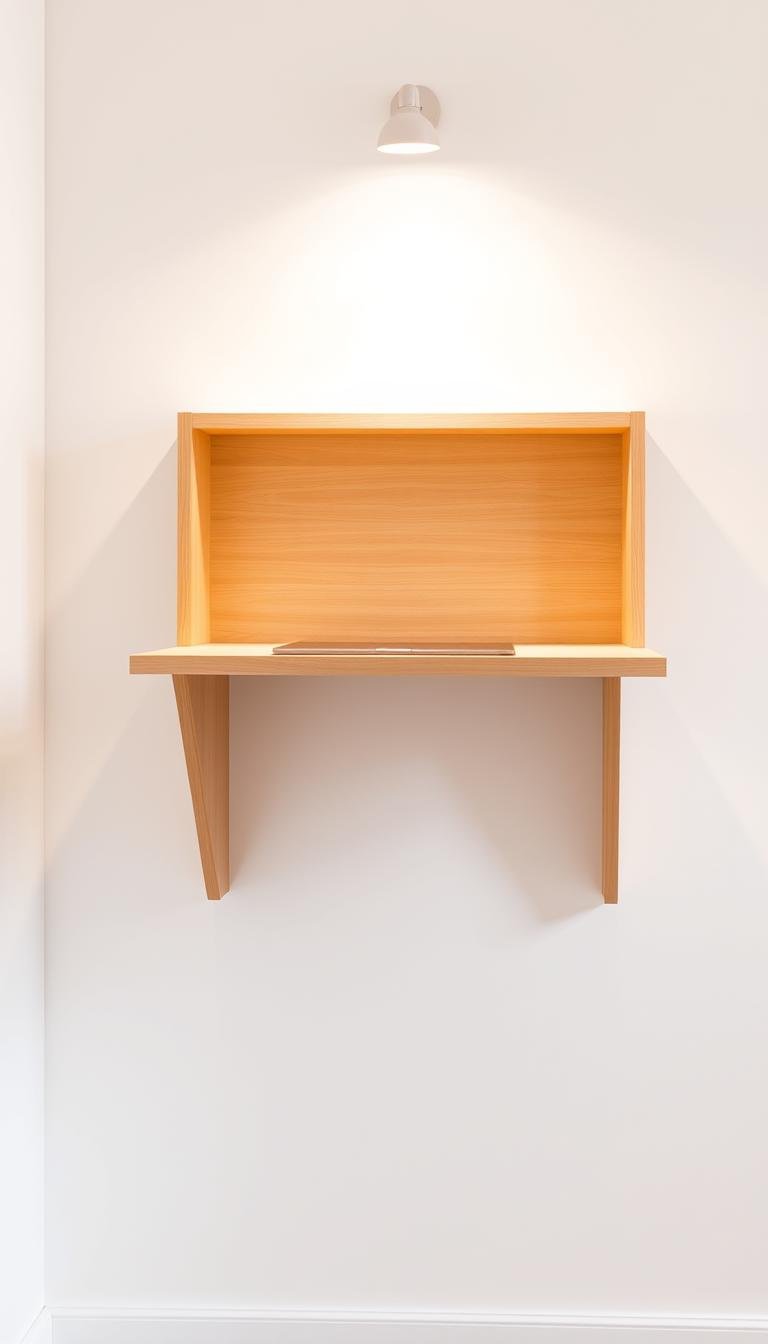
A three-foot wall is enough for a useful fold-down desk if the closed depth stays shallow and the support is tied into solid framing. There are two practical ways to approach it: a slim wall cabinet whose front folds down into the work surface, or a simpler hinged top mounted to a ledger with folding brackets or a brace underneath.
The cabinet version is better when you need to hide notebooks, chargers or a small pegboard. The ledger version is easier to build and leaves more of the 36-inch span available as working surface.
Before choosing either one, mock up the desktop with cardboard. Check the door swing, chair clearance, monitor distance and the path through the room while the desk is open. Those constraints matter more than squeezing every possible inch out of the wall.
Key Takeaways
- A three-foot wall can support a useful fold-down desk if the open depth, chair clearance, and folding path work in the room.
- Choose between a shallow cabinet desk and a simpler hinged desktop based on storage needs and build complexity.
- Load-bearing hardware must be matched to the wall construction, desktop weight, and expected use.
- Mock up the desktop before drilling so door swings, outlets, trim, and circulation remain clear.
- Do not rely on one universal plywood thickness, bracket type, or fastener recipe for every wall and load.
Two useful fold-down desk formats for a 3-foot wall
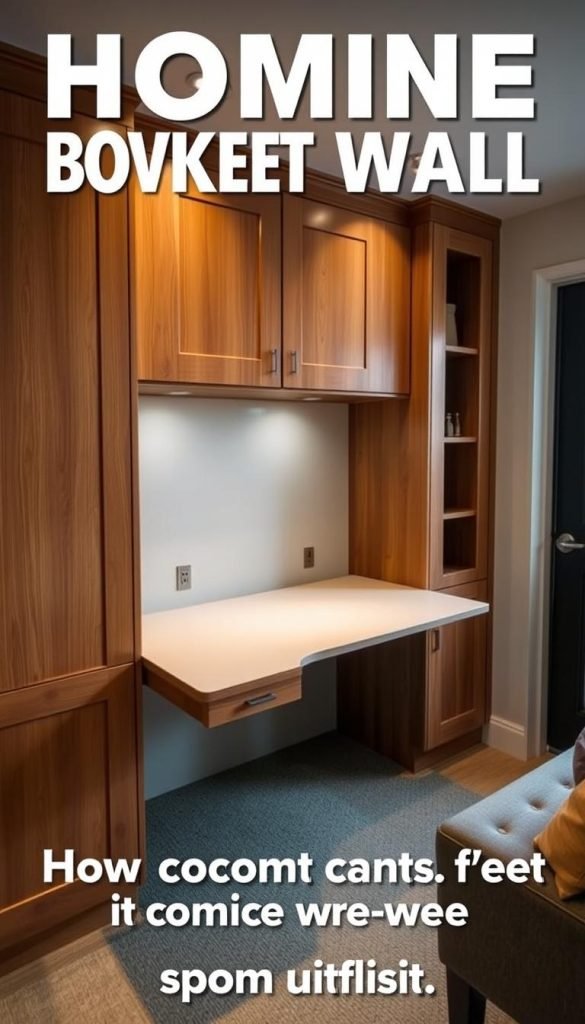
Cabinet version: a shallow wall cabinet can hide notebooks, chargers, or a small organizer while the front panel folds down into the work surface.
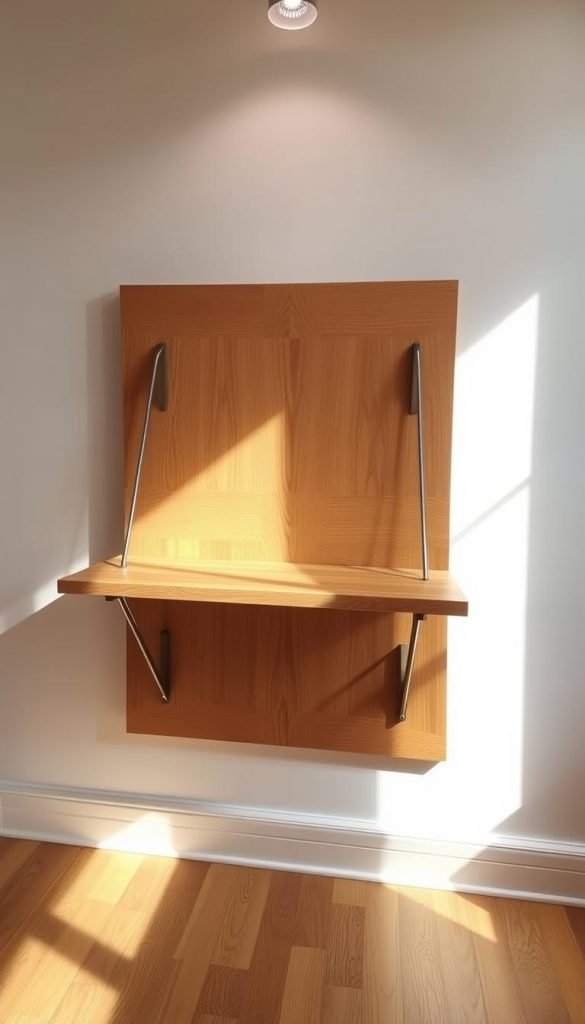
Simple hinged version: a desktop attached to a structural wall support with rated folding brackets or another engineered support system leaves more of the 36-inch span available as usable surface.
Both formats can work well. The deciding factors are wall construction, finished desktop weight, intended load, available depth, and whether concealed storage is worth the extra complexity.
Plan the perfect fit: measurements, studs, and ergonomics for a 3′ wall
My first step was to verify the full 36-inch span and note anything that would block the folding path. I measured trim, outlets, and switches so the open top would clear everything in the room. Then I checked chair clearance so knees won’t collide when seated.
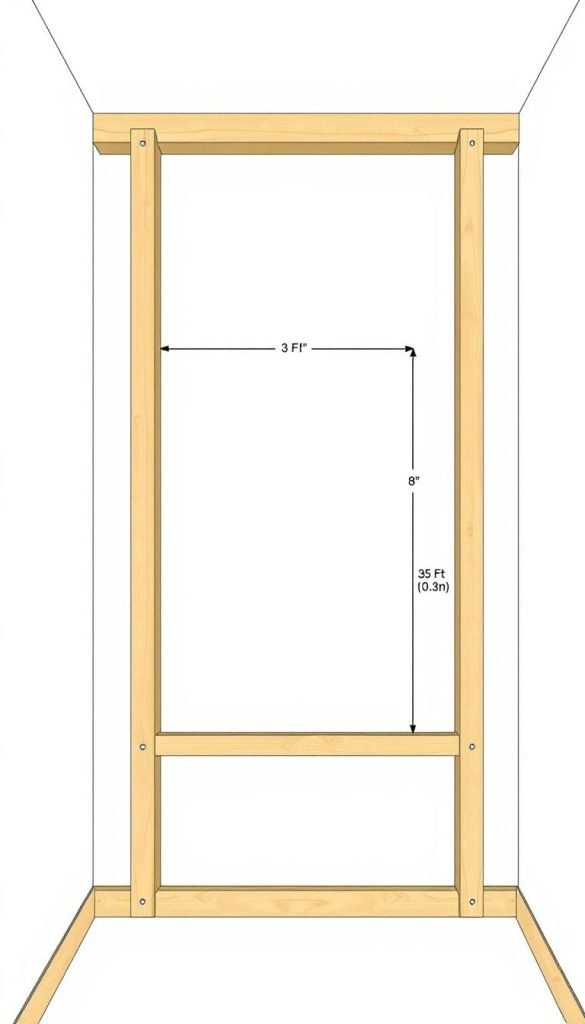
Verify wall width, obstructions, and chair clearance
I mocked up the opened surface with cardboard to confirm dimensions and folding arc. That simple test revealed if baseboards or casings would force a smaller top depth.
Find and mark studs for load-bearing support points
I used a stud finder, then drilled a small pilot hole to confirm each stud location before marking the ledger line. Hitting solid framing at the mounting point prevents stripped screws and sagging under load.
Choose desk height around the person who will use it
A fixed seated desk is commonly around 28–30 inches high, but the better check is elbow position. Sit in the chair you plan to use and set the work surface so your shoulders can stay relaxed and your forearms are roughly level rather than reaching upward. OSHA also recommends keeping the keyboard around elbow height and maintaining enough knee and foot clearance under the desk.
Set desktop dimensions, thickness, and folding path
I trimmed the top so it stayed just under the wall width and gave baseboards room. I penciled hinge and bracket locations, pre-marked holes, and confirmed level lines before drilling to avoid a front edge that droops or binds.
Choose materials and hardware around the actual load
The exact tools and materials depend on the design, wall construction, desktop size, and hardware system. A cabinet desk may use plywood or solid panels plus cabinet hinges and rated support hardware; a simpler version may use a desktop with structural folding brackets or another engineered support.
Do not substitute generic wall anchors for framing attachment where the desk system requires structural fastening. Follow the load rating, fastener, spacing, and substrate requirements from the bracket or hardware manufacturer.
Wood thickness, hinge type, strut force, bracket size, and fastener length should be chosen as one system rather than copied from an unrelated build.
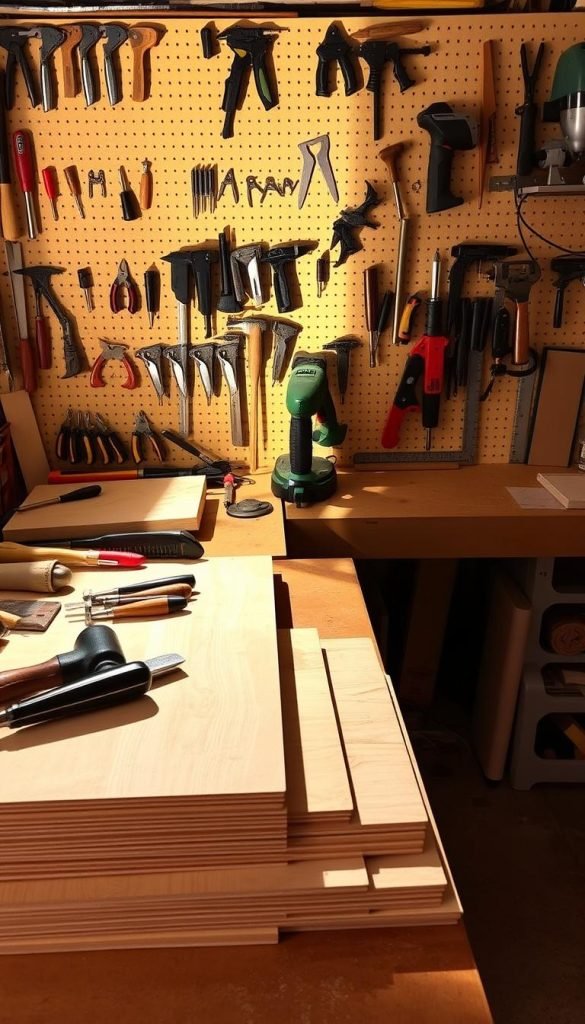
How to choose between the two approaches
Use a cabinet desk when concealed storage is important and you are comfortable building and mounting a shallow wall cabinet. Use a simpler folding desktop when you want fewer moving parts and maximum usable surface within the 36-inch width.
Cabinet desk
Plan the cabinet depth, hinge clearances, internal storage, and support hardware together. If gas struts or stays are used, select them for the actual panel weight and geometry rather than by appearance alone.
Simple folding desktop
Choose a rated bracket, brace, or leg system that supports the desktop and expected working load. The wall attachment and desktop attachment both need to meet the hardware manufacturer’s requirements.
Support hardware
Gas struts assist motion but are not automatically structural desk supports. Folding brackets, braces, or legs should have published load information and be installed into an appropriate substrate.
| Feature | Cabinet | Ledger | Ideal when… |
|---|---|---|---|
| Storage | Internal shelves & pegboard | Minimal | Need organization |
| Support | Gas struts + hinges | Triangle brace ± pipe legs | Preference for feel or serviceability |
| Materials | Plywood face, 1×6 boards | 1×4 ledger, live-edge top options | Match aesthetics |
| Mounting | Full-overlay hinges, screws into studs | Lag screws into studs, L-brackets | Max load on top |
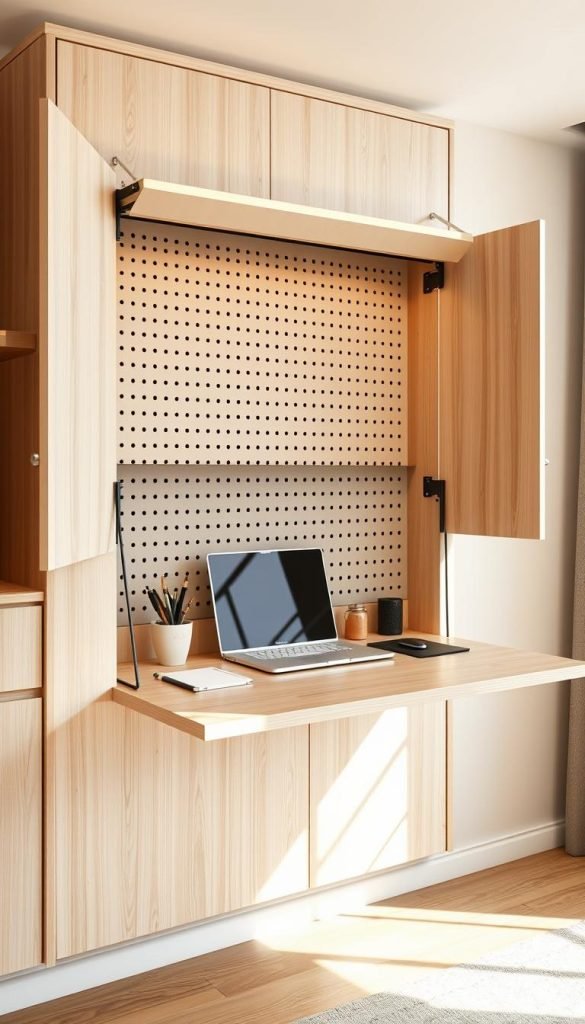
Build Approach A: Wall cabinet desk with pegboard door, hinges, and gas struts
I dry-assembled the sides, top, and bottom first to confirm fit and avoid surprises at the wall.
Assemble the frame
I fastened the 1×6 side pieces to the top and bottom using dowels or a pocket hole jig so the box stayed square. This kept visible faces clean and let me adjust before final glue.
Install divider and shelves
I set the center divider and shelves with pocket holes and glue. I checked level on each shelf so organizers sit straight when the front is open.
Build the pegboard frame
I made a 1×2 setback frame so the pegboard and its hooks clear the overlay hinges. Then I sanded and pre-painted the interior pieces to save cleanup later.
Back support and mounting prep
I added pre-painted back panels with pocket holes as the mounting strip. I pre-drilled holes at stud spacing and test-fit the cabinet before final fastening.
Finish the front and hardware
I cut the 3/4″ birch plywood front, applied birch edge banding, and sanded the edge smooth. I hung the face on full overlay hinges, then fitted gas struts so the opening force felt even.
Hang and outfit
I lifted the cabinet and drove screws through the back into as many studs as possible. After the cabinet was secure, I attached the pegboard and installed shelves, hooks, and organizers.
| Step | Materials | Key tip |
|---|---|---|
| Frame assembly | 1×6 side, top, bottom; dowels or pocket holes | Dry-fit before glue to keep faces clean |
| Divider & shelves | 1×6 pieces, pocket holes, glue | Use a level for each shelf |
| Pegboard frame | 1×2 setback frame, pegboard | Set back to clear hinges and hooks |
| Front panel | 3/4″ plywood, edge banding, hinges, gas struts | Apply edge banding with an iron and sand flush |
| Mounting | Back panels, screws into studs | Pre-drill at stud marks and fasten while level |
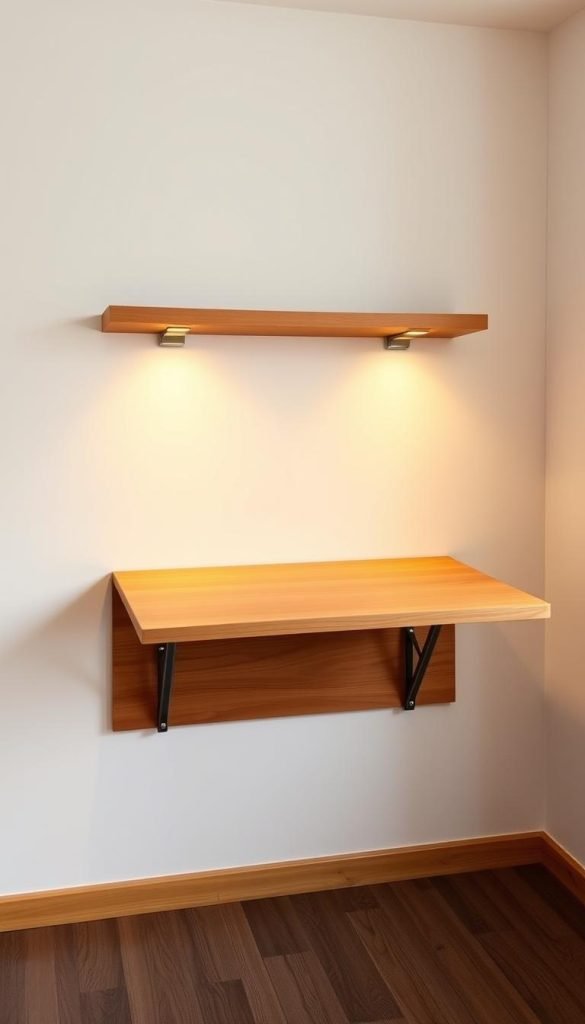
Build Approach B: Ledger board, piano hinge, triangle brace, and optional pipe legs
I began by mounting a straight 1×4 ledger into studs and added a top lip with L-brackets so the folding brace had a flush seat when closed. This gave the back of the build a firm anchor and kept the top tight to the wall when the desktop folded down.
Mounting the ledger and lip
I pre-drilled holes for lag screws, then drove the screws home into studs. I double-checked the line with a level and made micro-adjustments where needed so the board sat perfectly straight.
Piano hinge and fasteners
I used a full-length piano hinge to attach the top to the lip. The continuous hinge spreads load along the width and keeps the folding motion even. I used countersunk screws and checked that no screw heads rubbed when the top moved.
Triangle brace and wood peg lock
I built a T-backed vertical support and a three-piece triangle brace that hinged to both the T and the underslung brace on the top. A half-embedded wood peg drops into a matching hole under the top to lock the brace in place with a positive feel.
Optional swing-in pipe legs and finishing
For heavier live-edge tops I added swing-in pipe legs mounted with copper split ring holders to t-nuts and bolts set into the wall support and baseboard. I rounded bottom corners with a jigsaw, sanded the wood smooth, stained the top, and sealed it with polyurethane for durability.
“A continuous hinge and a solid ledger make a folding top that feels stable and reliable.”
| Task | Parts | Key tip |
|---|---|---|
| Ledger mount | 1×4 ledger, lag screws | Pre-drill holes and use a level |
| Hinge attachment | Full-length piano hinge, countersunk screws | Spread load across the width |
| Brace & lock | T support, triangle brace, wood peg | Hinge both points; test peg fit |
| Optional legs | Iron/project pipe, split ring holders, t-nuts | Use project pipe unions for neat joints |
Which version makes more sense?
Choose the cabinet version if concealed storage matters. Choose the ledger-and-bracket version if you want the simplest structure and the most usable desktop within the 36-inch width.
Whichever route you take, the important parts are the same: fasten the load-bearing pieces to appropriate framing, size the desk around the actual chair and equipment, and test the folding path before drilling. A compact desk only works if it is comfortable open and genuinely unobtrusive when it is closed.