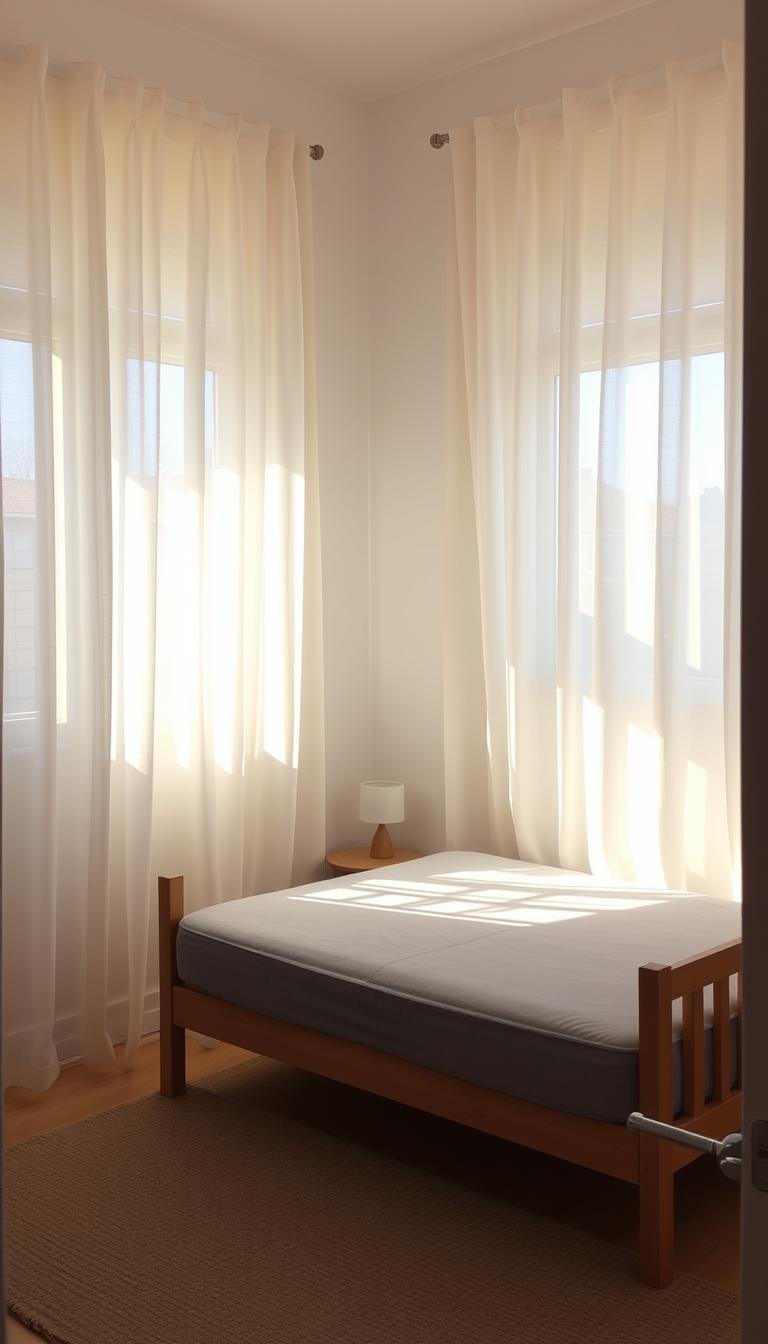
You can add blackout performance to existing curtains without replacing the decorative face fabric. The cleanest result comes from choosing a lining that suits the curtain weight, header style, window size, and level of darkness you actually need.
For a sewn lining, measure each panel carefully and allow enough seam allowance to attach the lining without pulling the face fabric out of shape. Following the curtain’s existing top and side seams usually gives the neatest front appearance, while keeping the lining hem independent helps the two fabrics hang naturally.
Ready-made detachable linings are another option when the curtain heading is compatible. They are easier to remove or replace, but the exact hook, ring, or tape system needs to match the existing curtain construction.
Blackout lining can improve light control, add body to the curtain, and may also help with draughts and some outside noise. Treat those thermal and acoustic benefits as secondary to the main job: blocking light and protecting the face fabric.
Why add blackout lining to existing curtains right now

Upgrading a curtain with a blackout underlayer gives real benefits—warmer winters, cooler summers, and less street glare.
Insulation is the first win. A quality lining creates a barrier that cuts heat loss in cold months and limits heat gain in summer. That saves energy and makes rooms more comfortable.
Light control improves dramatically when a blackout material pairs with your panels. This is perfect for a bedroom or media room where near-total darkness helps sleep and better viewing.
“Adding a lining boosted my privacy and reduced outside noise more than I expected.”
- Quick upgrades: ready-made linings clip in with rings and hooks in under 30 minutes.
- Durable options resist moisture and mold and hold up through washes.
- Linings also protect curtain fabric from UV fade and extend panel life.
| Benefit | Result | Ideal room |
|---|---|---|
| Thermal barrier | Lower bills, steady temperature | Bedroom, living room |
| Light blocking | Darker nights, better sleep | Bedroom, media room |
| Privacy & sound | Fewer silhouettes, less street noise | Street-facing rooms |
What are the best blackout liners I can sew into existing curtains?
Choose by construction and compatibility rather than by an arbitrary fabric weight.

Coated blackout lining
A purpose-made blackout lining with an opaque coating is the most direct choice when darkness is the priority. Look for a weight that your existing curtain header and rod can comfortably support, and check the care instructions before sewing because coated linings can have different heat and wash limits.
Thermal blackout lining
If the window is also draughty, compare blackout linings that are specifically sold with thermal properties. These add more body and can help reduce heat transfer at the window, but they are usually heavier and may change the way a lightweight curtain hangs.
Detachable blackout lining
For curtains with compatible header tape, rings, or hooks, a detachable lining can be easier than sewing. It is also simpler to remove for cleaning or seasonal changes.
- Prefer a pale exterior-facing back if you want a neutral look from outside the window.
- Check total finished weight before adding a heavy lining to a lightweight rod or track.
- For the darkest result, reduce light gaps at the top and sides as well as choosing an opaque lining.
| Type | Best use | Main trade-off |
|---|---|---|
| Coated blackout lining | Bedrooms and media rooms | Care and ironing restrictions vary |
| Thermal blackout lining | Cold or draughty windows | Extra weight and bulk |
| Detachable lining | Quick retrofit or removable setup | Must match the curtain header system |
Sewn-in versus detachable blackout lining
A sewn lining gives the cleanest integrated finish. A detachable lining is easier to remove and replace. The better choice depends on the existing header, curtain weight and whether you want a permanent or reversible upgrade.
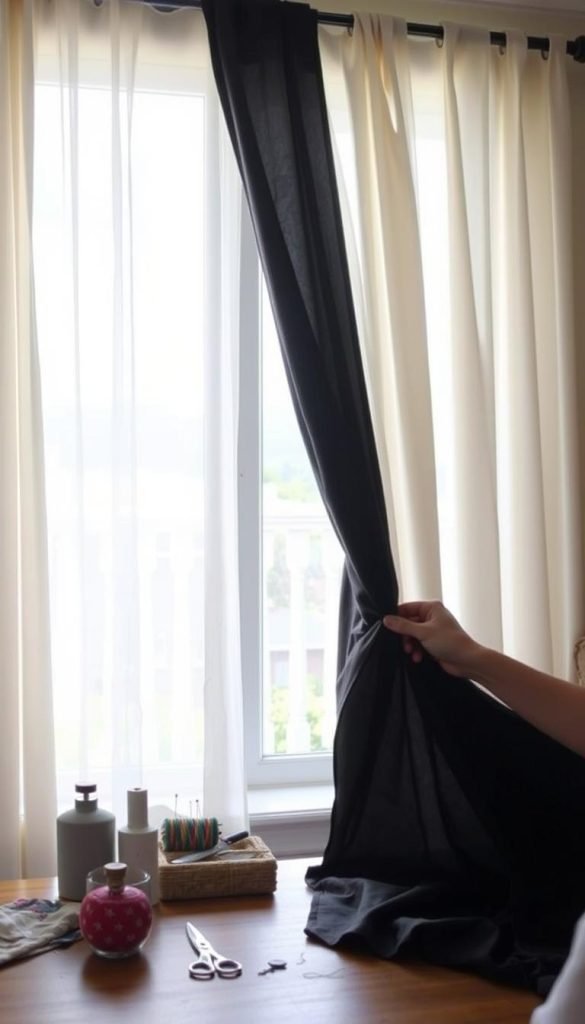
Supplies checklist
- Blackout lining, your curtains, scissors, cutting mat, ruler, rotary cutter.
- Sewing machine and matching thread for a tailored finish.
- For no-sew: small step ladder, iron, and rings/hooks from a ready-made kit.
Sewn-in method I use for a tailored look
I lay the curtain face down, measure the lining with a 1/2–1″ seam allowance, and align it to the original stitch lines.
Pin with the finished side facing out and stitch the top and both sides. Leave the bottom unstitched so the hem hangs naturally. Most blackout lining won’t fray, so you can skip serging.
No-sew ready-made linings with hooks/rings
Lightly iron the insert, insert hooks into the lining’s header tape, then hang by clipping to rings or slotting into tape heading. This works with eyelet and tape heading curtain heads and usually takes under 30 minutes.
“I often use a ready-made header kit when speed matters — a few adjustments at the top give a smooth drape fast.”
Pro tips for drape, finish, and a neat front look
- Follow the curtain’s original stitch lines at the top and sides to keep the front finish clean.
- Adjust hook placement after hanging to even out fullness and pleats.
- Extend lining at the top and along the sides to reduce edge light leaks; keep the bottom free for a natural break.
| Method | Time | Best result |
|---|---|---|
| Sewn-in | 1–2 hours per panel | Tailored drape, durable finish |
| No-sew | Under 30 minutes | Fast install, easy adjustments |
| Hybrid | 30–90 minutes | Quick hang, then fine-tune stitches if needed |
For a plug-and-play option, try a trusted no-sew header kit to add a lining without sewing.
Which option makes sense?
If darkness is the priority, choose a purpose-made blackout lining that your curtain rod or track can comfortably support. If removability matters more, use a compatible detachable lining. In either case, edge gaps around the window often matter as much as the lining itself, so solve those before assuming the fabric has failed.