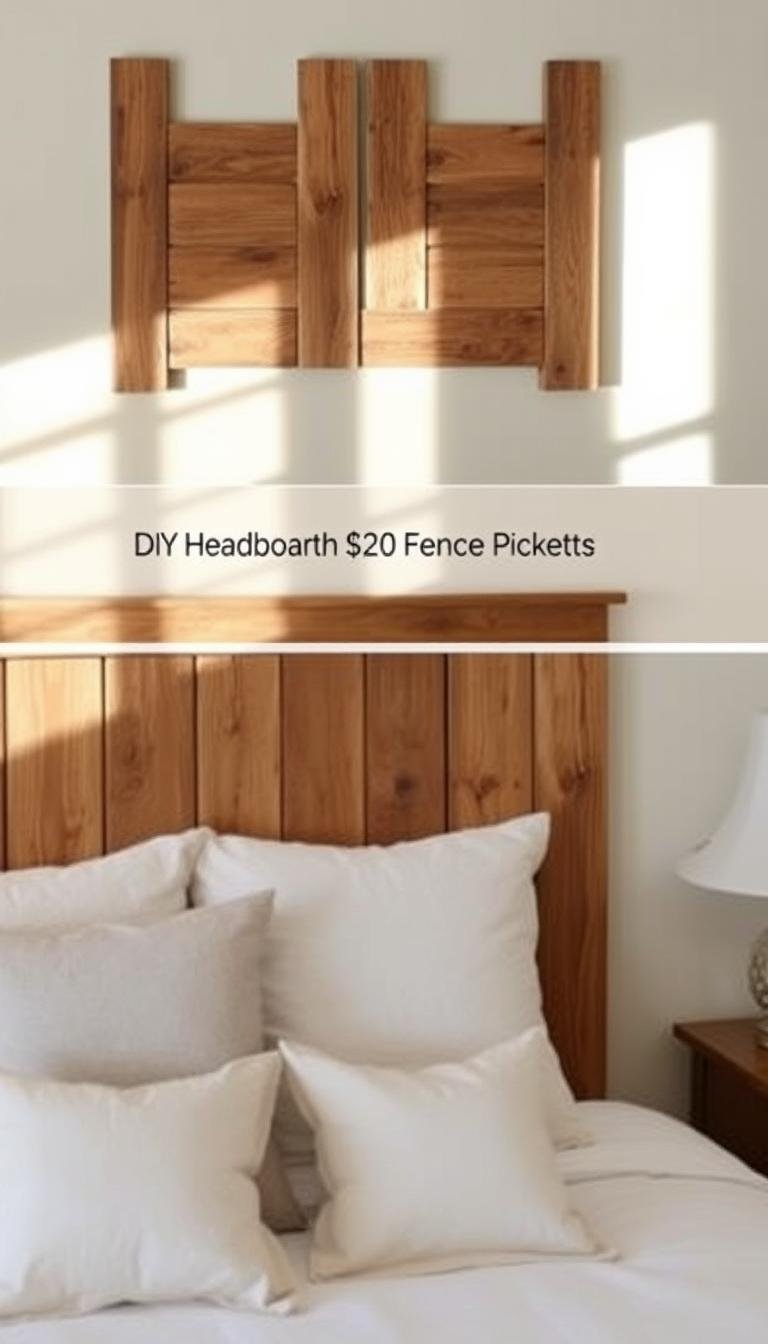
Fence pickets can make an inexpensive decorative headboard, but the useful plan starts with safe material selection, the actual bed width, and a mounting method suited to the finished panel’s weight. Do not copy a fixed cut list simply because another project used the same mattress size.
For an indoor project, choose new, dry lumber whose treatment and finish are appropriate for interior use. Avoid unknown reclaimed fence boards that may have old coatings, contamination, rot or treatment you cannot identify.
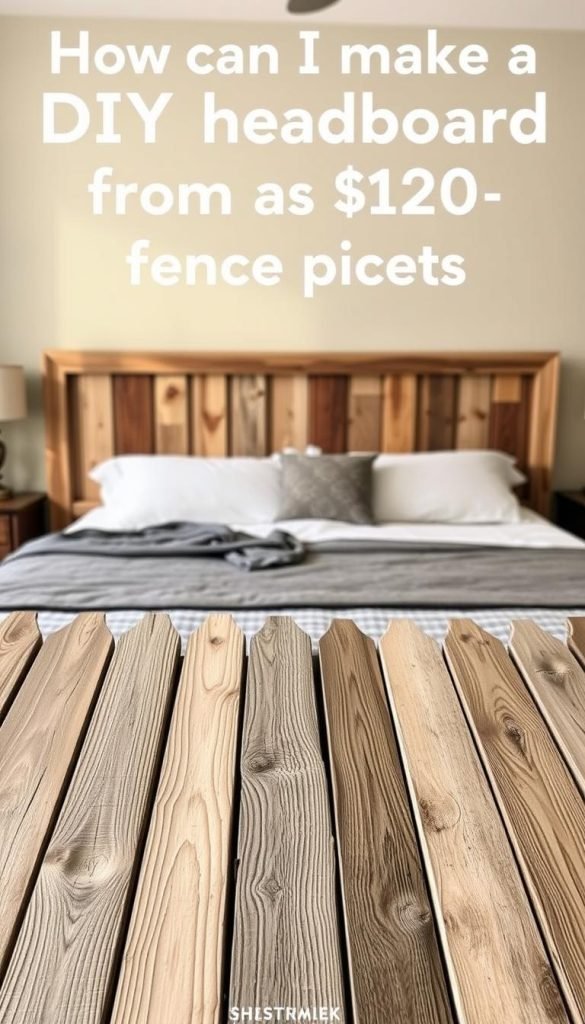
Measure the bed and wall first
Measure the actual mattress or bed frame rather than relying only on a nominal twin, full, queen or king label. Decide whether the headboard should align with the mattress, extend to the outer edges of the frame, or project slightly wider as a design choice.
Also check:
- outlets and switches;
- window sills and trim;
- baseboards;
- bed-frame mounting points, if any;
- wall construction if the panel will be wall mounted.
Choose the material with indoor use in mind
New cedar or another interior-suitable wood can work well because the finished panel is decorative and relatively light. Check the product labeling before bringing treated exterior lumber indoors, and follow the coating manufacturer’s preparation instructions.
Reject boards with significant cracks, decay or severe warp. Sand exposed faces and edges so there are no splinters where bedding or people may contact the headboard.
Design the silhouette before cutting
A straight top is the easiest option. For a curved or stepped profile, draw the shape at full scale on cardboard or paper first, then transfer it to the boards after confirming the overall width and height against the wall.
Avoid copying fixed board lengths from another build. The dimensions should come from your room, the headboard shape and the lumber you actually have.
Assemble the panel as a unit
Lay the pickets face-down on a flat surface and align the visible edges. Use horizontal braces sized and spaced for the finished panel, and use fasteners appropriate to the brace and picket material.
Pre-drilling can reduce splitting in soft or narrow boards. Adhesive may supplement mechanical fasteners when the adhesive manufacturer approves the materials, but it should not be treated as a universal substitute for sound joinery.
Finish the wood safely
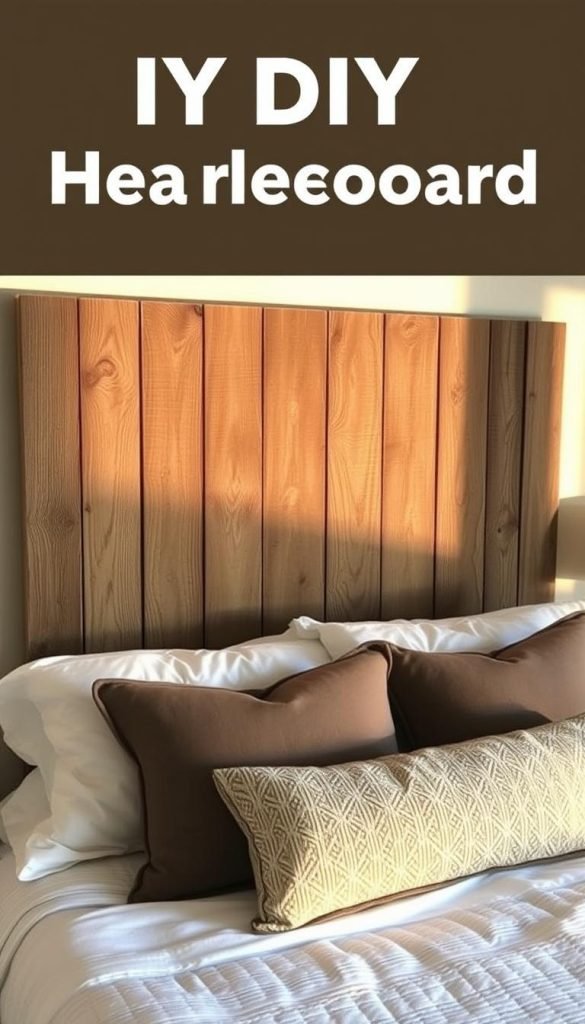
Sand to the level recommended for the chosen stain, paint or clear finish. Remove dust and apply the coating according to its label, including ventilation, drying and cure times.
There is no need to prescribe a universal number of coats. Follow the product system you choose and allow the finish to cure fully before placing the headboard against bedding.
Mounting: bed frame or wall?
Bed-frame attachment
If the bed frame includes manufacturer-provided headboard brackets or mounting holes, use hardware compatible with those points and with the headboard structure. Check that the finished panel cannot rock or twist when the bed moves.
Wall mounting
If the panel will hang independently on the wall, weigh or estimate the finished assembly and select a mounting system rated for that load and the actual wall substrate. Do not assume removable picture-hanging strips are appropriate for a large wood headboard.
For heavy panels, uncertain wall construction or a headboard positioned where failure could injure someone, use a properly designed mechanical attachment and qualified installation if needed.
A renter-friendly upholstered alternative
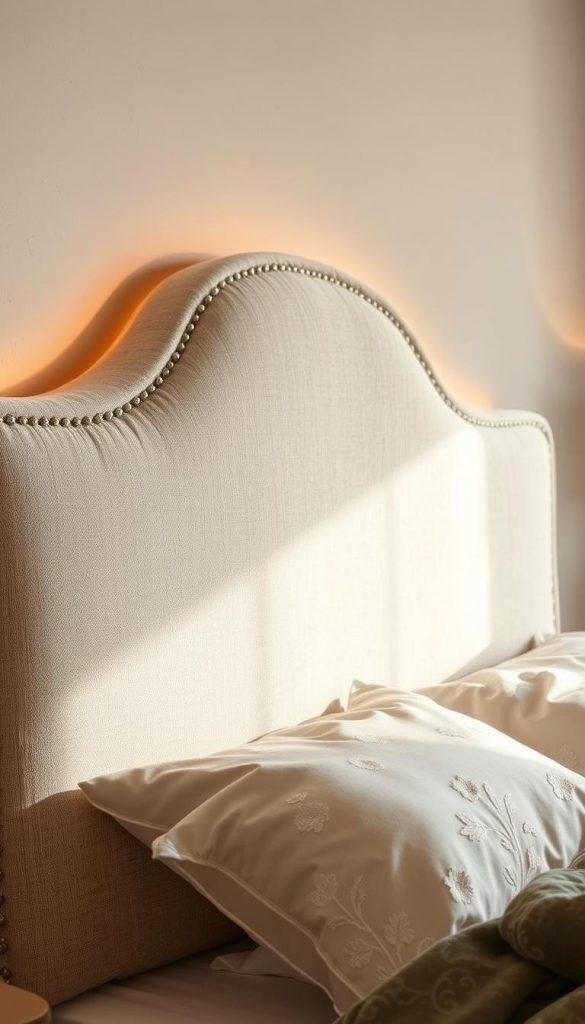
A lightweight upholstered panel can avoid heavy woodworking, but it still needs a mounting method appropriate to its total weight, size and wall finish. Cardboard, foam board or thin panels can bow or tear if oversized, so keep the construction light and follow the adhesive or hanging-system limits exactly.
Practical build checklist
- Measure the actual bed and wall.
- Choose new, indoor-suitable lumber.
- Lay out the full silhouette before cutting.
- Reject cracked or badly warped boards.
- Brace the panel with joinery suited to the materials.
- Sand all contact edges smooth.
- Apply and fully cure the chosen finish.
- Mount the finished panel using hardware rated for its weight and substrate.
The simplest budget approach
Keep the shape simple, use a small number of good boards rather than forcing damaged ones into the build, and spend attention on the mounting method instead of chasing a fixed dollar target. Lumber prices and bed dimensions vary, but careful measuring and a secure attachment remain useful in every version.
For more bedroom planning, see the low-window headboard guide and the Dwelanor Room Guides.