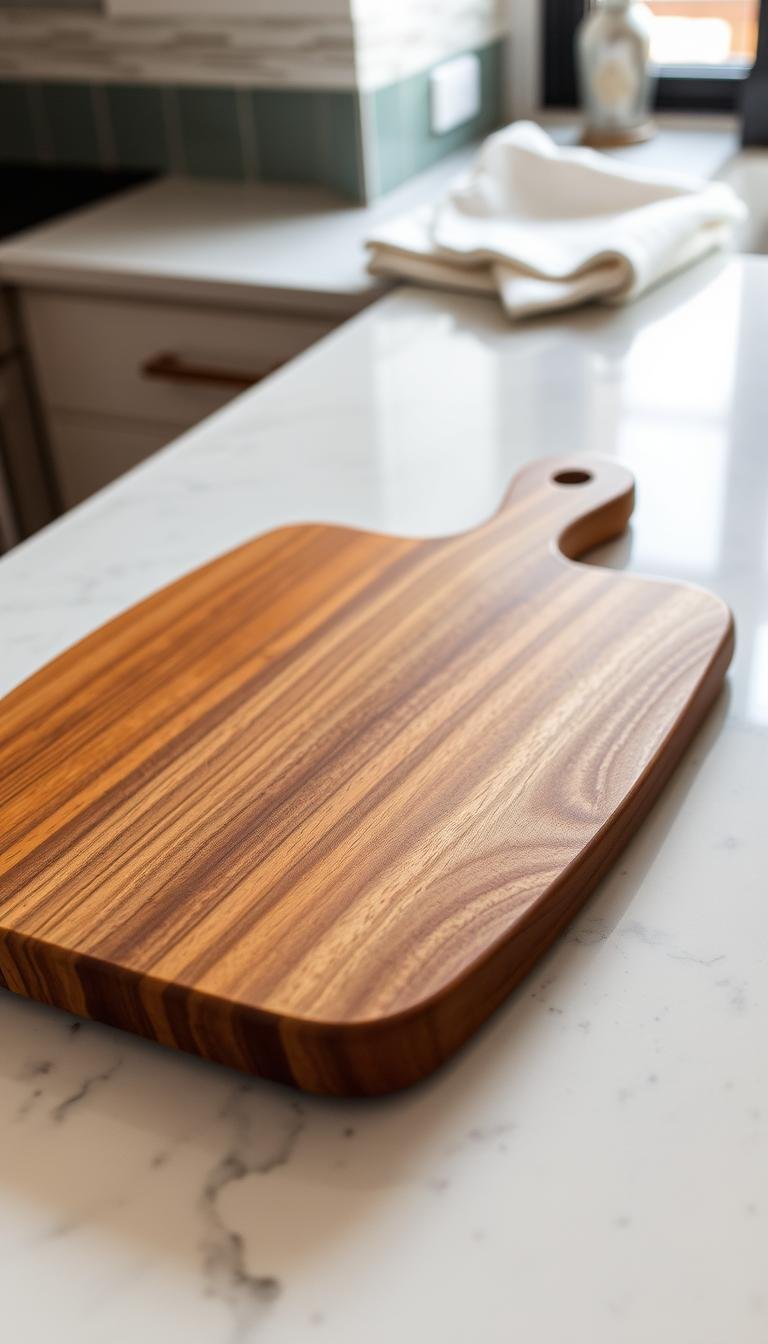
A cutting board that moves while you chop is a safety problem, not just an annoyance. On a polished quartz countertop, the easiest fix is usually to add a thin grippy layer between the board and the counter.
For occasional use, a clean damp kitchen towel works. For a more permanent setup, use a thin silicone mat or a board with non-slip feet that are designed for food-prep use. The goal is simple: the board should stay flat and still when you apply sideways pressure.
Why My Wooden Cutting Board Slips on Quartz Countertops
My quartz counter looks stunning but creates a physics problem during meal preparation. The polished surface lacks the texture needed for proper grip. This smoothness causes significant board slipping issues that affect my cooking routine.
Quartz’s non-porous nature means zero absorption. Moisture from vegetables or meat stays on the surface. Even a tiny amount creates a slippery film that makes everything move around.
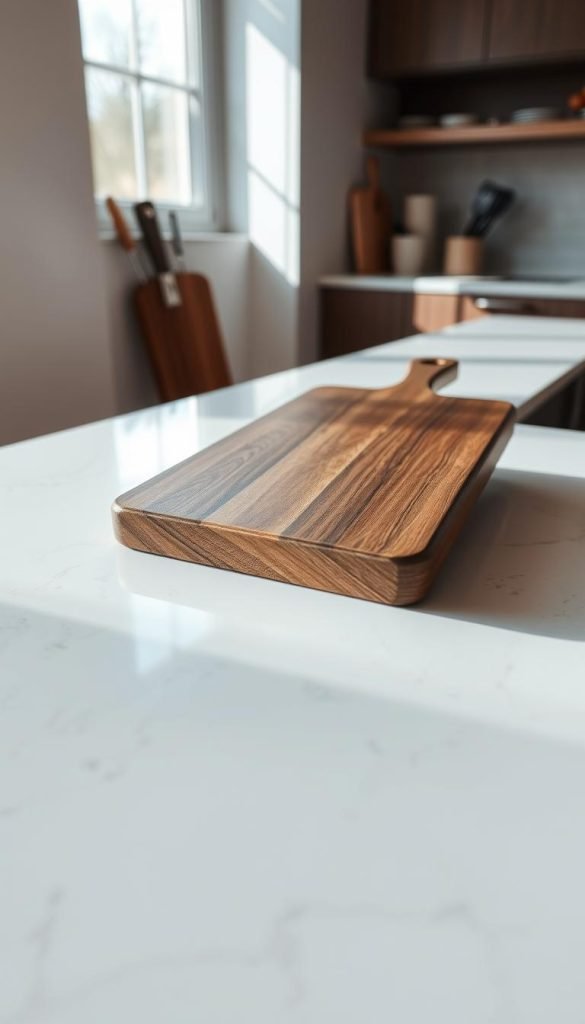
I’ve learned that friction is the missing ingredient. The hard quartz surface meets smooth wood with minimal resistance. This combination creates perfect conditions for unwanted movement.
Safety becomes a real concern with this slipping problem. A shifting surface means less knife control. I’ve had close calls where my blade slipped toward my fingers.
The quality of my food preparation suffers too. Uneven cuts happen when the surface moves during slicing. This affects both presentation and cooking times.
Different board types behave uniquely on quartz. Heavier end-grain boards tend to stay put better than thin bamboo ones. The table below shows how various materials perform:
| Board Material | Slipping Tendency | Moisture Effect | Stability Rating |
|---|---|---|---|
| End Grain Wood | Medium | High | 6/10 |
| Edge Grain Wood | High | Very High | 4/10 |
| Bamboo | Very High | Extreme | 3/10 |
| Plastic | Medium-High | Medium | 5/10 |
Size and weight play crucial roles in stability. Larger boards distribute weight better but collect more moisture. Smaller boards might slide less but offer limited work space.
The problem seems to worsen over time. Both the counter and board surfaces become smoother with use. This gradual change reduces what little friction existed initially.
Understanding these factors helps me choose solutions. Now I know why certain methods work better than others. This knowledge makes my kitchen time safer and more efficient.
The quickest fix: a damp towel underneath
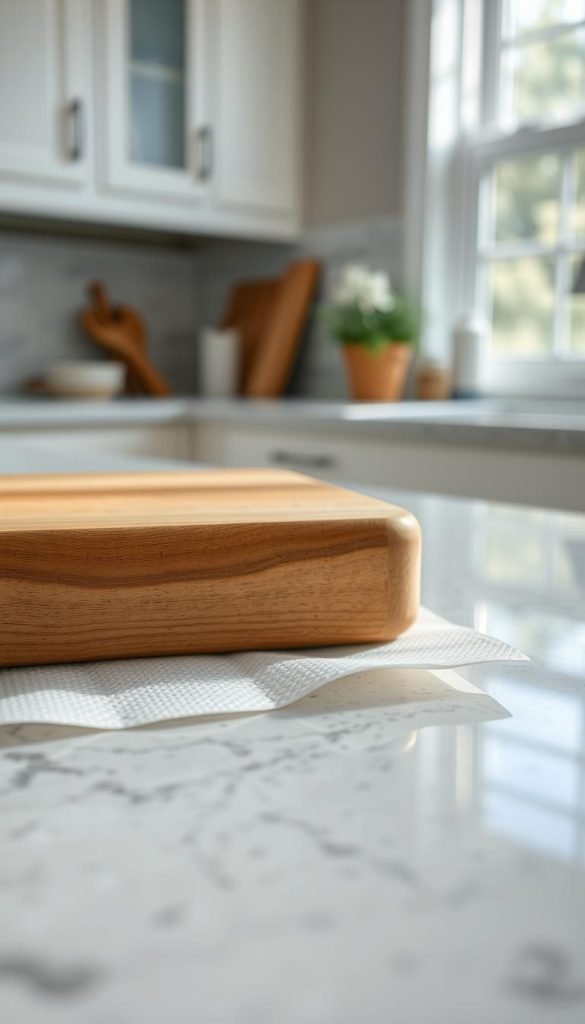
Place a clean, slightly damp kitchen towel under the board and press the board down firmly. The towel increases friction and takes up tiny gaps between the flat surfaces. It should be damp, not wet enough to leave standing water on the counter.
How the Damp Paper Towel Technique Works
The process begins with running a paper towel under cool water for just one second. I then wring it thoroughly until it reaches that perfect damp state. This creates the ideal moisture level for optimal grip.
The science behind this method involves moisture creating suction and friction. The damp paper towel acts as a temporary adhesive between surfaces. This prevents any unwanted movement during food preparation.
This technique works remarkably well with all board materials. From lightweight plastic to heavy wooden blocks, the results are consistent. The moisture creates enough friction to keep everything securely in place.
Getting the Perfect Dampness Level
Achieving the right moisture level is crucial for success. The paper towel should feel damp but not dripping wet. Too much water can damage your countertop over time.
I’ve developed a simple test to check the perfect dampness. After wringing, the towel should feel cool and moist. If water drips when squeezed lightly, it’s too wet.
The ideal paper towel has enough moisture to create suction without leaking. This balance ensures maximum stability while protecting your surfaces. It’s better to start slightly drier and adjust as needed.
When to Fold for Extra Stability
Folding the paper towel provides additional security for heavy tasks. I typically fold it once for regular chopping and twice for heavy-duty work. This extra thickness creates more surface contact and better grip.
Heavy ingredients like large cuts of meat require the folded approach. The additional layers prevent the board from shifting under pressure. This technique has prevented countless accidents in my kitchen.
Professional kitchens often use a sanitizer solution instead of plain water. This practice prevents bacterial growth while maintaining the same effectiveness. As noted by kitchen safety experts, maintaining hygiene is crucial in food preparation areas.
I often reuse the same paper towel to minimize waste. After securing my board, I use it for counter cleanup. This efficient approach makes the method even more practical for daily use.
This simple paper towel method has become my favorite solution. It’s cost-effective, readily available, and incredibly effective. The technique provides the security needed for safe, efficient food preparation.
Other Effective Ways I Keep My Cutting Board Secure
Exploring different methods beyond the paper towel technique opened up a world of possibilities. Each approach offers unique benefits depending on your kitchen needs and preferences.
I discovered that having multiple solutions available makes meal preparation much smoother. Some methods work better for heavy chopping tasks while others excel for quick slicing jobs.
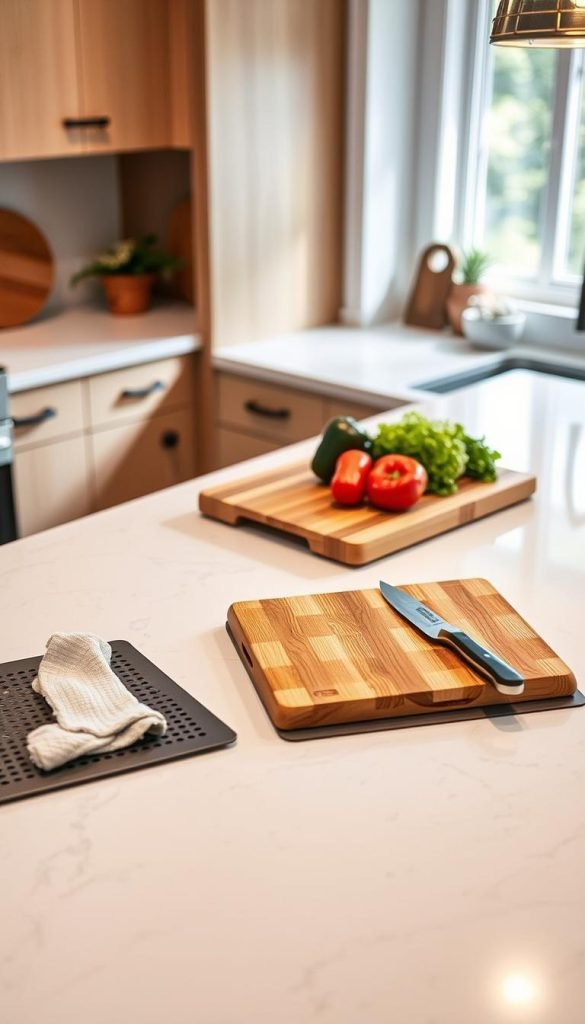
Non-slip feet for a dedicated board
If one board lives on the counter, non-slip feet can be a tidy long-term solution. Use feet intended for cutting boards or food-prep equipment and install them according to the maker’s instructions. Make sure the board still sits level and can be cleaned and dried properly.
Silicone Mats for Multi-Purpose Grip
Silicone mats became my go-to solution for their versatility and reliability. These flexible sheets provide outstanding non-slip performance on various surfaces.
What I love most is their multi-functional nature. The same mat that secures my board doubles as a hot pad for pots and pans. Some even work as baking mats for pastry preparation.
Cleaning is incredibly simple – just rinse with soap and water. The material resists stains and odors, making it hygienic for daily food preparation tasks.
Non-Slip Shelf Liner as a Budget Option
Discovering non-slip shelf liner felt like finding a hidden treasure. This affordable solution offers remarkable performance at a fraction of the cost of specialized products.
The ability to cut custom sizes makes it perfect for any board in my collection. I simply trace the outline and trim with scissors for a perfect fit.
This grippy material creates excellent surface tension against quartz. The textured pattern helps prevent movement even during vigorous chopping sessions.
Skip improvised suction hardware
Suction cups can work for products designed around them, but they are not necessary for a normal cutting board and can create uneven support. A flat silicone mat or purpose-built non-slip feet are simpler and easier to inspect and clean.
| Solution Type | Installation | Durability | Best For | Cost Rating |
|---|---|---|---|---|
| Rubber Feet | Permanent | Excellent | Heavy boards | $$ |
| Silicone Mats | Removable | Very Good | Multi-purpose use | $$ |
| Shelf Liner | Custom cut | Good | Budget option | $ |
| Suction Cups | Removable | Good | Smooth surfaces | $$ |
| Cork Pads | Adhesive | Fair | Light use | $ |
Cork pads offer a natural alternative that works reasonably well for light tasks. However, they tend to degrade with frequent moisture exposure and washing.
I choose different solutions based on board size and intended use. Larger boards get permanent rubber feet while smaller ones use silicone mats for flexibility.
Regular cleaning maintains effectiveness for all these methods. Simple soap and water work for most options, preserving their non-slip properties long-term.
What to use
For a board that only slips occasionally, start with a clean damp towel. If the board is used every day, a thin silicone grip mat is easier to rinse and reuse. For a dedicated heavy board, purpose-built non-slip feet can make sense.
Whichever method you choose, test the board before cutting: press firmly from several directions. If it shifts, fix the support before the knife comes out.