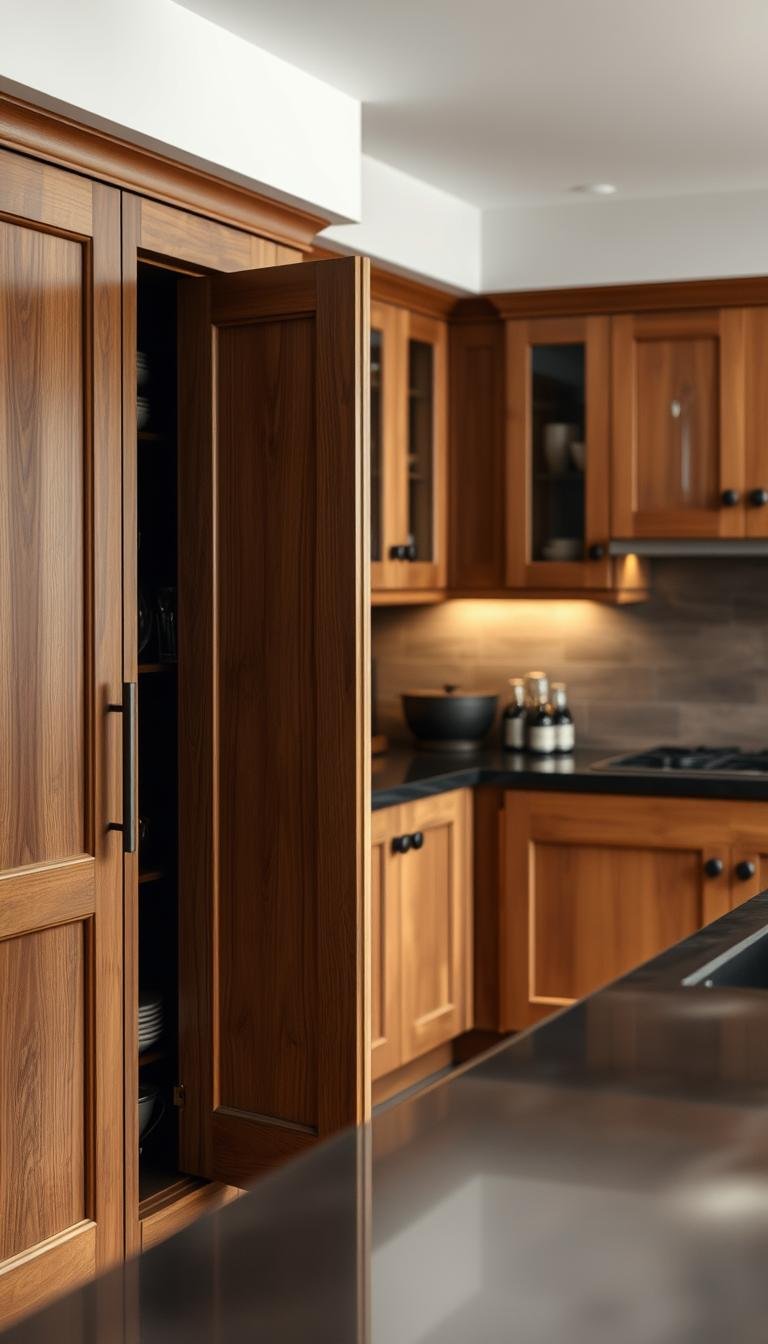
A cabinet door that bangs usually has a simple cause: the hinge is loose or misaligned, the soft-close mechanism is not working, or there is nothing cushioning the final contact with the cabinet frame.
Start with the cheapest fix. Tighten loose screws, check whether the door sits square, and add or replace small cabinet bumpers at the contact points. If the hinge is designed to be adjustable or soft-close, follow that hinge maker’s instructions before replacing hardware.
Find the actual contact point first
Close the door slowly and watch what happens in the final inch. If one corner reaches the frame first, the door may be misaligned. If the whole door hits hard at once, the hinge may not have soft-close damping or the bumpers may be missing or compressed.
Seasonal wood movement can change gaps slightly, especially with inset cabinetry, but there is no useful reason to diagnose cabinet noise by a specific hour of the night. Work from the hardware and contact points you can actually see.
Checking and Adjusting My Cabinet Door Alignment
My investigation led me to discover that proper alignment was the foundation for solving my noise problem. Getting this right made all the difference in achieving peaceful operation.
How to identify misaligned cabinet doors
I learned to spot alignment issues by examining the gaps around each door. Uneven spacing between panels indicated adjustment was needed. This visual inspection became my first diagnostic step.
Determining the design style was crucial for proper correction. Overlay and inset configurations require different approaches. I checked each unit to understand its construction type.
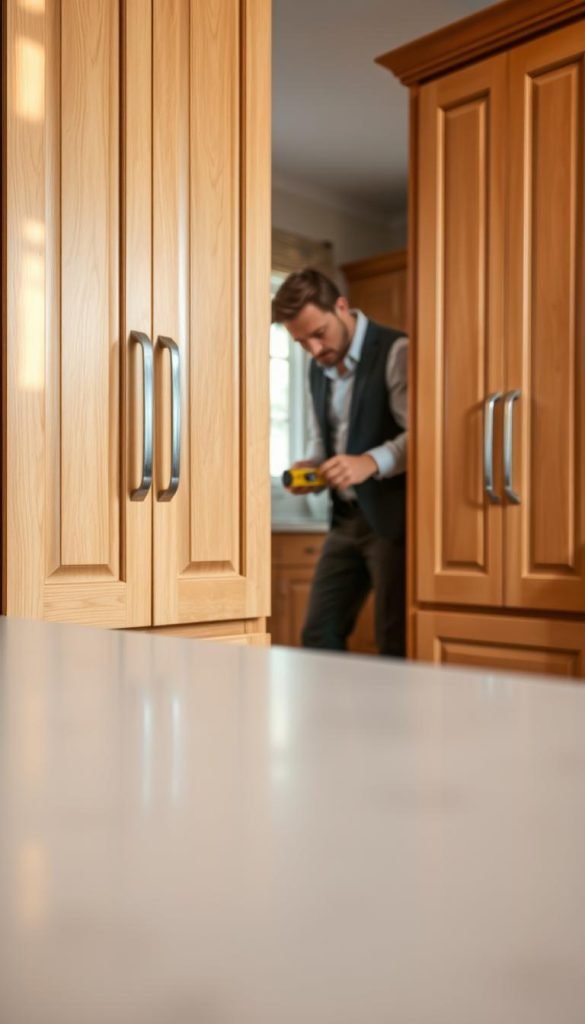
Testing closure revealed hidden problems. When I closed each door completely, uneven contact points became obvious. This simple test showed me exactly where adjustments were needed.
Simple fixes using basic tools from my garage
My Phillips screwdriver became my best friend for this project. Tightening loose screws on the hinge plates often solved minor alignment issues. This quick fix addressed many of my problems.
I discovered that straightening crooked panels required minimal effort. Small adjustments to the hinge mechanism brought everything into proper position. The transformation was immediate and satisfying.
Proper alignment eliminated the banging completely in my space. The frame and components worked harmoniously once everything was properly positioned. This solution created the peaceful environment I wanted.
Addressing alignment first prevented more serious issues from developing. Regular maintenance now keeps my storage units functioning quietly. The right approach made all the difference.
Check whether the hinge can be adjusted
Many concealed European-style cabinet hinges allow side-to-side, depth and height adjustment. Soft-close versions may also have a damping switch or adjustment, but the exact mechanism varies by brand and model.
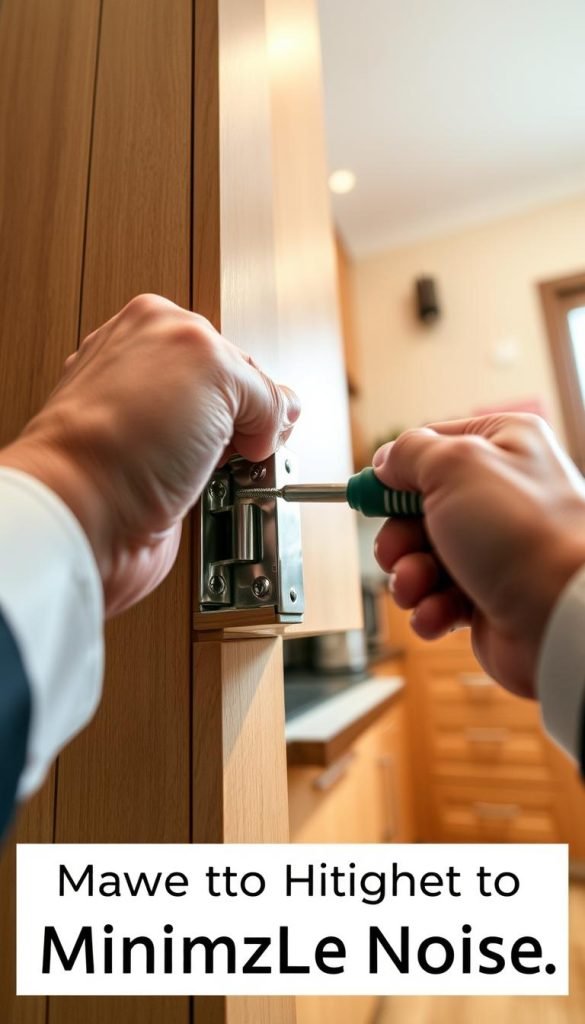
Tighten loose mounting screws first. If the door is crooked, make small adjustments and close the door after each one to see how the gaps change. Do not force an unfamiliar screw or plunger; identify the hinge model and use its adjustment instructions.
If the hinge has lost its damping or has excessive play, replacement is often more reliable than repeated adjustment.
Installing Hinge Restrictor Clips to Prevent Damage
My quest for quiet led me to discover an ingenious little device that completely transformed my storage solutions. These simple plastic clips offered protection I never knew my space needed.
What restrictor clips are and how they work
Hinge restrictor clips are small plastic accessories that limit opening angles. They prevent panels from swinging too far open. This control stops contact with nearby surfaces.
The mechanism is beautifully simple yet effective. Each clip attaches directly to the hinge assembly. It creates a physical stop at the desired opening point.
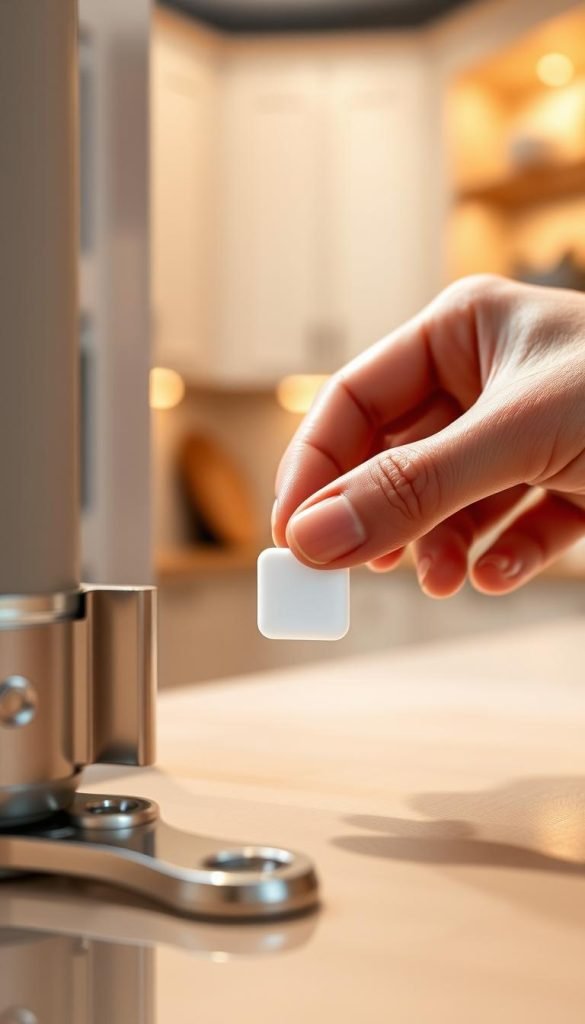
Most models limit movement to a 90-degree angle. This keeps everything safely away from walls and other obstacles. The protection extends to both the door and the surrounding area.
“These tiny clips solved two problems at once – they protected my walls while eliminating those jarring impact sounds.”
Sourcing affordable clips for European-style hinges
Finding the right components proved easier than I expected. Major manufacturers produce these accessories for their hinge systems. Compatibility depends on your specific hardware brand.
I discovered incredible value in bulk purchases. A couple dozen clips cost me less than five dollars online. Local hardware stores also carry them at reasonable prices.
Measuring my existing hardware ensured perfect compatibility. I noted the brand and model number before ordering. This tip saved me from purchasing incorrect items.
Proper installation technique for maximum effectiveness
Installation requires minimal tools and basic DIY skills. I used a simple screwdriver for the entire process. Safety glasses protected my eyes during the work.
The process involves attaching clips to the hinge mechanism. Each clip snaps or screws into place securely. Proper alignment ensures smooth operation without restrictions.
Testing the movement after installation confirmed success. Each panel now stops gracefully at the perfect point. The transformation eliminated all concerns about wall damage.
This solution proved incredibly cost-effective and permanent. My storage units now operate with controlled, quiet precision. The peace of mind was worth every penny spent.
When a soft-close upgrade makes sense
If the door is aligned and the bumpers are intact but it still closes too hard, a soft-close hinge or compatible retrofit damper may be the cleanest upgrade.
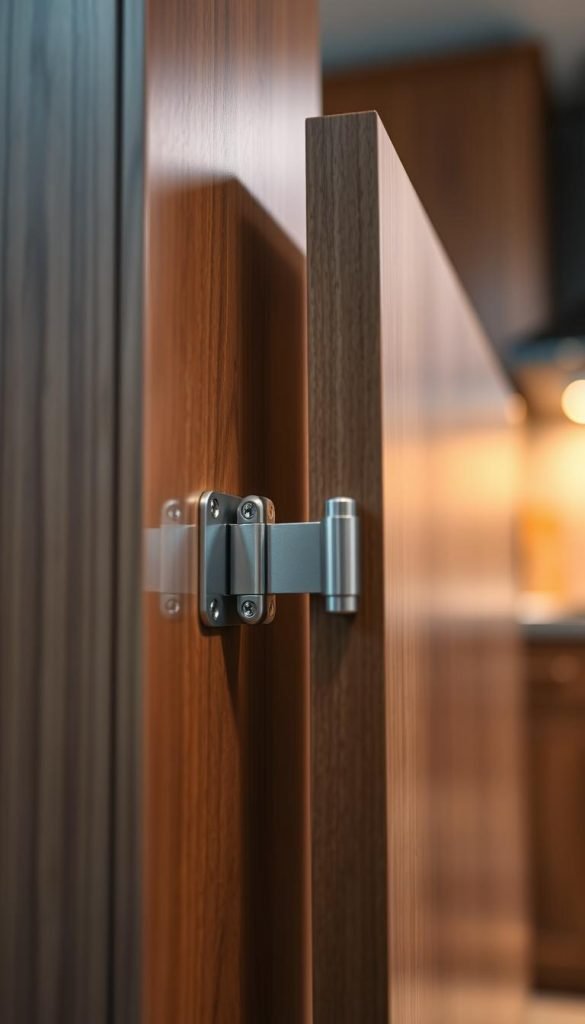
Compatibility matters. Match the overlay or inset style, cup diameter, opening angle and mounting pattern to the existing cabinet rather than buying a hinge solely because it says “soft close.”
Standard concealed hinges can often be replaced by a careful DIYer, but custom doors, unusual hinges or damaged mounting holes may justify a cabinet professional. Avoid relying on generic cost or time estimates; the hardware and cabinet construction determine the job.
Simple buffers can solve the last bit of noise
If the hardware is sound but the door still makes a sharp contact noise, small self-adhesive cabinet bumpers can cushion the meeting point.
Use bumpers made for cabinet doors and place them where the door actually contacts the frame. Replace flattened, hardened or missing pads rather than stacking multiple layers to compensate for a larger alignment problem.

Strategic placement proved crucial for maximum effectiveness. I positioned buffers at the points where contact occurred most frequently. This simple tip eliminated the banging completely in several locations.
| Buffer Type | Best Applications | Cost Range | Effectiveness Rating |
|---|---|---|---|
| Felt Pads | Light to medium doors | $2-5 per pack | Excellent |
| Rubber Bumpers | Heavy doors, high use | $3-7 per pack | Outstanding |
| Silicone Dots | Smooth surfaces | $4-8 per pack | Very Good |
| Foam Strips | Large contact areas | $5-10 per roll | Good |
“The right buffer in the right place can solve problems that expensive repairs cannot fix.”
When cabinet door replacement might be necessary
Despite my best efforts with buffers and adjustments, some situations required more drastic measures. Severe warping or structural damage sometimes made replacement the only practical solution.
I learned to recognize when repairs reached their limit. Extensive water damage often compromised the integrity beyond repair. Major warping that affected multiple panels indicated replacement time.
Cost-effectiveness became an important consideration in my decision process. When repair costs approached replacement expenses, choosing new components made better financial sense.
Working with a design team helped me select matching replacements that maintained my kitchen’s aesthetic. Professional guidance ensured the new door would fit perfectly and function properly.
This approach finally brought a permanent end to the persistent noise issue. The investment in quality replacements provided lasting peace and quiet throughout my home.
Conclusion: Enjoying My Peaceful, Quiet Kitchen
My journey from noisy nights to peaceful mornings taught me valuable lessons about home maintenance. The transformation required understanding my cabinet design and addressing each issue systematically.
Simple solutions like hinge adjustments and felt pads made a huge difference. For more persistent problems, soft-close mechanisms provided the perfect end solution. Every home deserves this level of quiet comfort.
Regular maintenance keeps everything working smoothly. A quick check every couple months prevents most issues. This small investment of time protects your cabinet frames and hardware long-term.
The right approach depends on your specific situation. Some cases need professional team assistance while others are perfect DIY projects. Either way, peaceful nights are absolutely achievable.
Addressing this seemingly small issue dramatically improved my daily life. The quiet operation makes my entire home feel more serene. I finally enjoy the peaceful environment I always wanted.