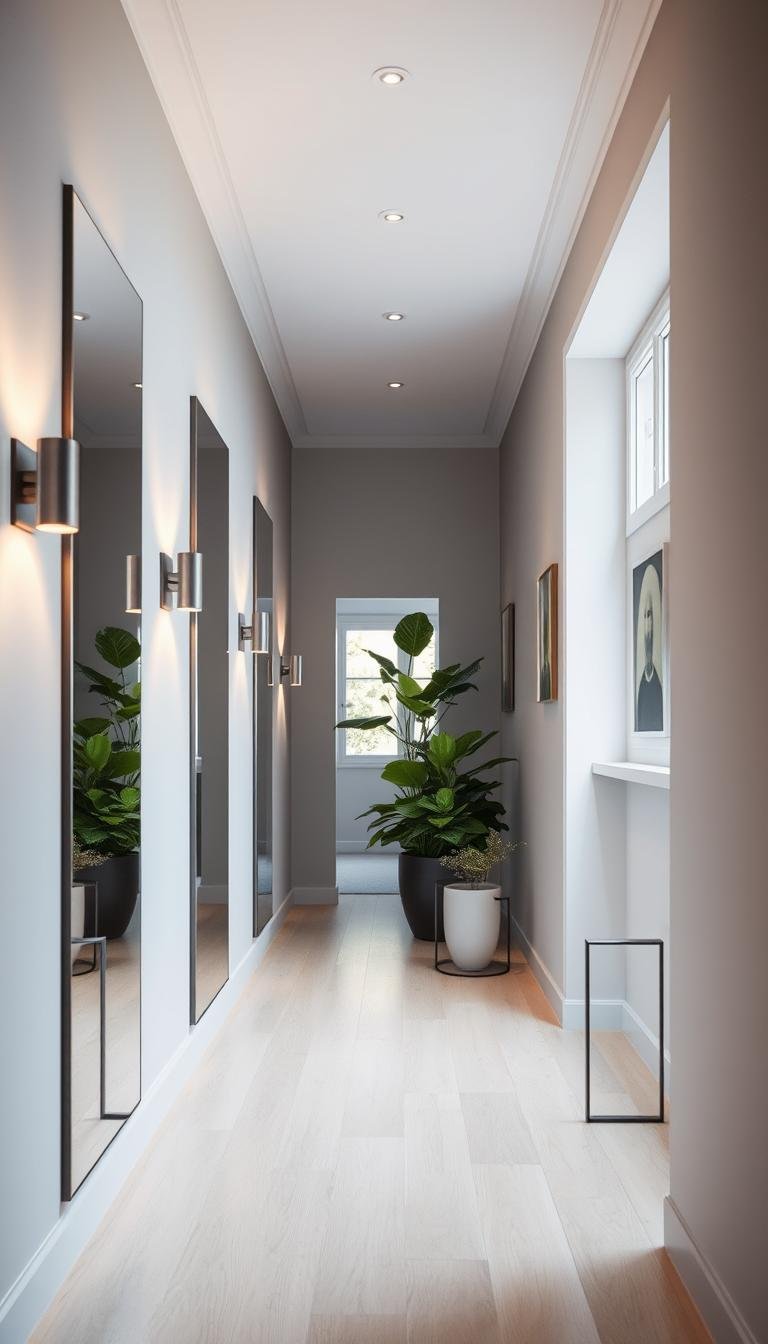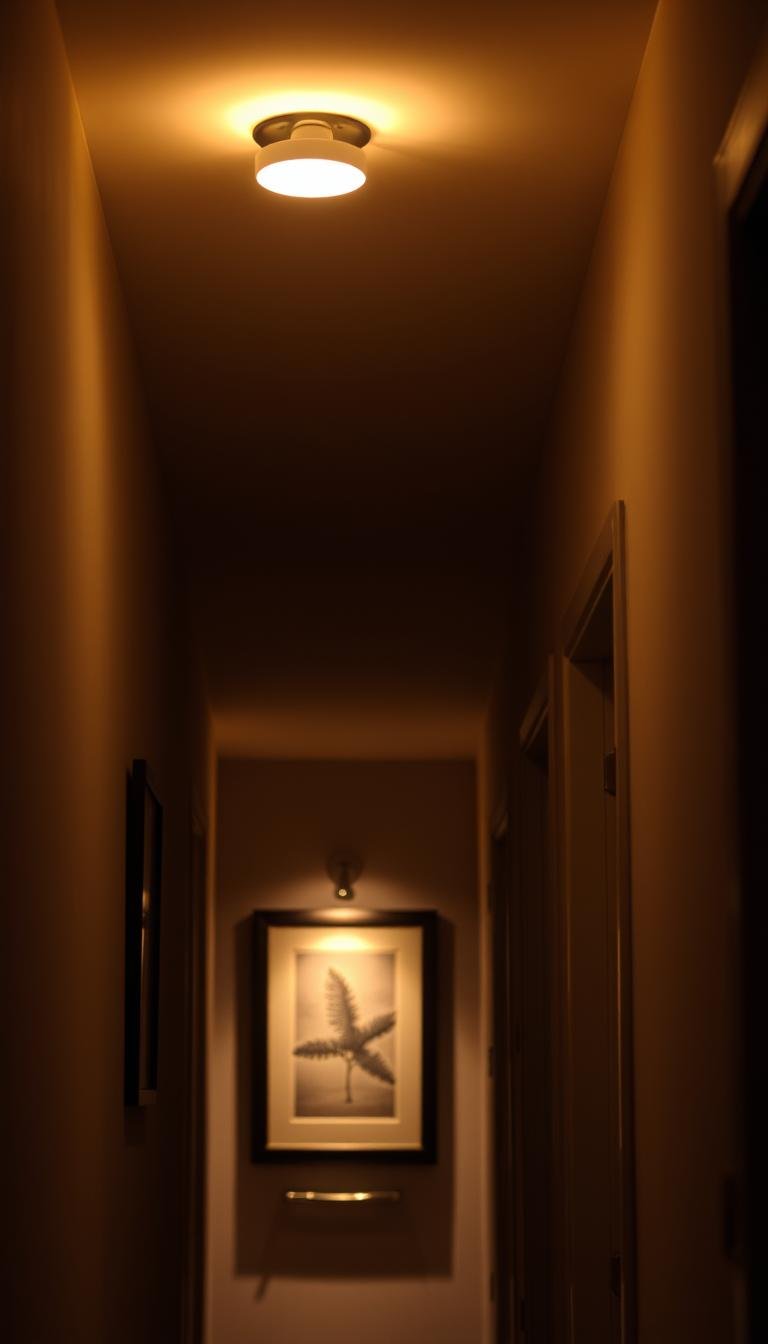
A good cordless picture light for a dark hallway should illuminate the artwork evenly without projecting so far into the passage that the fixture becomes an obstacle. Start with the artwork and hallway geometry, then compare beam spread, color quality, dimming, power type and mounting.
The useful relationship is artwork dimensions and surface → picture-light width and beam → hallway width → projection → color temperature/rendering → battery/recharge → controls → mounting.
Start with the artwork, not the fixture finish
Measure the artwork’s overall width and height, including the frame. Also note whether the piece is behind glass, has a glossy varnish or is a matte print/canvas.
Reflective surfaces can produce glare at angles that look fine on matte art. Deep frames can cast shadows. A tall work requires the beam to reach farther down the surface than a short horizontal piece.
Beam spread matters more than headline brightness
A bright source with a narrow beam can create a hot spot near the top of the frame while leaving the lower part dim. Look for published information about beam or coverage where available, and test the light on the real artwork if the manufacturer offers a return period.
For a hallway, the desired result is usually an even wash across the artwork—not maximum lumens.
Choose fixture width in relation to the artwork
There is no universal rule that the picture light must be one-half or two-thirds of the frame width. Fixture optics, mounting distance and artwork proportions vary too much for that to be reliable.
Instead:
- measure the artwork width;
- check the light maker’s recommended artwork-size or beam coverage;
- mock up the fixture’s physical width above the frame;
- confirm the beam reaches the lower corners without excessive spill.
A narrow light can work on a wider piece if its optics spread broadly; a longer bar can still create uneven coverage if its beam is poorly controlled.
Projection is critical in a narrow hallway
Record how far the fixture and arm project from the wall. Then compare that with:
- hallway clear width;
- door swings;
- closet doors;
- shoulder/head height along the walking path;
- nearby frames or architectural trim.
Low-profile fixtures are usually easier to integrate into narrow passages because they create less visual and physical intrusion.
Warm vs neutral light
Residential picture lights are commonly offered in warm or neutral-white ranges. Choose color temperature in relation to the artwork and the hallway’s other lighting.
Warmer light often suits wood frames, traditional art and warm wall colors. Neutral light can make whites and cooler colors appear cleaner. The important thing is consistency: one artwork should not look orange while the next looks blue because different picture lights use very different color temperatures.
Look for published color-rendering information
If accurate color matters, check whether the manufacturer publishes a color rendering index (CRI) or other color-quality information. A vague “true color” claim is less useful than a published specification.
For valuable or museum-quality artwork, lighting decisions should follow conservation guidance for that specific medium; a decorative residential picture light is not automatically appropriate for every original work.
Dimming is especially useful in hallways
A hallway can feel uncomfortable when the art lights are much brighter than the ambient light. Dimming lets you balance the display with ceiling fixtures, wall sconces or adjacent rooms.
Dimming can also reduce glare from framed glass and extend battery runtime in cordless fixtures.
Timer and remote controls can reduce maintenance
Controls are useful when the fixture is mounted above shoulder height.
| Control | Useful for |
|---|---|
| Remote | Changing several lights without reaching over artwork |
| Timer | Preventing lights from being left on all night |
| Memory | Returning to a preferred brightness after power cycles |
| Manual switch | Ensuring the light remains usable if a remote is lost |
If multiple picture lights form one hallway sequence, consistent timer behavior and dimming steps can make the installation feel more coherent.
Disposable batteries vs rechargeable lights
Replaceable-battery models can run for long periods depending on battery size, brightness and usage, but create an ongoing battery-replacement cost.
Rechargeable models reduce disposable battery use but need a practical charging method. Check whether the fixture must be removed from the wall, whether the battery pack detaches, or whether a magnetic/USB cable reaches it in place.
Do not compare runtime claims without checking the brightness setting and test conditions. A headline runtime measured at minimum output is not the same as full-brightness use.
Mount the fixture independently from the artwork when appropriate
Many cordless picture lights mount to the wall above the frame. Follow the fixture manufacturer’s bracket and fastener instructions for the wall substrate.
Do not assume an adhesive pad is suitable simply because the light is battery powered. The fixture still has weight, and batteries may increase that weight. If a fall could damage valuable art beneath it, use a more secure mounting method.
Should the light attach to the frame?
Some lights are designed to attach to a picture frame, but this changes the load on the frame and its wall-hanging hardware.
Use a frame-mounted fixture only when:
- the light manufacturer allows it;
- the frame material can accept the attachment;
- the added weight is within the frame/hanging system’s safe capacity;
- the attachment does not damage the artwork or glazing.
For a valuable frame, wall mounting is often the more conservative option.
Test glare before final tightening
Temporarily position the light and look at the artwork from normal hallway approach angles. If you see the light source reflected strongly in the glazing, adjust the beam/arm according to the fixture design.
The best angle is the one that lights the surface evenly while keeping direct reflection out of the common viewing path; it is not one fixed number of inches above every frame.
Repeat one lighting language along a gallery run
If several pieces share one hallway, consistent fixtures usually create a calmer result. Keep these attributes coordinated:
- finish;
- color temperature;
- fixture width family;
- projection;
- brightness level;
- mounting relationship to each frame.
The fixtures do not have to be identical if artwork sizes differ, but they should feel like one system.
When a picture light is the wrong solution
Use broader hallway lighting instead when:
- the passage is so narrow that any projecting fixture becomes intrusive;
- art changes frequently and fixed light positions would become awkward;
- the hallway needs general illumination more than artwork emphasis;
- valuable/light-sensitive artwork requires a conservation lighting plan;
- charging or battery replacement would be impractical.
In those cases, ceiling spots, wall washers, low-profile sconces or another general-lighting approach may be better.
Continue with our dark hallway lighting guide, gallery-wall frame guide, picture-hanging strip guide, and frame-to-wall protection guide.