A budget closet system works best when you design around the actual room, wardrobe and wall construction instead of copying a fixed set of shelf heights or fasteners. Start by measuring the closet, counting what needs to hang or fold, and deciding whether a manufacturer-designed rail system or site-built cabinetry makes more sense.
The two approaches have different risks. A rail system should be installed exactly to the manufacturer’s substrate, fastener, spacing and load instructions. Site-built cabinetry gives more flexibility, but shelf spans, joinery and wall attachment depend on the materials and loads involved.
Start with an inventory, not a standard layout
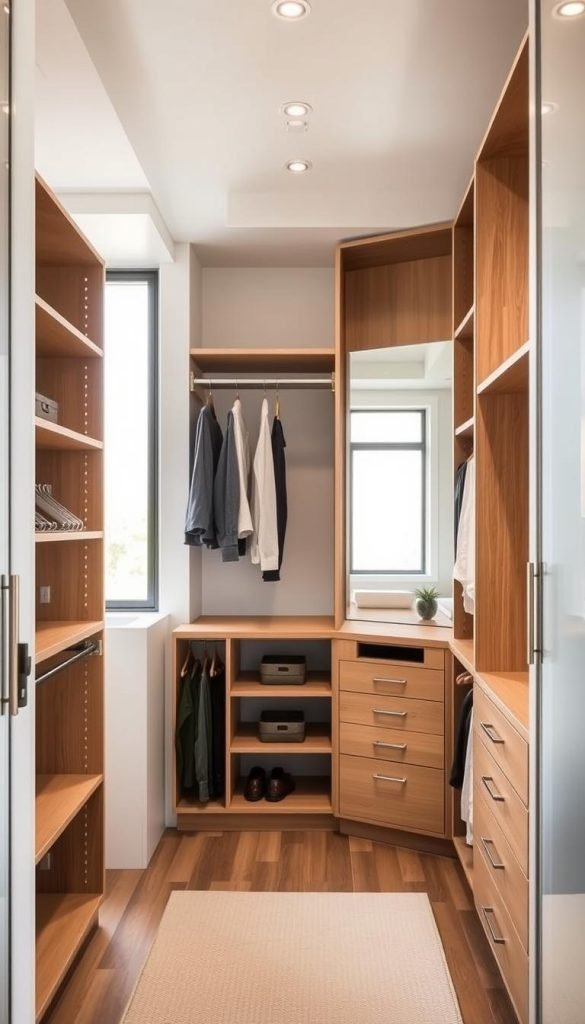
Count long-hanging garments, shirts, folded items, shoes, bags and accessories. Measure a few representative items so the storage dimensions come from your wardrobe rather than a generic chart.
- Long garments need more vertical clearance than shirts and jackets.
- Folded clothing needs shelf depth that keeps stacks stable without creating unreachable space.
- Shoes and boots vary widely, so measure the pairs you actually own.
- Drawers and baskets need room to open without colliding with doors or adjacent sections.
Also measure baseboards, outlets, access panels, vents, sloped ceilings and door swings before finalizing the design.
Choose between a rail system and built-in cabinetry
| Approach | Best when | Main caution |
|---|---|---|
| Manufacturer rail system | You want a modular, faster install | Use the exact approved fasteners, spacing and wall types |
| Site-built cabinetry | You want a fitted millwork look | Panel spans, joinery and wall attachment must suit the loads and materials |
| Hybrid | You want modular storage with trim around it | Do not let decorative trim hide inaccessible hardware or service points |
Rail systems: follow the product, not a universal formula
Do not use a generic rail height or assume a drywall anchor is interchangeable with a stud attachment. The correct mounting method depends on the exact system, wall construction and load.
Use the manufacturer’s instructions for rail height, fastener type, anchor quantity, spacing, allowable wall substrates and maximum loads. If the wall construction is uncertain, or the product requires structural attachment you cannot verify, have the mounting assessed before loading the system.
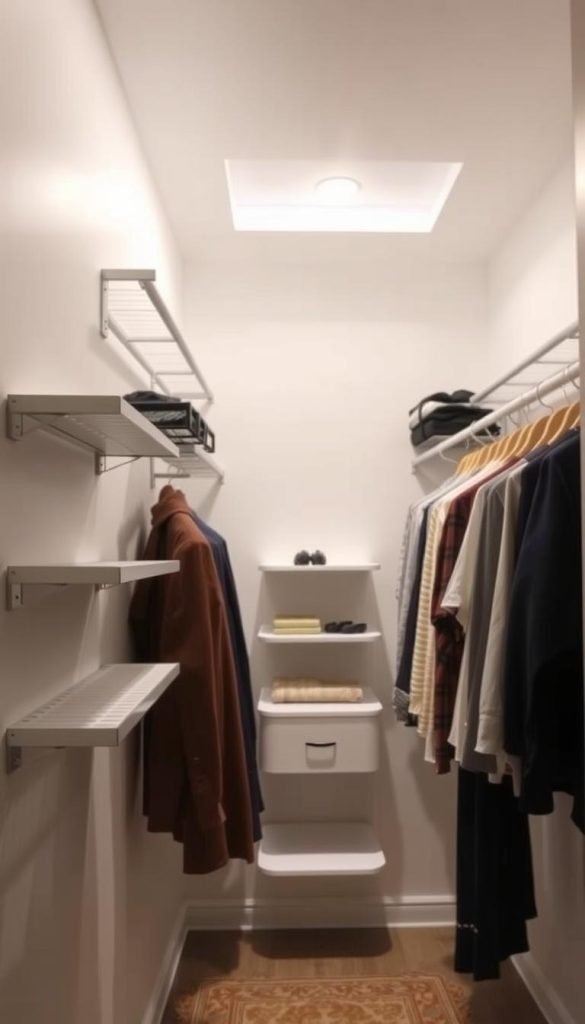
Site-built cabinetry: size parts for the actual span and load
Plywood, MDF and other sheet goods behave differently over long spans. Shelf thickness, depth, edging, support spacing and joinery should be chosen for the material and the weight the shelf will carry.
Avoid copying fixed panel widths, shelf spans or nail-only construction from an unrelated project. For long runs, heavy storage or wall-hung cabinetry, use proven joinery and attachment methods appropriate to the material, or have a carpenter review the design.
Prep the room before installation
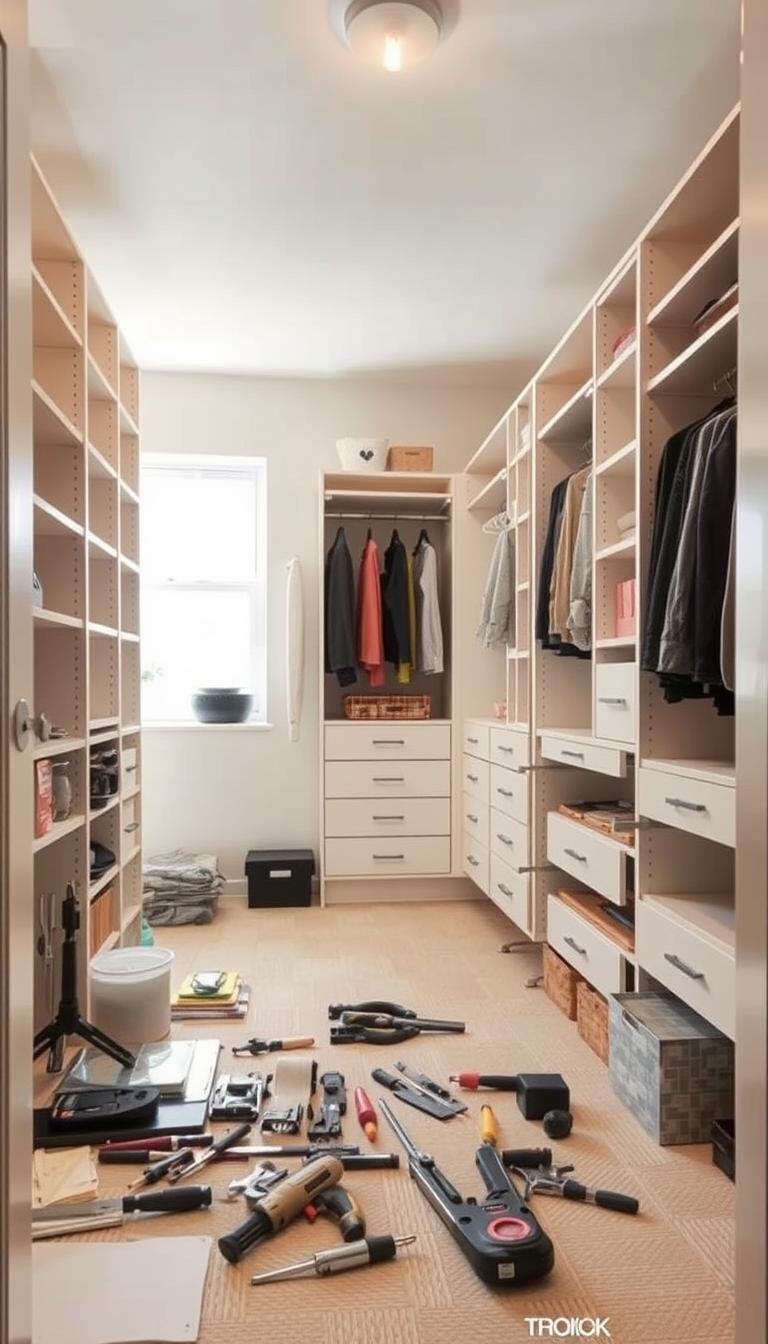
- Remove the old system carefully and identify any hidden wiring, plumbing or service access.
- Repair damaged wall surfaces before installing new storage.
- Mark the finished floor and wall conditions that affect level and plumb.
- Lay out the system on paper or with painter’s tape before drilling.
- Dry-fit major components so drawers, rods and doors can operate without collisions.
Set rod and shelf heights from the user
There is no single correct height for a hanging rod or shoe shelf. Base the layout on garment length, user reach, accessibility needs and the closet’s actual ceiling height.
For double-hanging sections, make sure the upper and lower garments do not overlap or drag. For shelves, leave enough clearance to see and retrieve items without stacking them so high that the system becomes difficult to use.
Lighting: keep electrical work separate from carpentry
Plug-in or listed low-voltage closet lighting can be a simple upgrade when used according to its installation instructions and kept clear of stored fabrics. Hardwired lighting, new outlets or changes to electrical circuits should be handled by a qualified electrician where required.
Do not conceal extension cords, power supplies or junctions behind built-in panels unless the electrical product and local rules allow that arrangement.
Finishing without hiding problems
Trim, caulk and paint can make a modular or site-built system look more integrated, but finish work should not cover adjustment points, fasteners that need inspection, electrical access or removable service panels.
Follow the coating manufacturer’s surface-preparation and cure instructions before loading shelves or drawers.

Budget where it matters
Instead of promising a universal project price or weekend timeline, compare the costs that change from room to room: sheet goods or system components, drawer hardware, trim, paint, tools you do not already own, delivery, and any professional electrical or carpentry work.
Spend more attention on the parts that affect safety and daily function—mounting hardware, drawer slides, rods and structural supports—before decorative upgrades.
A practical final checklist
- The layout matches the actual wardrobe.
- Rails or wall-hung parts use the manufacturer-approved attachment method.
- Site-built shelves are supported for their span and expected load.
- Drawers and doors open without collisions.
- Electrical work remains accessible and compliant.
- Service panels, vents and utilities are not buried.
- Finishes are fully cured before loading the system.
The simplest way to keep the project affordable
Use a modular system where it solves the storage problem cleanly, add trim only where it improves the finished look, and reserve custom carpentry for the sections that truly need it. The result is usually more reliable than copying a one-off built-in with fixed dimensions and improvised fasteners.
For more storage planning, see the walk-in closet organization guide and the Dwelanor Room Guides.