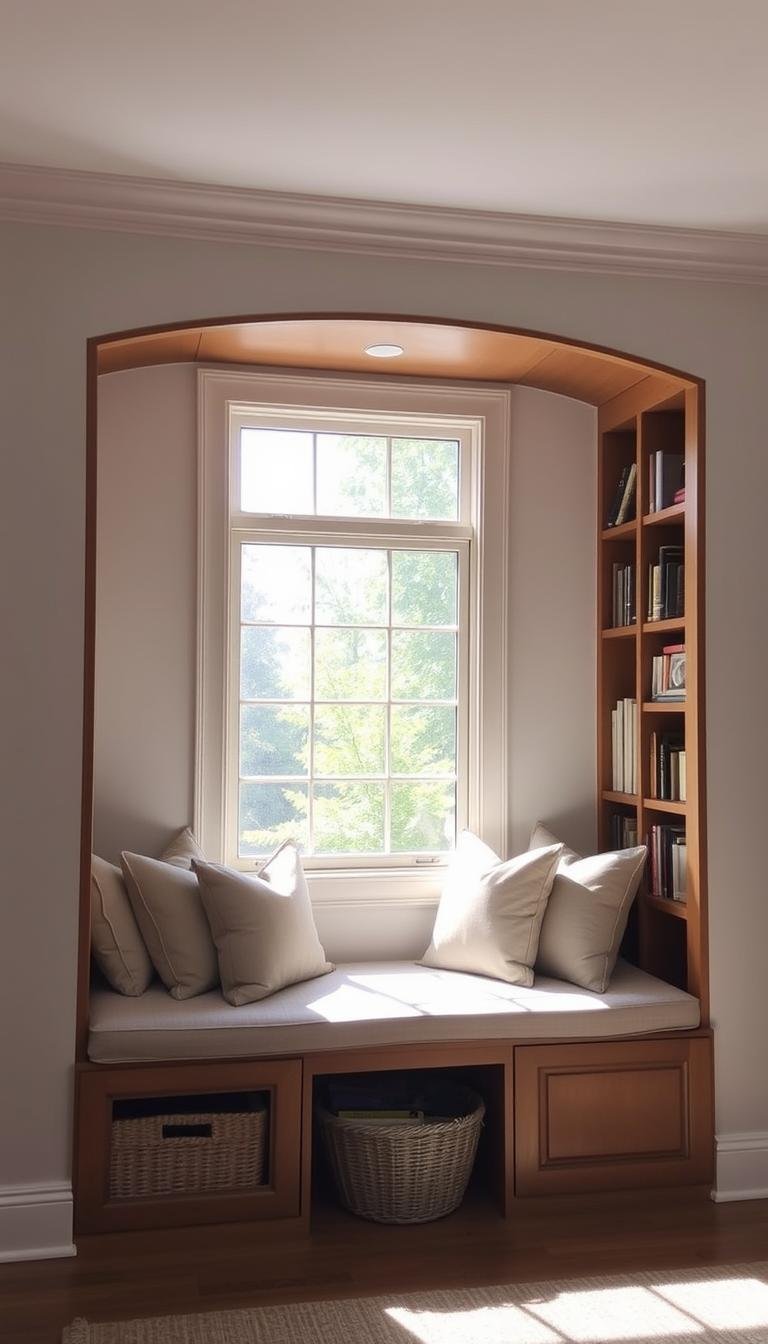
For most window seats, a finished depth of about 18–22 inches is a useful starting point. That range works well for upright reading and casual sitting without pushing too far into the room. If the seat is intended to work more like a daybed or nap spot, 24–30 inches is usually more comfortable.
Depth is only one part of the decision. Cushion thickness, lid hinges, drawers, nearby curtains, vents and the amount of walking space left in front of the bench all affect whether the finished seat feels right.
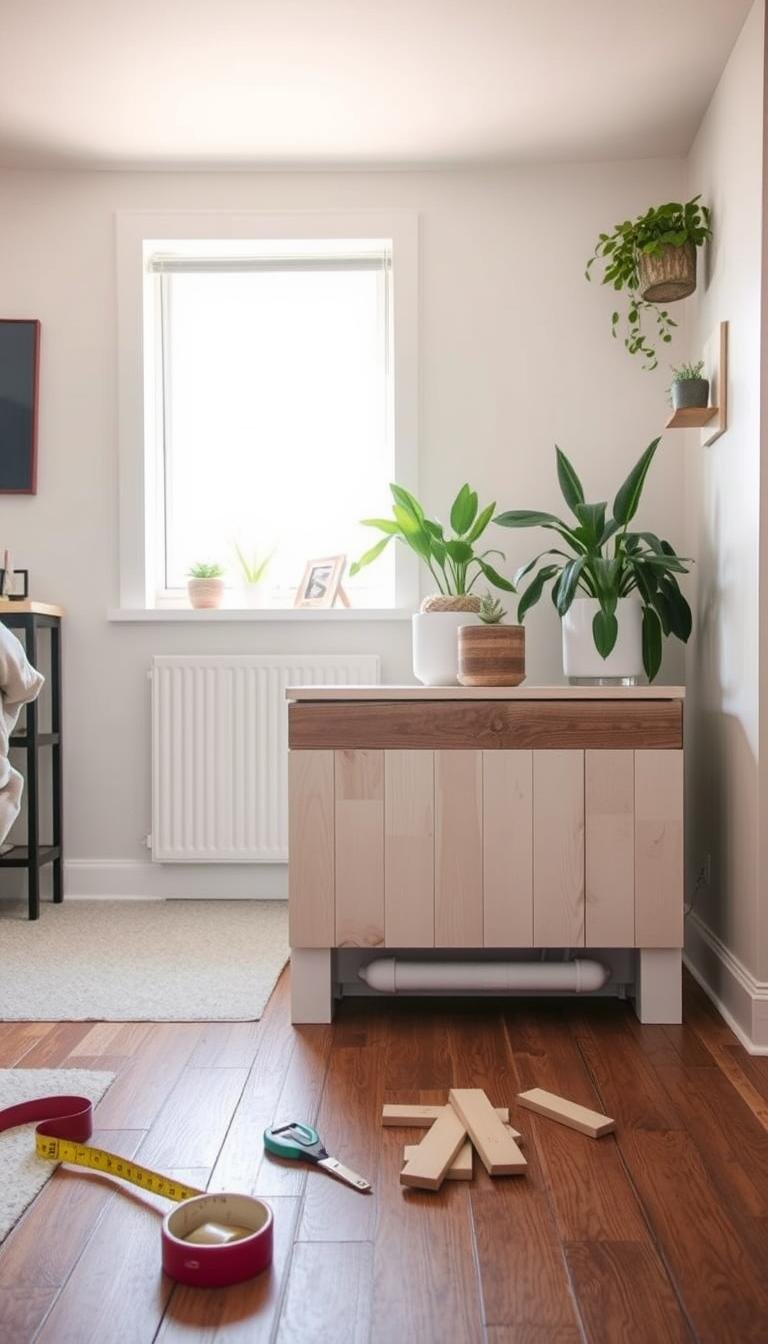
The easiest way to avoid a bad proportion is to tape the proposed footprint on the floor, add a cushion or chair at roughly the same depth, and live with the outline for a day before building anything.
Window-seat dimensions that usually work
| Use | Typical finished depth | What to watch |
|---|---|---|
| Upright reading / casual seating | 18–22 in | Back cushion thickness and foot clearance |
| Dining nook | 18–22 in | Table position, knee room and seat height |
| Lounging / daybed feel | 24–30 in | Room circulation and cushion scale |
Start with the room, not the cabinet
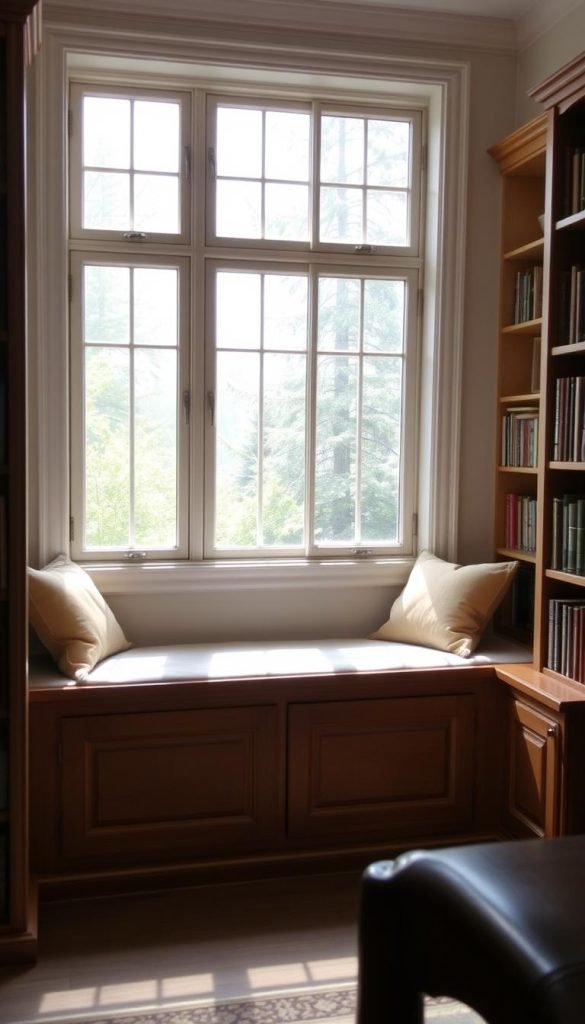
A window seat can be comfortable and still be the wrong size for the room. Before settling on a depth, check the walking path past the bench, nearby doors, radiators or HVAC grilles, curtain stacks, outlets and any furniture that needs to remain in front of it.
Bay windows deserve extra care because the wall angles are rarely as neat as they look on paper. Measure both sides rather than assuming the angles match. If the seat will sit between existing casing or trim, include that in the template rather than treating it as an afterthought.
For a built-in structure, locate framing and services before fastening anything to the wall. Stud spacing, wall construction and the load the bench is expected to carry determine the appropriate anchoring method. If the design involves moving electrical outlets, HVAC registers or other services, that is a separate trade decision rather than part of the cabinet sizing.
How cushion thickness changes the feel
A 20-inch-deep wooden platform does not feel like a 20-inch-deep finished seat once a thick back cushion is added. A generous back cushion can easily use several inches of usable depth, while a thin pad leaves much more of the platform available.
That is why it is better to mock up the finished seat than to rely only on cabinet dimensions. If possible, place the intended cushion or something similar against the wall while testing the footprint.
Seat height matters just as much
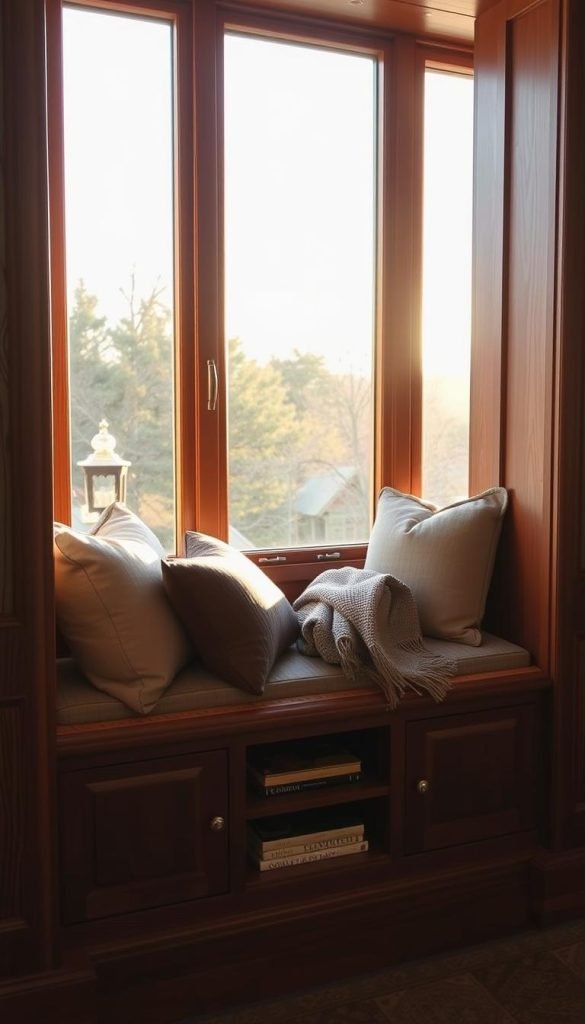
A finished seat height around 18–19 inches often feels familiar because it is close to many dining and lounge chairs. That is a sensible starting point, not a universal rule. A thick cushion raises the sitting surface, and a dining bench also has to work with the actual table height and apron clearance.
For a reading nook, a slightly lower seat can feel relaxed. For a dining banquette, matching the relationship between seat, cushion and tabletop matters more than hitting one magic number.
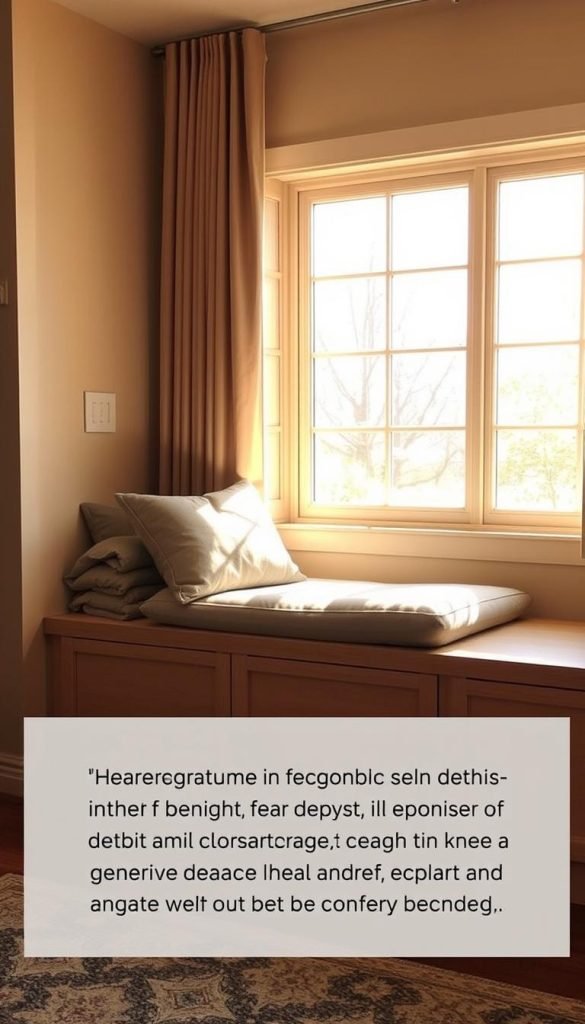
Choose the storage style around what will live inside
The storage mechanism should follow the contents rather than the other way around.
- Drawers: best for items you reach often, such as games, shoes or folded linens.
- Lift-up lid: useful for bulky bedding or seasonal items, provided the lid can open safely without fighting the cushion or nearby trim.
- Doors or sliding panels: useful where drawer projection would interfere with circulation.
Hardware clearances vary, so use the hinge or drawer-slide manufacturer’s dimensions instead of designing around a generic gap. For any heavy lift-up lid, consider hardware that controls the lid safely rather than relying on friction alone.

What to decide before construction starts
Once the proportions work in the room, the structural design still needs to suit the materials and expected load. A decorative storage box and a built-in bench intended to seat several adults are not the same project.
For a true built-in, the frame, top thickness, spans, fasteners and wall anchoring should be chosen for the actual load and wall construction. Avoid copying one universal 2×4 or plywood recipe simply because it appears in another project; a long unsupported span behaves very differently from a short one.
Keep access to vents, outlets and service points. If the bench crosses an HVAC opening, electrical point or other building service, resolve that before the cabinetry is built around it.
Fabric and cushion choices near a sunny window
Sunlight can be harder on textiles than normal room wear. If the window gets strong direct sun, look for upholstery fabric with documented fade resistance and choose a cushion construction suited to the way the seat will be used.
Washable or removable covers are particularly useful in breakfast nooks, kids’ rooms and mudrooms. The important point is not a specific foam thickness or brand; it is that the cushion remains comfortable at the chosen seat height and does not steal too much usable depth.
A practical sizing sequence
- Decide whether the seat is mainly for upright sitting, dining or lounging.
- Tape an 18–22 inch footprint on the floor; deepen it only if lounging is the priority and circulation allows.
- Mock up the expected cushion thickness before finalizing the platform.
- Check finished seat height against any nearby table or furniture.
- Choose drawers, lid storage or doors based on what needs to be stored and the space available in front.
- Confirm wall structure, services and anchoring before construction.
A well-proportioned window seat should feel as though it belongs to the room even when it is empty. If the footprint leaves the circulation comfortable, the cushion supports the way you actually sit, and the storage is easy to use, the exact number matters less than the relationship between all three.