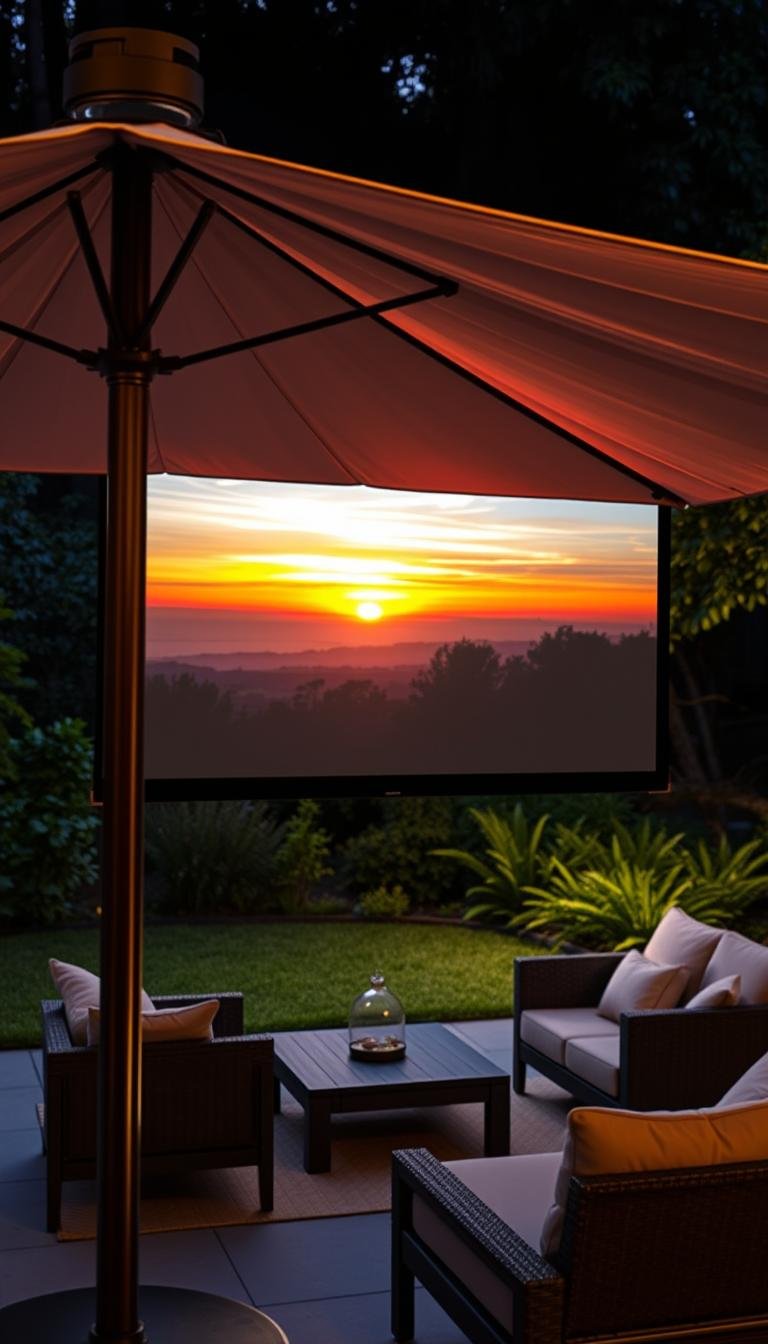
How can I make my patio umbrella double as a projector screen?
I can absolutely turn a backyard shade fixture into a functional viewing surface without blowing my budget. With simple materials like blackout cloth or a smooth white sheet, plus clips and bungees, I create a flat, taut panel on one canopy section that becomes the heart of an outdoor movie night.
I aim for a bright, wrinkle-free result that resists wind and keeps the projector image steady under the stars. Ironing or steaming the fabric and adding weights or stakes reduces flapping and improves clarity.
My setup notes: match throw to screen size, correct keystone, and point the lens perpendicular to the canopy to avoid distortion. For sound, I use an analog cable to a soundbar or a Bluetooth speaker while watching for any lip-sync delay.
Key Takeaways
- Use the right fabric: high-thread-count or blackout cloth for clearer images.
- Keep it taut: clips, grommets, and weights stop billow and improve contrast.
- Mind the light: prefer after dusk or add shade and higher-lumen projection.
- Secure audio: analog outputs avoid Bluetooth lag when possible.
- Plan for wind: stakes and a solid base make the setup repeatable and fun.
- Stay flexible: have a backup surface in case the canopy won’t cooperate.
Turn my patio into an outdoor theater: feasibility, benefits, and what to expect
Before I commit, I check canopy shape, ribs, and base to see if a flat viewing patch is realistic. This tells me whether the setup will produce a tidy screen or suffer from seams and creases that ruin the image.
I like the idea because the umbrella gives a compact, shaded spot that saves lawn space and creates an intimate outdoor theater feel. A simple white sheet works for one-off nights, while blackout cloth or tarp gives a tougher, higher-contrast material for repeat use.

I also map wind patterns, nearby lights, and sightlines from seating. Anchoring with ropes, stakes, and sandbags keeps the surface steady and reduces flutter during breezy evenings.
- Quick routine: clip, tension, anchor, plug in, play—so weekday nights don’t become a chore.
- Expectations: this is portable and clever, not a permanent cinema; a good setup still yields a bright projector image and solid sound most evenings.
- Fallback: if wind wins, I switch to a freestanding frame or wall without missing the movie.
Choose the right screen material and prep the umbrella for projection
Choosing material that lays flat and reflects evenly is the single best trick for a crisp backyard movie night. I compare options quickly so setup stays simple and repeatable.
Blackout cloth delivers the most uniform, matte reflection and fewer hotspots. It boosts contrast and overall image quality for an outdoor projector setup and is my top pick for frequent shows.
High-thread-count white sheet is a budget-friendly alternative. If I iron and pull it tight to a smooth surface, a white sheet can produce a surprisingly good projector screen for casual nights.
Tarps and vinyl offer durability and built-in grommets, but texture and sheen may show grain. I test those materials before committing to ensure the texture won’t harm the picture.

- Iron or steam fabric to remove wrinkles for a smooth surface.
- Use grommets, clips, short bungees, and paracord to tension without stressing ribs.
- Anchor with stakes or sandbags to resist breeze and keep geometry square.
- Pack spring clips, mini carabiners, and an adhesive grommet kit for fast repairs.
Test a grid pattern once mounted to spot waves and tweak tension points. I treat the frame gently and route cords along ribs so the setup holds shape night after night.
How can I make my patio umbrella double as a projector screen? Step-by-step
Start by cutting a single fabric panel to match one canopy section. Use blackout cloth or a tarp with added grommets so the material reflects evenly and holds tension.

Convert the canopy
Measure the wedge and trim the fabric to fit a single panel. Hem the top edge for a removable wrap option that slips over a rib for fast deployment.
Attachment and cord routing
Install grommets aligned to the ribs. Use short bungees or small zip ties to attach the panel snugly without stressing framework.
Tension, stability, and weather sense
- Tension in a star pattern: top, bottom, left, right, then fill in so the projection grid lies flat.
- Secure the base: add sandbags and use guy lines to nearby stakes to reduce flutter.
- Quick-release: use easy zip ties for fast teardown when wind picks up.
Final checks: route power and HDMI along the pole with Velcro, pad abrasive contact points, then project a test pattern. I eyeball perpendicular alignment and fine-tune keystone until focus is even corner to corner.
Set the projector and dial in the picture for backyard movie nights
I position the unit, set a test pattern, and then fine-tune until edges look even and bright. This short routine saves time and preserves image quality from the first reel.

Projector placement: distance, size, and avoiding hot spots
I set the projector at the correct throw distance for the intended screen size. Then I align the lens dead-on to the center. That reduces keystone correction and keeps sharpness higher.
I use a test pattern to check focus edge to edge. Keep the beam perpendicular to the surface to avoid bright hot spots. Matte or moderate-gain materials give the most even brightness.
Ambient light control and gain choices
For best contrast I start after dusk and turn off porch lights. If I must play earlier, I use a higher-lumen outdoor projector (1000+ ANSI lumens) or a reflective vinyl/high-gain fabric.
- Lock geometry first; small keystone and lens shift handle final tweaks.
- Stabilize the unit on a firm table or tripod and tape cables to prevent bumps.
- Anchor inflatable or PVC frames with sandbags or stakes so the projection stays true.
“Save your settings as a preset for repeatable setup on future movie nights.”
Finally, I double-check seating distance against the chosen screen so subtitles and detail are comfortable. For extra setup tips, I also reference an ideas guide for backyard entertainment at backyard entertainment ideas.
Big screen, big sound: outdoor audio options that actually work
A tidy audio plan keeps viewers engaged without wrestling with pairing or volume fuss. Good sound makes the outdoor movie feel like a proper theater experience.

Simple and reliable: I usually run a 3.5-mm cable from the projector’s analog audio-out to a portable speaker or soundbar. Use a 3.5-mm-to-3.5-mm or 3.5-mm-to-RCA lead for clear dialogue and fewer surprises.
Wireless choices
Often I pair to a bluetooth speaker such as the W-King X10 for freedom from cables. Expect a small lip-sync delay outdoors. A compact Bluetooth transmitter adds wireless capability to sources that lack it.
Streaming made easy
With a Roku stick, the Roku mobile app can route audio through your phone to any bluetooth speaker. This trick keeps speaker placement flexible and avoids re-wiring the device.
- Placement tip: set speakers slightly in front of and below the viewing plane so voices match action.
- Practical checks: do a quick dialogue-heavy sound check before showtime.
- Safety: tape any cables along the pole and ground to remove trip hazards.
“A simple 3.5-mm feed often beats wireless lag for clear speech in backyard shows.”
Umbrella not ideal tonight? Smart screen ideas on a budget
If the canopy won’t work tonight, there are low-cost fixes that give a clean, large viewing surface fast. These options keep setup simple and portable, so the outdoor movie doesn’t get canceled.

Fast alternatives
White sheet: I hang an ironed white sheet with clips and add weights to the hem for a flat surface. It’s the quickest diy outdoor projector solution for impromptu backyard shows.
Blackout cloth between posts: I stretch blackout cloth or a tarp between wooden posts and add grommets, ropes, and stakes so the outdoor screen resists breeze and holds texture and surface tension.
House-side hacks
Painted wall: A smooth exterior wall painted matte white gives a repeatable, low-maintenance outdoor movie screen that resists wrinkles.
Pinned cloth: I pin blackout fabric to shed siding or deck supports for a clean, budget-friendly movie surface that looks close to a professional projector screen.
Portable vibes
PVC pipe frames: I build a frame that breaks down in minutes, zip-tie fabric around the perimeter, and anchor with sandbags. It’s lightweight and ideal for summer trips.
Inflatable screens: For zero-build nights I inflate, stake corners, and enjoy a big viewing area under the stars. They’re fast and forgiving on imperfect sites.
- Test texture first: check sheen and grain so brightness and fine detail stay accurate.
- Stability matters: measure, stake, or use sandbags so the projection geometry stays square.
- Pack a kit: clips, bungees, paracord, and extension cords make any setup repeatable by dusk.
“Keep setups modular so you can adapt to trees, fences, posts, or the side house and still roll credits on time.”
Conclusion
A simple playbook keeps setup fast and the picture reliable for backyard movie nights.
I pick the right fabric—blackout cloth for matte reflection or a well-ironed sheet—then tension that panel with clips, bungees, and grommets. I anchor the base with sandbags or stakes so wind doesn’t ruin the image.
For sound I run an analog cable to a portable speaker or use a Roku-linked Bluetooth option for easy streaming. Before guests arrive, I set projector distance, fine-tune keystone, and tidy cords along the pole.
If the canopy flutters, I pivot to a sheet, a PVC frame, or the side of the house and keep the show going. I store fabric, clips, cords, and a spare HDMI together so the next movie night is faster and more fun.