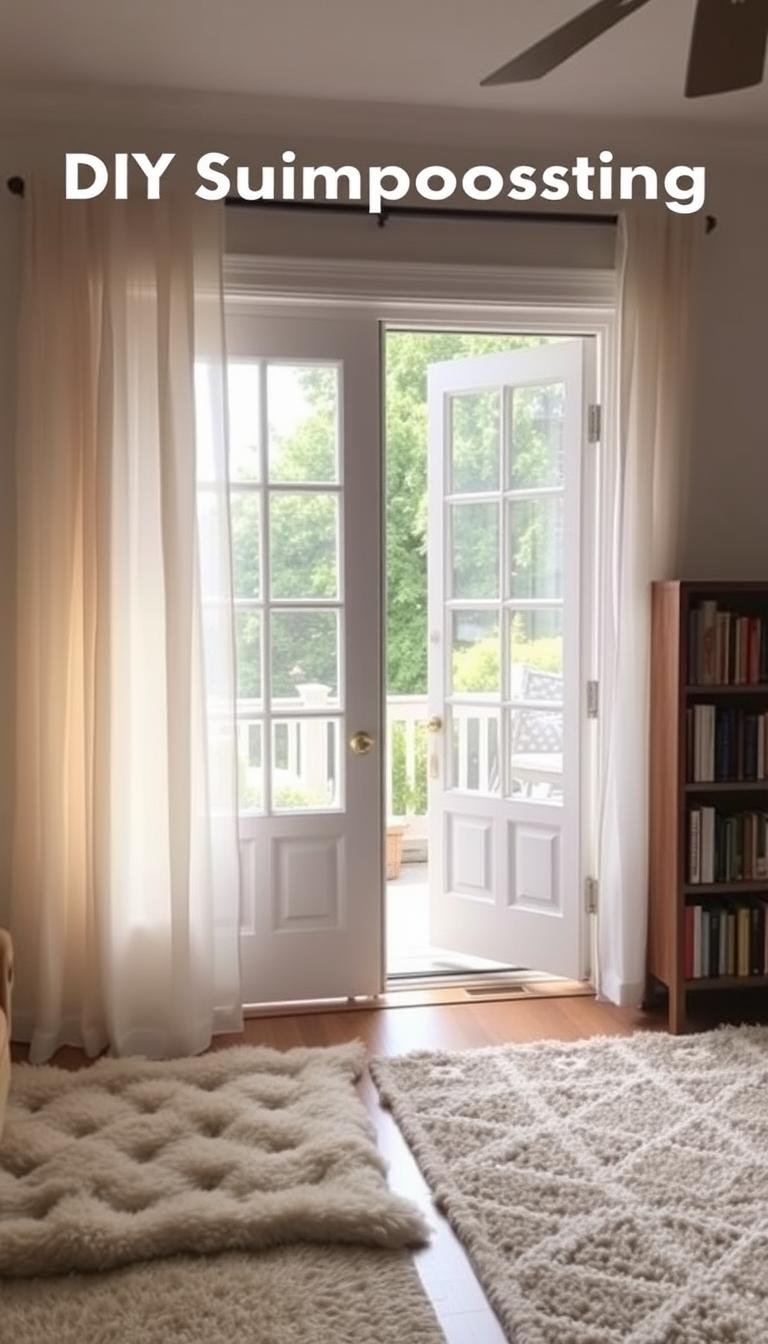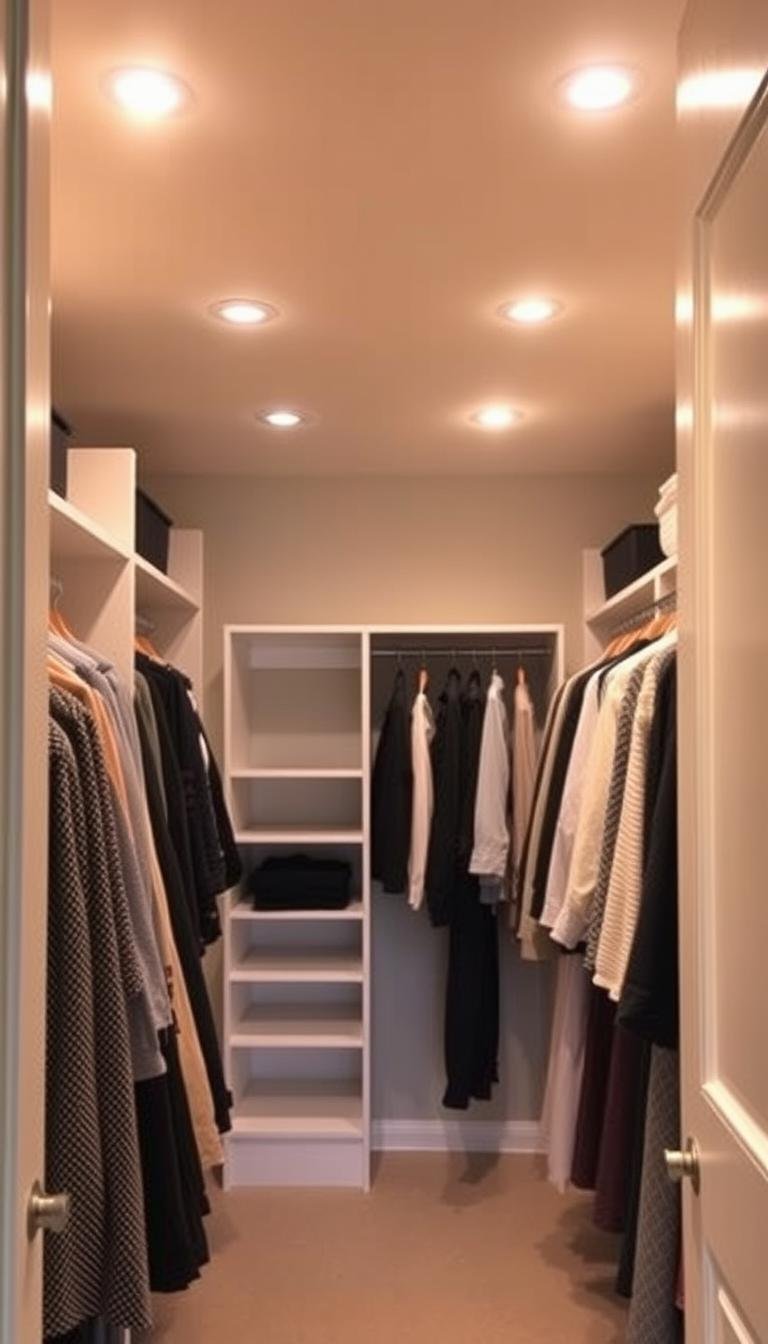
What’s the best way to light a walk-in closet under $60?
I set out with one goal: bright, even closet lighting without hiring an electrician or tearing up walls. I rely on wireless LED strips, puck lights, and slim bars that mount with adhesive or magnets for fast install and clean lines.
Motion-activated fixtures make daily use effortless. They switch on when I open the door and shut off when I leave, which saves energy and extends battery life.
I favor USB-rechargeable models where possible. They cut ongoing costs and reduce waste, and many include remotes or touch controls for quick adjustments.
To stretch each dollar I pair lights with reflective finishes and mirrors. That design trick bounces light around the space so I need fewer fixtures and still see everything clearly.
Key Takeaways
- Choose wireless closet options for easy install and tidy look.
- Pick motion-activated LED strips and puck lights for convenience.
- Prefer USB-rechargeable units to save money and reduce waste.
- Place lights where you reach first: shelves, rods, and entry points.
- Use mirrors and light finishes to amplify brightness and cut fixture count.
How I decide the best budget lighting for a walk-in closet
I begin by mapping the closet so light goes where I need it most. I measure length, depth, and shelf runs. This helps me spot blind corners, deep cubbies, and low shelves that hide items.

Assess size and layout first. I stand where I dress and watch for body shadows. If an area falls dark, I plan side or in-cabinet fixtures rather than relying on one overhead source.
Set micro-budgets by zone
I break the space into zones: shelves, rods, floor, and entry. I assign a small budget to each zone so I can buy targeted lights without overspending.
- I prefer vertical side lighting when clothes block a ceiling lamp.
- I reserve horizontal shelf strips for high-use ledges only.
- I choose wireless, motion-activated kits and confirm led strip cut points before buying.
| Zone | Priority | Typical option |
|---|---|---|
| Shelves | High | Stick-on LED strips |
| Rod | Medium | Rechargeable bars |
| Floor/Entry | Low | Motion puck or tape |
Tip: I test one kit, check color and brightness on fabric, then buy more. A short checklist keeps impulse buys out and makes ideal selections simple.
What’s the best way to light a walk-in closet under $60?
I focus on fixtures that give the most usable lumens for the least cash. Battery-powered LED strips, puck fixtures, and slim rechargeable bars form my core picks. They install fast, hide neatly, and keep costs low.

My under-$60 winners: LED strip kits, puck lights, and rechargeable bars
LED strip kits go along shelf edges and baseboards for continuous, modern coverage. They offer the most lumens per dollar and often include cut marks so you tailor lengths.
Puck lights give focused, warm-white spots over drawers or jewelry trays. I favor dimmable models with remotes for touch-free control.
When motion sensors save money and battery in daily use
Motion-activated strips switch on when the door opens and off when I leave. That use pattern cuts runtime and stretches battery life, so I replace cells less often.
Choosing wireless closet lights to avoid wiring
I pick USB-rechargeable lights where possible and check adhesive strength before sticking fixtures to melamine or painted wood. For more ideas and design cues, see this closet lighting guide.
- I add a rechargeable bar for vertical side lighting near hanging rods to reduce shadows.
- I avoid tap-only fixtures in hard-to-reach spots and reserve them for reachable zones.
Budget-friendly lighting options that actually perform
Small, smart fixtures often give more usable brightness than a single overhead lamp. I choose pieces that install fast and make daily outfit checks simple.

Battery-powered LED strip lights for edges, shelves, and bases
I run battery-powered LED strips along front shelf edges and baseboards for an even wash. This removes dark pockets and highlights edges so items are easy to spot.
Stick-on puck lights for targeted spotlighting
Puck lights work well over jewelry trays and drawer fronts. I prefer dimmable models with remotes and mount them under the shelf front so they stay hidden.
Rechargeable bars and rotatable wall lights
Rechargeable light bars often beat stick-on taps for brightness. Magnet-backed or rotatable wall lights let me aim a focused beam where I need it most.
Closet rod lights and ribbon beneath rods
Ribbon LEDs under a rod give uniform illumination on hanging clothes. Adjustable tones keep fabric colors accurate and speed outfit choice.
Magnetic vs adhesive mounting: what holds
3M-style adhesive grips painted wood and smooth melamine. Magnets work best on metal or with included plates. I always test adhesion 24 hours before full use.
| Option | Strength | Mounting | Use case |
|---|---|---|---|
| Battery LED strips | Even wash, low profile | Adhesive | Shelf edges, bases |
| Puck lights | Targeted spotlight | Adhesive or screws | Jewelry, drawers |
| Rechargeable bars | Bright, aimable | Magnet or screw | Vertical sides, rods |
| Rod ribbon LEDs | Uniform hang illumination | Adhesive or clip | Hanging clothes |
- Tip: Pick warm-white tones for a boutique feel and tuck sensor modules at edges for clean installs.
Placement strategies to avoid shadows and boost visibility
I map each wall and shelf so fixtures land where clothes won’t hide them. This simple step saves time and keeps illumination even across every zone.

Vertical vs. horizontal approaches
Vertical lighting on both sides uses bars or strips so my body does not block beams. I angle units so beams meet near the center and garments stay bright.
Horizontal strips work best for key shelves only. I avoid lighting every level; front-mounted strips reduce shadows on folded stacks without adding many fixtures.
Front-of-shelf placement and glare control
I hide fixtures toward a shelf’s front lip and angle them away from eye line. This conceals hardware and prevents glare while keeping edges well lit.
“I aim beams so they meet in the middle — that keeps clothes bright without harsh hotspots.”
Layer ambient, task, and accent on a budget
Layering gives balanced visibility: an entry strip for ambient, puck lights for task, and a ribbon under the rod for accent. Motion sensors trigger instantly when the door opens.
- Keep beam angles narrow so light meets at center without spilling into your eyes.
- Test at night and morning to catch hot spots or dark corners and shift magnets or adhesive as needed.
- Use low-lumen night mode or dimmers if you access the closet while others sleep.
| Strategy | Where | Why |
|---|---|---|
| Vertical bars | Sides of hanging runs | Even wash, fewer shadows |
| Front strips | Shelf lips | Conceal fixtures, reduce glare |
| Pucks (task) | Drawers / jewelry | Focused spotlight, dimmable |
Pro tip: Keep cable-free runs and place any sensor near the door for instant activation. Install accent lighting last so task and ambient needs determine final placement.
Warm, flattering light on a dime: color temperature and brightness
Soft, warm illumination changes how garments read and it makes the space feel calm at dawn.
Why I aim for 2700K warm-white in closets
I pick around 2700K because it flatters skin tones and fabric colors. Warm tones feel cozy first thing in the morning and gentle late at night.

Dimming and low-lumen choices for early morning and late night
Dimmable puck fixtures and strips let me cut brightness without losing visibility. Low-lumen modes work well if someone else sleeps while I grab an outfit.
- Avoid blue-heavy Kelvin: higher values can make whites look harsh and strain eyes in a small space.
- Check lumens and Kelvin: product listings that list both help me balance warmth with usable brightness.
- Start with one dimmable bar: if it covers the job, I skip extra lights and save money.
- Match natural light when possible: I test settings across day and evening so colors stay true.
| Setting | Kelvin | Use |
|---|---|---|
| Warm general | 2700K | Everyday dressing |
| Task boost | 3000–3500K | Mirror or jewelry |
| Night mode | Warm, low lumens | Quick checks without glare |
Tip: I prefer lights with simple buttons or remotes rather than app-only control. Stable output matters—avoid flicker-prone, ultra-cheap LEDs when accurate color and steady illumination are important.
Quick installs I use to save time, wires, and money
I like quick installs that deliver solid results without a toolbox or extra wiring. Small changes often give the biggest return in tight spaces. I focus on non-destructive options and routines that cut maintenance and expense.

Motion-activated strips for instant-on, energy-efficient lighting
Motion-sensor strips sit near the entry and along main shelves. They are battery-powered and flip on when the door opens, then shut off when I leave. That pattern saves cells and keeps the space ready when I need it.
USB-rechargeable fixtures to cut battery costs
I favor USB bars and pucks so I avoid disposable batteries. I charge them with other devices and keep a simple charging routine. Bundles that include cables and metal plates save surprise trips and extra purchases.
Reflective helpers: mirrors and light finishes to amplify LEDs
I add one mirror and choose pale paint or melamine. Those reflective helpers double usable brightness and let me install fewer fixtures. Magnets work when metal is available; otherwise I prep surfaces and use quality adhesive.
“Small, well-placed pieces beat one bright bulb every time.”
- I set sensors at the entry so triggers are reliable.
- I keep spare pads and label install dates for easy maintenance.
- I avoid drilling; non-destructive installs keep options open.
What I skip (and when I upgrade) to stay under budget
When I work with a tight budget, choices that need wiring are off the table. Recessed cans, chandeliers, and hardwired sconces look great, but they raise cost and complexity fast.

I avoid track lighting and built-in systems until I’m ready for a remodel. Track lighting gives flexibility, but it usually means an electrician and a higher bill. For now I pick plug-and-play options that deliver usable output.
I also skip cheap adhesives and ultra-cool high-Kelvin LEDs. Poor tape peels and ruins surfaces. Blue-heavy LED tones make fabric colors read wrong in a small space.
- I skip hardwired ceiling fixtures and recessed cans while staying under budget.
- I hold off on track lighting until I can hire help or expand the design plan.
- I invest first in reliable rechargeable bars and quality strip kits, then add specialty pieces.
Before any structural change, I explore natural light tricks and reflective finishes. This keeps future upgrades, like dimmers or adjustable recessed fixtures, focused and efficient. I keep a simple wishlist so later purchases match existing placement and cut redo work.
Conclusion
I wrap up by focusing on small fixes that give the biggest gains in visibility and style.
I pair warm 2700K LED strips with a motion sensor and one rechargeable bar or puck for task lights. This setup keeps closet lighting affordable and simple to run.
I place fixtures vertically at shelf fronts or along sides so the design avoids glare and cuts shadows. Mirrors and pale finishes amplify illumination and mimic natural light, making the space feel larger.
I skip hardwired work and hold track lighting for later remodels. With measured choices and a quick review after a week, these lighting ideas turn my wardrobe into a tidy, boutique-like home zone.