How can I make my balcony railing into a hanging herb garden?
I wanted a small, productive plot that fit my tiny outdoor space and fed the kitchen all season. I picked compact, container-friendly varieties that thrive with about six hours of sun. Mediterranean herbs went in the sunniest stretch, and moisture-loving ones stayed together where I could water more often.
My plan kept three nonnegotiables: enough light, secure fixtures, and clear walkways so the setup did not crowd the seating area. I used sturdy wood accents and simple hardware to handle weather and daily watering without fuss.
I kept pots uniform for a clean line along the railing and left room to slide containers out for pruning or repotting. Good potting mix and proper drainage were set from day one to prevent soggy roots.
With placement and plant choices mapped, I broke the work into steps: list the herbs, choose spots, build the rack, pot up the plants, then follow a simple care routine.
Key Takeaways
- Choose compact herbs that suit the light you have.
- Secure mounts and use sturdy wood for lasting support.
- Group plants by water needs to simplify care.
- Use uniform pots for tidy visuals and easy access.
- Prioritize drainage and a light, well-draining mix.
My plan for turning a small balcony into a productive herb garden
I mapped every inch so each plant would have sun, soil depth, and space to grow. I grouped sun‑loving Mediterranean herbs like basil, rosemary, thyme, and oregano on the brightest rail span to capture six-plus hours of light. Shade‑tolerant herbs such as mint, parsley, chives, and lemon balm stayed in slightly indirect spots.
Planter choices mattered. I aimed for railing planters with 6–8 inches of soil, plus hanging pots or a vertical garden wall if I needed more room. Drainage holes were nonnegotiable to avoid root rot, and I considered self‑watering models for hot spells.
To keep the small balcony feeling tidy, I matched pot colors and kept consistent mounts. Adjustable brackets and over‑the‑rail fittings that fit 2×4 or 2×6 rails secured everything against wind. I grouped thirsty plants together and kept woody Mediterranean types separate so I wouldn’t overdo the water.

| Herb group | Light | Soil depth | Best planter option |
|---|---|---|---|
| Basil, rosemary, thyme | Full sun (6+ hrs) | 6–8 in | Railing planter |
| Mint, parsley, chives | Partial sun/indirect | 6–8 in | Hanging pot |
| Oregano, sage, lavender | Full sun | 6–8 in | Vertical wall option |
| Flowers (accent) | Varies | 4–6 in | Small pots or tiered stack |
How can I make my balcony railing into a hanging herb garden?
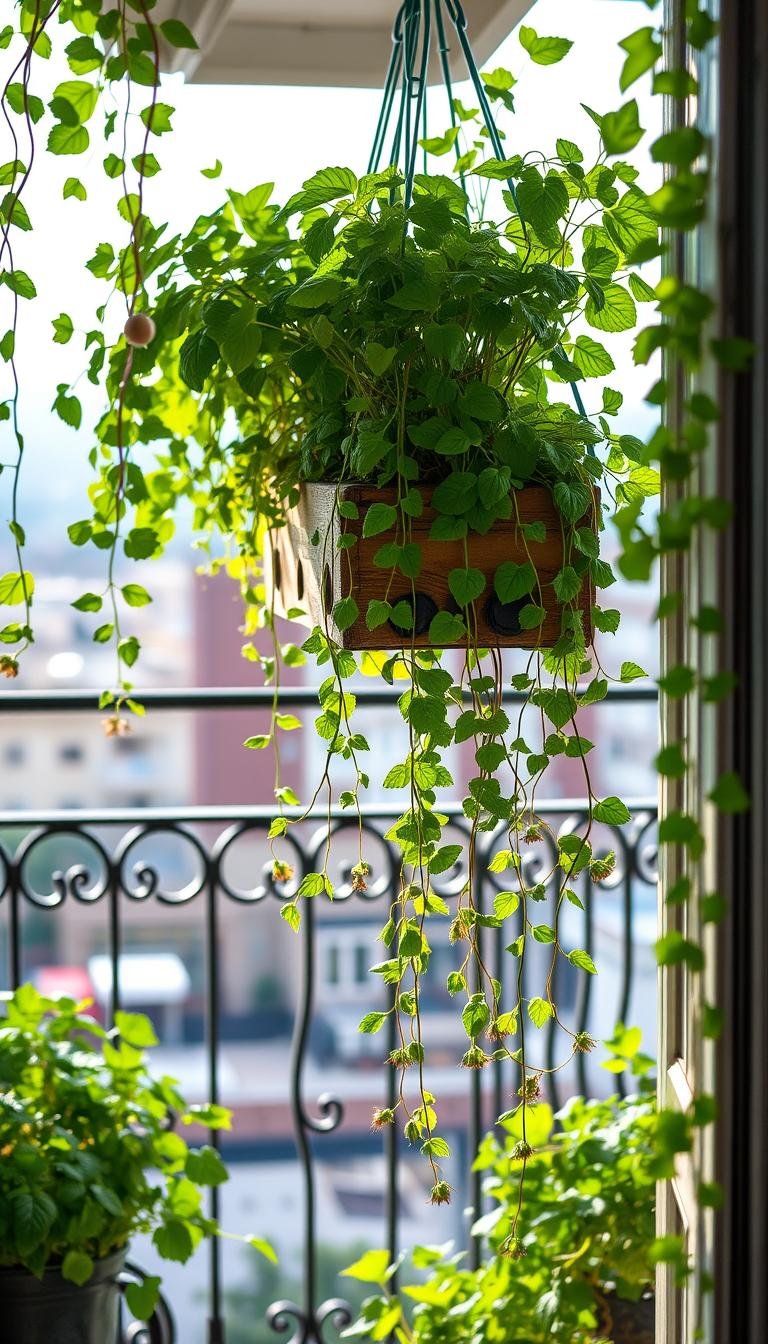
I began by laying the cedar board on clamps and marking precise centers for every pot opening. I used a 3/4″ x 6″ cedar board and backed the cut with scrap wood so the 3-1/2″ hole saw exited cleanly.
Materials and tools: 3-1/2″ hole saw, 1/4″ drill bit, drill, Everbilt 1/4″ sisal rope, eight 4″ terra cotta pots, Rust-Oleum Chalk Paint (Linen White), and potting soil. Cedar is water- and mildew-resistant, so I skipped staining to keep the warm grain.
I drilled four rope holes about 1″ from each end and side, then test-fit rope lengths. I cut eight 24″ sisal pieces, twisted the rope clockwise while feeding it, and tied simple overhand knots under each board so pots sat snugly.

After chalk-painting pots and clearing drainage holes, I slid pots into the openings. I tied the upper rope ends to the railing and tightened one lower line to a post to level the shelf and reduce sway.
| Step | Tool or Material | Why it matters |
|---|---|---|
| Cut pot openings | 3-1/2″ hole saw | Leaves a neat fit for 4″ pots and prevents wobble |
| Drill rope holes | 1/4″ drill bit | Fits sisal rope snugly for secure knots |
| Paint & prep pots | Chalk paint; check drainage | Protects clay and ensures soil drainage |
| Secure and level | Sisal rope; knot tension | Keeps plants stable in wind and saves space |
Planting, watering, and caring for my hanging herb garden
I set up each pot with enough depth and fresh mix so roots could spread without compacting. I always used potting soil, never garden soil, to keep the growing medium light and pest‑free.
Potting up correctly: I repotted nursery starts into containers with real drainage holes and 6–8 inches of depth. That depth let roots develop and kept plants from stalling midseason. For woody, sun‑loving herbs like rosemary and lavender I used a well‑draining mix. Leafy types such as parsley and mint got slightly moister spots.

Watering without soggy soil
I checked the top inch of soil with my finger and lifted pots to judge weight. If the pot felt light or the top inch was dry, I watered until runoff appeared from the drainage hole. Then I emptied any saucer so roots never sat in standing water.
Pruning, pinching, and feeding
Regular pinching kept plants bushy; I removed basil flowers to keep flavor strong. I used slow‑release or balanced liquid fertilizer when leaves yellowed or showed a purple tint. I pruned woody herbs once a year outside their toughest growth period to rejuvenate stems.
| Task | Method | Why it matters |
|---|---|---|
| Pot depth & soil | 6–8 in; fresh potting mix | Roots spread; soil stays light and well‑aerated |
| Drainage | Open holes; empty saucers | Prevents root rot and soggy soil |
| Watering cue | Top‑inch test + lift pot | Avoids under- or overwatering |
| Fertilizing | Slow‑release or balanced liquid | Fixes yellowing or purple tints in leaves |
- I grouped thirstier plants like mint and parsley together to simplify watering.
- I sheltered delicate pots behind sturdier ones to reduce wind stress and water loss.
- I inspected the lineup weekly for crowding, pests, or soggy spots and adjusted as needed.
Safety, securing to the railing, and smart space-saving options
Safety came first when I set up the line of planters along the rail. I tested each bracket and fastener so the whole assembly sat tight on 2×4 or 2×6 wood without wobble.
Secure fit and fasteners
Use over-the-rail planters or built-in brackets that match your rail size. I confirmed each pot had clear drainage so storms wouldn’t add dangerous weight. Tug tests helped me find any weak points quickly.
Managing wind and weather
I tightened rope tension on the hanging shelf and anchored a lower line to a post to cut sway. Placing the setup in a slightly sheltered span reduced blow-over risk and kept stems from bruising.

Space-saving, low-maintenance options
I used a self-watering railing planter for thirsty plants and stacked stepped planters to build a vertical garden that saved floor space. Edible flowers like nasturtiums added color and pollinator appeal on the top tier.
- Leave room between pots to lift and service each container.
- Distribute weight evenly along the line.
- Check brackets and ropes weekly and keep a small repair kit on hand.
“Tighten, test, and tidy — that short routine kept my setup safe all season.”
| Option | Best use | Why it matters |
|---|---|---|
| Over-the-rail planter | Simple install on 2×4/2×6 | Seats firmly without extra hardware |
| Self-watering planter | Low-touch watering | Reservoir reduces daily fill-ins |
| Stacked planters | Maximizes vertical space | Adds more herbs and flowers per foot |
Conclusion
A few deliberate choices—sun mapping, drainage, and firm mounts—paid off all season. With consistent sun exposure and secure fixtures, the small setup stayed productive and tidy from spring to the end.
Simple routines matter. I used good potting mix, kept open drainage, and set a steady water and pruning rhythm so the plants needed little daily fuss.
I checked mounts and ropes on the right day, pruned after harvests, and enjoyed fresh stems every week. The herb garden became both useful and cheerful in the tiny outdoor space.