How can I add a fold-down desk to a 3-foot-wide wall?
I solved a tight-space challenge by building two compact workstations that fit on a three-foot span without crowding the room. One used a shallow cabinet whose hinged front became the top, with 3/4″ birch plywood, edge banding, full-overlay hinges and gas struts for smooth support.
The other was a ledger-style build with a live-edge top, piano hinge, triangle brace and optional iron-pipe legs. I lag-screwed the ledger into studs and used t-nuts and bolts where needed for secure attachment.
I documented exact materials and realistic loads—laptop weight, notepads and forearms—and tested hinge placement with mock-ups before drilling. These steps kept the profile tight while making the open surface feel sturdy.
If you prefer step-by-step plans, see my detailed guide and supply list for the full build and photos at folding wall desk plans.
Key Takeaways
- Two proven builds: cabinet with gas struts and ledger with piano hinge.
- Anchor into studs and mock-up hinge placement before drilling.
- Use 3/4″ plywood and 1x boards for a slim, sturdy top.
- Plan for laptop and wrist loads; triangle brace adds reliable support.
- Pre-paint panels and use pegboard for neat organization.
What I’m building and why a fold-down desk fits a 3-foot-wide wall
I built two compact models that kept the corridor clear while giving me a usable work surface when needed.
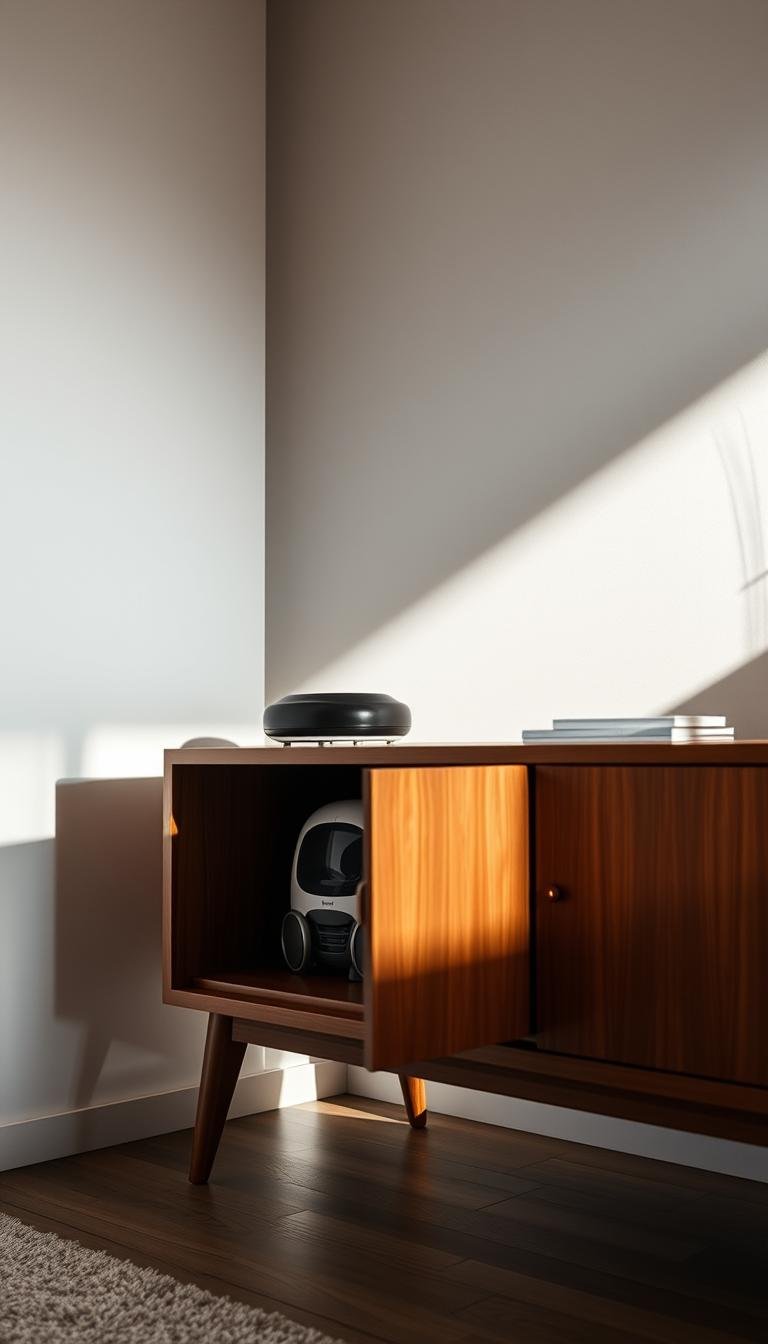
Cabinet version: I assembled a shallow frame from 1×6 side boards and matching top and bottom pieces using dowels or pocket joinery. A divider and an internal shelf give storage for small tools and shelves. The face is 3/4″ birch plywood with edge banding; a 1×2 interior frame carries full-overlay hinges and pegboard organizers.

Ledger version: This is the quicker build. A live‑edge top sits on a 1×4 ledger screwed into studs with L-brackets and a top lip. I used a piano hinge across the back and a T-backed vertical post with a hinged triangle brace that locks with a wood peg for rock-solid support.
Both approaches keep the footprint narrow, rely on common boards and simple joinery, and let the top sit flush when closed.
- I centered mount points so sides clear trim or doors.
- I sized the top to fit the three-foot span and tested hinge placement with mock-ups.
Plan the perfect fit: measurements, studs, and ergonomics for a 3′ wall
My first step was to verify the full 36-inch span and note anything that would block the folding path. I measured trim, outlets, and switches so the open top would clear everything in the room. Then I checked chair clearance so knees won’t collide when seated.

Verify wall width, obstructions, and chair clearance
I mocked up the opened surface with cardboard to confirm dimensions and folding arc. That simple test revealed if baseboards or casings would force a smaller top depth.
Find and mark studs for load-bearing support points
I used a stud finder, then drilled a small pilot hole to confirm each stud location before marking the ledger line. Hitting solid framing at the mounting point prevents stripped screws and sagging under load.
Choose desk height and chair pairing for comfort
I set the top between 32 and 34 inches so forearms rest naturally. I sat in my chosen chair while measuring to make sure posture stayed relaxed.
Set desktop dimensions, thickness, and folding path
I trimmed the top so it stayed just under the wall width and gave baseboards room. I penciled hinge and bracket locations, pre-marked holes, and confirmed level lines before drilling to avoid a front edge that droops or binds.
Tools, wood, hardware, and hinges I use for a compact fold-down desk
Before I cut anything, I set up a simple kit so every step ran smoothly. This saved time and kept mistakes low when working with thin profiles and tight clearances.
Core tools
Essential shop gear
I used a miter saw and circular saw to break down boards and plywood. A drill/driver handled fasteners and a pocket hole jig made hidden joints quick.
Clamps, a sander, a brad nailer, tape measure, and safety goggles finished the list.
Wood and panels
Materials I chose
I used 1x6s and a 1×2 for framing, plus a 3/4″ birch plywood panel for the face and top. Pegboard inside keeps organizers tidy.
A small square dowel acted as trim along the shelf to keep pieces from shifting.
Hinges, supports, and fasteners
Hardware that mattered
For the cabinet I fitted full overlay hinges and gas struts. The ledger used a piano hinge with L-brackets and lag screws into studs.
I stocked pocket hole screws, standard wood screws, t-nuts, and bolts. I used proper anchors only where studs were absent.
Finishes and extras
Glue, fill, and seal
I always used wood glue at structural joints and filled pocket hole holes with putty. After sanding, I stained or painted and sealed the top with spray polyurethane for durability.

How can I add a fold-down desk to a 3-foot-wide wall? Two proven DIY approaches
My builds split into two neat options that fit a short wall without crowding the room. One hides storage behind a hinged face and gives a clean, furniture-like look. The other keeps things minimal with a ledger board and a folding brace.
Approach A: Slim cabinet with folding top and pegboard interior
What I used: 1×6 framing, divider and shelf, 3/4″ birch plywood front with birch edge banding, full-overlay hinges and gas struts. The interior accepts pegboard organizers and small shelves for supplies.
Approach B: Ledger board, piano hinge, and triangle brace
What I used: 1×4 ledger screwed into studs, full-length piano hinge, T-backed vertical post, and hinged triangle brace that locks with a peg. For heavier tops I added swing-in pipe legs held with split ring holders, t-nuts, and bolts.
Choosing struts, braces, or pipe legs
Gas struts give a smooth, assisted open and a tidy exterior. A triangle brace is simpler to service and very rigid. Pipe legs help with very heavy or live-edge tops.
| Feature | Cabinet | Ledger | Ideal when… |
|---|---|---|---|
| Storage | Internal shelves & pegboard | Minimal | Need organization |
| Support | Gas struts + hinges | Triangle brace ± pipe legs | Preference for feel or serviceability |
| Materials | Plywood face, 1×6 boards | 1×4 ledger, live-edge top options | Match aesthetics |
| Mounting | Full-overlay hinges, screws into studs | Lag screws into studs, L-brackets | Max load on top |

Build Approach A: Wall cabinet desk with pegboard door, hinges, and gas struts
I dry-assembled the sides, top, and bottom first to confirm fit and avoid surprises at the wall.
Assemble the frame
I fastened the 1×6 side pieces to the top and bottom using dowels or a pocket hole jig so the box stayed square. This kept visible faces clean and let me adjust before final glue.
Install divider and shelves
I set the center divider and shelves with pocket holes and glue. I checked level on each shelf so organizers sit straight when the front is open.
Build the pegboard frame
I made a 1×2 setback frame so the pegboard and its hooks clear the overlay hinges. Then I sanded and pre-painted the interior pieces to save cleanup later.

Back support and mounting prep
I added pre-painted back panels with pocket holes as the mounting strip. I pre-drilled holes at stud spacing and test-fit the cabinet before final fastening.
Finish the front and hardware
I cut the 3/4″ birch plywood front, applied birch edge banding, and sanded the edge smooth. I hung the face on full overlay hinges, then fitted gas struts so the opening force felt even.
Hang and outfit
I lifted the cabinet and drove screws through the back into as many studs as possible. After the cabinet was secure, I attached the pegboard and installed shelves, hooks, and organizers.
| Step | Materials | Key tip |
|---|---|---|
| Frame assembly | 1×6 side, top, bottom; dowels or pocket holes | Dry-fit before glue to keep faces clean |
| Divider & shelves | 1×6 pieces, pocket holes, glue | Use a level for each shelf |
| Pegboard frame | 1×2 setback frame, pegboard | Set back to clear hinges and hooks |
| Front panel | 3/4″ plywood, edge banding, hinges, gas struts | Apply edge banding with an iron and sand flush |
| Mounting | Back panels, screws into studs | Pre-drill at stud marks and fasten while level |
Build Approach B: Ledger board, piano hinge, triangle brace, and optional pipe legs
I began by mounting a straight 1×4 ledger into studs and added a top lip with L-brackets so the folding brace had a flush seat when closed. This gave the back of the build a firm anchor and kept the top tight to the wall when the desktop folded down.

Mounting the ledger and lip
I pre-drilled holes for lag screws, then drove the screws home into studs. I double-checked the line with a level and made micro-adjustments where needed so the board sat perfectly straight.
Piano hinge and fasteners
I used a full-length piano hinge to attach the top to the lip. The continuous hinge spreads load along the width and keeps the folding motion even. I used countersunk screws and checked that no screw heads rubbed when the top moved.
Triangle brace and wood peg lock
I built a T-backed vertical support and a three-piece triangle brace that hinged to both the T and the underslung brace on the top. A half-embedded wood peg drops into a matching hole under the top to lock the brace in place with a positive feel.
Optional swing-in pipe legs and finishing
For heavier live-edge tops I added swing-in pipe legs mounted with copper split ring holders to t-nuts and bolts set into the wall support and baseboard. I rounded bottom corners with a jigsaw, sanded the wood smooth, stained the top, and sealed it with polyurethane for durability.
“A continuous hinge and a solid ledger make a folding top that feels stable and reliable.”
| Task | Parts | Key tip |
|---|---|---|
| Ledger mount | 1×4 ledger, lag screws | Pre-drill holes and use a level |
| Hinge attachment | Full-length piano hinge, countersunk screws | Spread load across the width |
| Brace & lock | T support, triangle brace, wood peg | Hinge both points; test peg fit |
| Optional legs | Iron/project pipe, split ring holders, t-nuts | Use project pipe unions for neat joints |
Conclusion
Both builds finished strong, and gave me two tidy workstations that tuck away when not in use.
The cabinet plan used 1×6 framing, a 3/4″ birch plywood face with edge banding, gas struts, and pre-painted back support panels that screwed into studs. The ledger route relied on a 1×4 ledger, piano hinge, and a T-backed brace that locks with a wood peg for a reliable support point.
I followed clear steps—cut, assemble, mount, finish—and kept pocket joinery where it saved time and kept pieces neat. Final sanding, stain (I used Minwax Provincial mixed with Ipswich Pine), and polyurethane made the wood tops durable at the bottom edge where I leaned.
If you stick to the dimensions, mark stud points, and take each step slowly, this DIY project gives you usable area, room for shelves if you want them, and a compact setup that looks finished when closed.