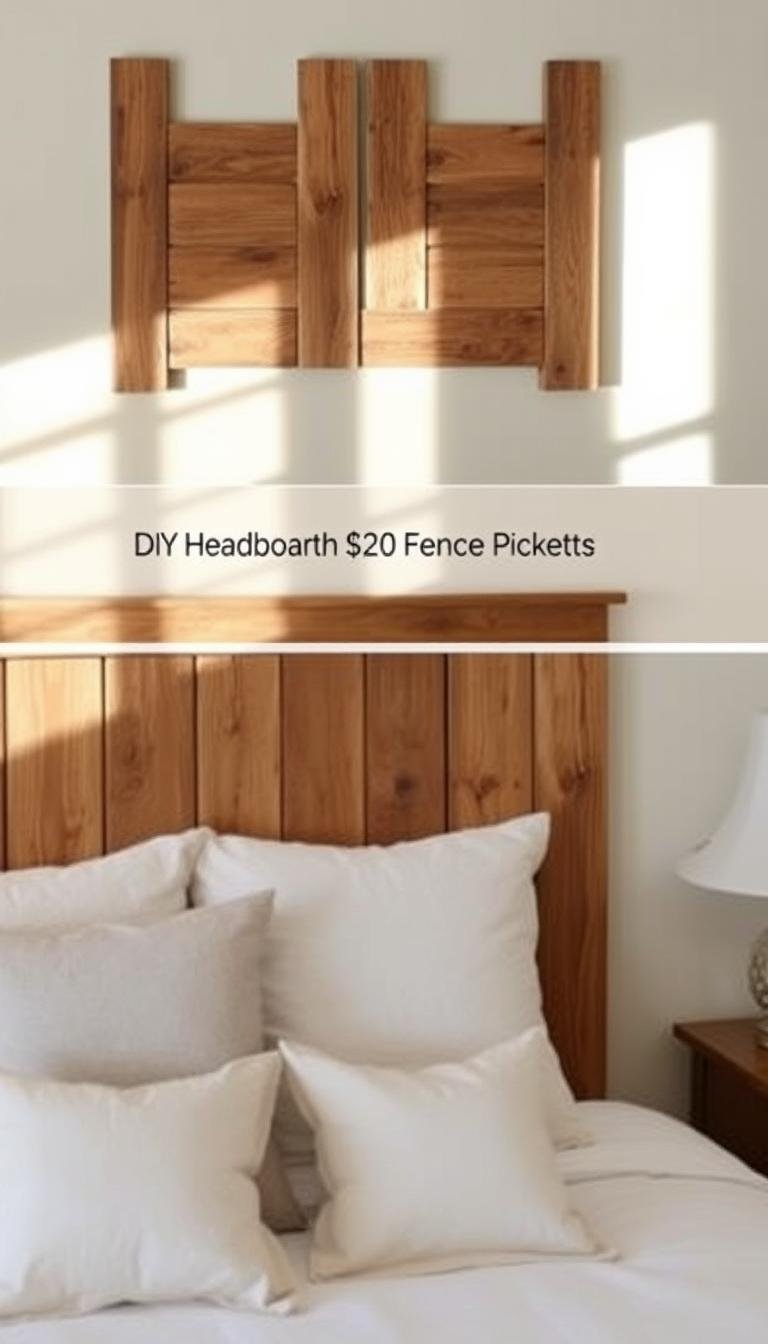
How can I make a DIY headboard from $20 fence pickets?
I turned simple fence boards into a boutique-style headboard that refreshed my bedroom in a weekend. I tested two profiles: a gentle curved top traced with cardboard and cut with a jigsaw, and a staggered crown made with straight cuts. Both options used inexpensive pickets, a few braces, screws, and basic finishes.
The process was simple to follow. I measured for queen size, chose the nicest faces of the boards, and secured three horizontal braces with construction adhesive and screws. Sanding, staining, and sealing gave the piece a polished look and helped the bed feel anchored in the room.
I also tried a renter-friendly version using cardboard, batting, and fabric that hung with picture strips. Safety mattered: avoid old pressure-treated wood, sand modern treated lumber, and use proper fasteners for soft cedar. This project saved money and added hand-crafted charm to my home without costly tools or long time commitments.
Key Takeaways
- Budget-friendly builds start with brand-new pickets and a simple plan.
- Choose your shape first: curved or staggered crowns change the design impact.
- Prep and finishes—sanding and sealing—make an inexpensive piece look high-end.
- Use safe, non-treated or well-sealed materials to protect indoor air.
- Try the fabric-cardboard option for a quick, renter-friendly solution.
Plan your DIY fence-picket headboard: budget, size, and safety
I started by mapping the bed and wall, so the finished piece would sit right and look custom.
What I’m making and why it works for a budget bedroom refresh
Goal: a tall, rustic-elegant headboard built from brand-new pickets that grounds the room without a big spend.
Measure your bed and wall: choosing queen, full, or twin widths in inches
I matched standard mattress sizes: queen ~60 inches, full 54 inches, twin 38–39 inches. For my queen build I planned outside legs at 63 inches and nine inner boards cut to 39 inches to clear outlets.
Materials and safety first
Use brand-new cedar pickets (typically 6 in wide, 6 ft long, 5/8 in thick), three horizontal braces, construction adhesive, and screws or ring shank nails. Sand smooth, stain, then seal with polyurethane.
“Avoid recycled pressure-treated wood — older pieces may carry arsenic residues. Sand and seal any yard wood before bringing it indoors.”
| Item | Count | Notes |
|---|---|---|
| Pickets | 11 | 11 new boards for queen; choose best faces |
| Horizontal braces | 3 | Construction adhesive + screws |
| Fasteners | Screws or ring shank nails | Pre-drill for soft wood; nails resist over-torque |
| Finish | Stain + polyurethane | Sand edges and front smooth |
For renter-friendly options I kept two cardboard sheets at bed width plus batting, fabric, glue, and 3M Picture Hanging Strips. For full project notes see project notes.

How can I make a DIY headboard from $20 fence pickets?
I sketched a cut list first, then laid out each board to confirm fit before any sawing began.
Cut list and sizing
Queen build: two outside legs at 63 inches and nine inner boards cut to 39 inches. I ripped three horizontal braces to span the width so each piece had its place before assembly.
Layout and joinery
I assembled the unit face-down and picked the prettiest faces for the front. I squared every edge with a carpenter’s square so the sides stayed flush end to end.
For strength I ran construction adhesive along each brace and drove pre-drilled screws. On soft cedar I tested ring shank nails where screws over-torqued; glue plus nails held well across the center brace.
Top profile, sanding, and finish
I made a cardboard half-template, traced one side, flipped it, and traced the mirror for a symmetrical shape. I cut slowly with a jigsaw, supported the off-cut, and sanded with 120–180 grit to smooth the edges.
- Stain the front to your tone, then seal with at least two coats of polyurethane.
- Alternative: a staggered crown using varied lengths (center 36 inches, then 34, 32, 30, 28 inches) gives a layered look without curves.
- Mounting: set leg height to clear outlets, then bolt or bracket the frame to the bed for a secure finish.

Design tweaks, ultra-budget options, and time-saving tips
Choosing between a curved profile and a straight top changed how the piece read in the room and how long it took to build.
Change the silhouette: elegant curves vs. simple straight tops
A gentle curve reads classic and soft at the front of the bed. It takes extra cutting and a little sanding, but it gives the headboard a boutique look.
A straight top is fast, modern, and forgiving. Label each board by length when you do a staggered crown so the top shape lands where you sketched it.
Quick alternative for renters: $20 layered fabric-and-cardboard headboard
Use two box panels at least 60 by 42 inches for queen. Add thin batting and one yard fabric plus coordinating solids if needed.
Bond layers with spray adhesive, glue, and high-strength tape. Stack the upholstered pieces, weigh them for a few hours, then mount to the wall with 3M Picture Hanging Strips.

Troubleshooting: over-torqued screws, warp, and reinforcing soft wood
Soft wood will split if over-driven. I switched to ring shank nails and used glue at every brace contact point so the pieces lock together without crushing fibers.
For warped boards, clamp them flat against straight cauls during assembly. Check your frame early; if it lacks headboard slots, add universal brackets or mount the piece to the wall and slide the bed forward.
- Small design swaps save hours while keeping the front neat.
- Use tape and glue wisely on the fabric version to avoid shifting.
Conclusion
I wrapped up the project by fitting the finished piece to the bed frame and checking clearance around outlets and windows.
The queen build used eleven pickets with outside legs cut to 63 inches and three strong braces, then stained and sealed with two coats of polyurethane to protect the wood and lift the look.
For a curved top I traced a cardboard template for an inch-perfect arc. For renters, the cardboard-and-fabric option comes together in just a few hours and hangs with picture strips for an instant upgrade.
Attach the panel with bolts or brackets so the frame stays steady, even with softer cedar. My husband reminded me to mind outlet height and window lines — small details that make the piece belong in the room and home.
Try this on a weekend: measure, cut, finish, and enjoy the hand-crafted charm at the end of your decorating sprint.