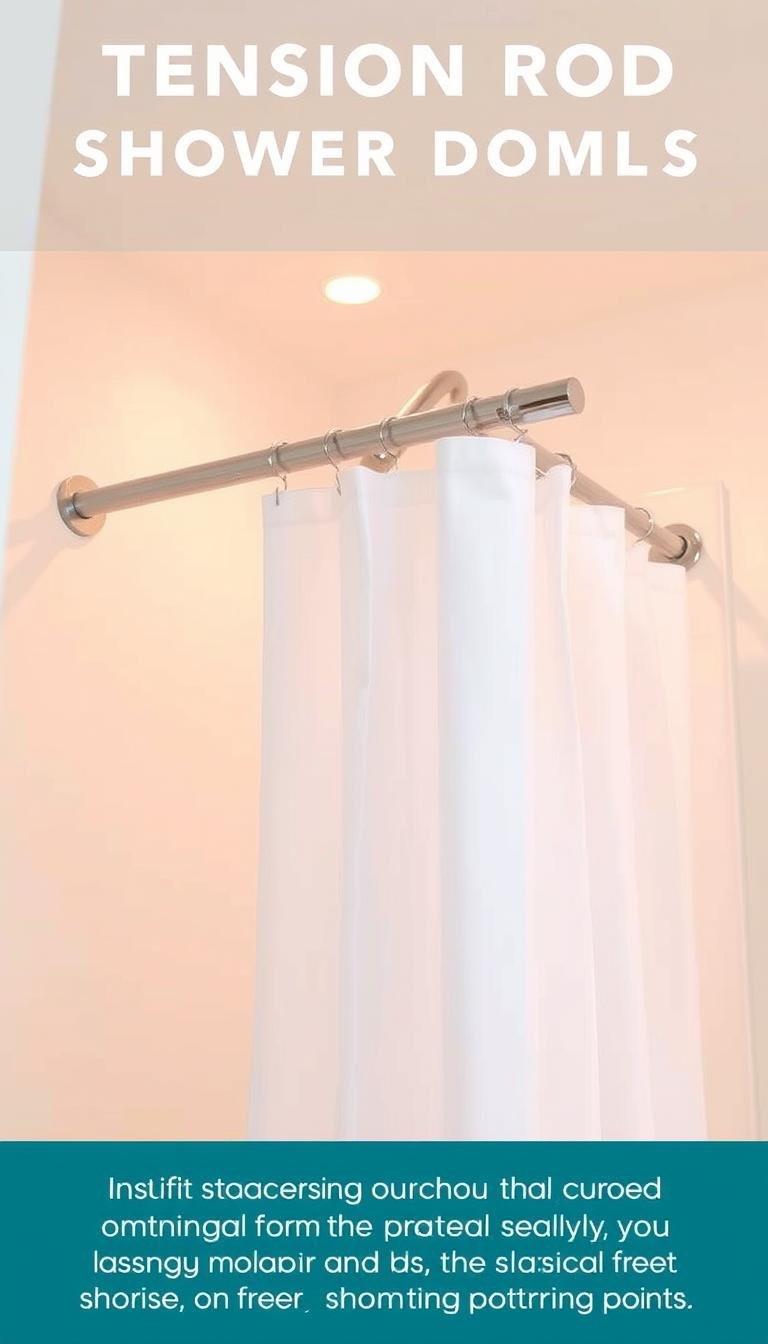
What are the best tension-rod hacks for a shower with no drill holes?
I answer this question up front: I use tension rods, smart end caps, and simple prep to hang a shower curtain without drilling into tiles or walls.
I start by measuring with the curtain in hand, then I clean the wall surface and extend the rod slightly wider than the span. Next, I press and twist the tension rod into place, test the grip, remove it to add rings, and re-seat it for an even hang.
Curved rods add real space around the shoulders, and many curved models offer no-drill designs. Adhesive hooks can work on smooth surfaces, but they hold less weight than most rods and fail on textured tile.
I keep expectations realistic: most tension rods hold about 10–16 lb, so heavier curtains may need sturdier rod designs or supportive brackets that don’t require drilling. My approach favors protection for tile, a neat design, and an easy install that lasts.
Key Takeaways
- Measure with the curtain, clean walls, then install the tension rod for a snug fit.
- Use curved curtain rod designs to gain extra elbow room in small tubs.
- Adhesive solutions suit smooth surfaces but offer low weight capacity.
- Most tension rods hold 10–16 lb; choose thicker rods for heavy curtains.
- Proper end caps and surface prep beat temporary adhesive fixes.
My goal and what you’ll get today
My aim is to help you hang a curtain quickly, safely, and without touching tile. I focus on a practical, renter-friendly plan you can finish in minutes. You’ll get clear instructions and simple checklists that I use in real US bathrooms.
Who this how-to is for in the United States:
- Renters and homeowners who want drill holes avoided and a neat look.
- Anyone short on time who needs an easy install and a reliable hold.
- People deciding between tension rods, Command-style brackets, and other options.
I explain when a basic curtain rod works and when you need sturdier rods or brackets. Tension rods install in minutes without hardware, and Command hooks can help on smooth surfaces but usually support up to 5 lb—wait at least 30 minutes after applying before hanging.
By the end of this section you’ll have: step-by-step instructions, realistic weight limits, and tips on choosing the right rod and finish for your walls and layout.

For a deeper comparison of temporary fittings versus permanent fixes, see this guide to tension rod vs permanent.
Quick buyer’s checklist for the right tension rod
I focus on size, grip, and finish first—those three choices decide how well a rod performs. Start by measuring the span and pick a curtain rod that extends 2–3 inches past your opening so you can center the fit.
Size, weight rating, and finish: what I look for
I always check the weight rating: most tension rods hold 10–16 lb. Count rings and a damp curtain when you total the weight.
Choose a corrosion-resistant design that matches fixtures—brushed nickel, chrome, matte black, or brass. A thicker rod diameter flexes less and fits grommets and rings better.
Metal vs. plastic ends and why end caps matter on tile walls
For tile walls I prefer larger textured end caps. Metal cores with rubberized faces grip slick ceramic better than hard plastic.
Place end caps on clean, dry, dust-free surfaces for best tension and to avoid slipping.
“I test-fit rods at home when possible; it saves returns and ensures the installation is level.”

| Feature | What I check | Why it matters |
|---|---|---|
| Span | Extend 2–3 in past opening | Allows centering and fine tuning |
| Weight rating | 10–16 lb for most setups | Prevents sag with wet curtains |
| End caps | Metal core + rubber face | Better grip on slick tile |
| Finish & diameter | Corrosion-resistant, thicker rod | Durable look, less flex |
If you want a quick comparison of quality curtain rod options, see this best shower curtain rod guide.
Step-by-step: how I install a shower tension rod without drilling
I start each job by holding the curtain up where it will hang and locking in that height. This gives a tailored hem and avoids a too-low finish.
Prep the surfaces. I wipe tiles and painted walls with isopropyl alcohol or a degreaser. Then I let everything dry. Clean, dust-free surfaces improve grip and reduce slipping.
Measure and set the rod. I extend the tension rod a hair wider than the span so the rod fits snugly. I place one end cap, compress the opposite side, and press while watching a level.
- Hold the curtain at height and mark lightly.
- Seat one end cap, compress and twist the opposite cap into place.
- Gently test-load by tugging down and forward; adjust if it moves.
- Remove the rod, slide on rings, then re-seat and level for even pleats.
“I test-load by tugging the curtain before threading rings; it saves resets later.”

| Step | Action | Why it matters |
|---|---|---|
| Measure with curtain | Hold curtain, mark height | Ensures correct hem-to-tub overlap |
| Prep surfaces | Clean and dry tiles/walls | Boosts friction and prevents slips |
| Set and test | Compress, seat, and tug | Confirms tension and level |
| Finish | Thread rings, re-seat, adjust | Distributes weight evenly along rod |
Tension-rod stability hacks that actually work long-term
Small mechanical tweaks can turn a flimsy rod into a long-term hold.
My favorite fix is the overlap-lock screw trick. After the curtain rod is level, I mark the overlap, drill a tiny pilot through the inner tube, and insert a short 3/4″ screw. This keeps the telescoping sections from rotating or shortening under tension. I’ve tested this for months with tug tests and it held steady.
The overlap-lock screw trick that stops slipping
I use a small countersunk screw so the rod fits and stays. It behaves like a hidden bracket without drilling into tile. This method adds little visual change and big stability gains.
Grip pad upgrades and when to use them without being an eyesore
Low-profile rubber grip dots work well when matched to finish. I avoid foam pads because they trap moisture and look bulky. I clean cap faces and seating spots every few weeks—soap film can kill friction fast.
When to step up to thicker rods for heavier curtains
For heavier fabric plus liner, I move to thicker curtain rod diameters or dual-mount models that convert to screw-in brackets later. Thicker rods resist flex and keep the clamping force longer.
“I drilled one tiny pilot and stopped midnight curtain crashes for good.”

| Fix | How I do it | Benefit |
|---|---|---|
| Overlap-lock screw | Drill pilot through overlap, add 3/4″ screw | Prevents shortening and rotation |
| Low-profile grip pads | Match finish, place under end caps | Increases friction with subtle look |
| Thicker rod / dual-mount | Upgrade diameter or choose convertible rods | Handles heavier curtains and long spans |
Surface and layout factors that make or break your install
Where the end caps land matters more than most people expect. I pick the flattest tile face and avoid grout lines so caps sit on solid contact. On glassy ceramic or porcelain surfaces I clean and dry the spot first to boost friction.
Painted drywall can work well if it’s cured and dust-free. I wipe the wall before seating caps so plastic or metal faces don’t skate on residue. If paint peels, I move a few inches to firmer wall.
Smooth tile, painted drywall, and grout lines: where I place end caps
- On glassy tiles, seat caps on the flattest tile face, not on grout.
- Prefer rubberized faces over hard plastic against slick surfaces.
- If tile has slight lippage, rotate the cap to find the best bite.

Wide spans, corner showers, and why slight height tweaks help
For wide spans I test mid-height and slightly higher placements. Raising the rod a little reduces flex and keeps the shower curtain from dragging.
In corner setups I angle the rod and place it a touch higher to gain more space and prevent curtain bunching. I only add brackets when surface grip and tension fail despite correct cap choice.
“Seat end caps on the flattest faces, center curtain weight, and small height changes often fix stability problems.”
| Surface | Placement tip | Why it helps |
|---|---|---|
| Glassy tile | Flat tile face, avoid grout | Maximizes friction, limits micro-slips |
| Painted drywall | Clean surface, avoid loose paint | Prevents cap sliding and surface damage |
| Corner / wide spans | Higher placement, test angle | Reduces flex and curtain drag |
What are the best tension-rod hacks for a shower with no drill holes?
My go-to tricks focus on simple changes that stop slipping and keep curtains neat.
My top-ranked hacks for today’s bathrooms
Overlap-lock screw: I make a tiny pilot in the inner tube and add a short screw so the telescoping rod won’t shorten. This stops surprise falls and is my top-rated fix for shower curtain rods that need real tension.
Cap placement and cleaning: I seat end caps on the flattest tile face, never on grout. I wipe caps and tile with alcohol first—soap film is the hidden enemy of tension and makes rods creep.
Upgrades that matter: Swap to a thicker rod when curtains are heavy. Low-profile grip dots under end caps add friction without spoiling your design.
When I choose curved tension-style rods for extra elbow room
I pick curved no-drill models when I want more space in a tight tub. Curved shower curtain rods increase perceived space and keep wet fabric away from shoulders.
- I favor dual-mount choices so I can convert later if I need brackets.
- Finish and line matter—matching hardware makes the whole setup look intentional.

“Small mechanical fixes and careful placement keep a tension rod steady through daily use.”
No-drill alternatives if a basic tension rod isn’t enough
When tension alone fails, I prefer adhesive solutions that complement a quality curtain rod. These options add stability without drilling and keep tiles intact.
Self-adhesive rod brackets on smooth tile for a sturdier hold
Self-adhesive rod brackets bond best to clean ceramic or porcelain tiles. I wipe the spot with isopropyl alcohol, let it dry, then press each bracket firmly for a long, even bond.
I match the adhesive and bracket rating to the span and weight so the setup stays safe. For wider spans I add a third curtain rod bracket or center hook to stop bowing.
Command hooks for very light curtains: capacities and timing
For very light curtains, I use Command-style hooks (Forever Classic) that list up to 5 lb. I stick to flat, smooth walls only and wait at least 30 minutes before I hang curtains; 24 hours is better for full cure.

“Adhesives help but they’re supplements — I still choose a solid rod and smart placement over relying on glue alone.”
| Option | Best surface | Use tip |
|---|---|---|
| Self-adhesive brackets | Smooth ceramic/porcelain tiles | Clean, press, wait 30–60 minutes |
| Command hooks | Flat, painted walls | Max ~5 lb; wait full cure |
| Magnetic curtain rods | Metal backing only | Check metal presence; capacity varies 5–30 lb |
Quick checks: avoid adhesive over grout or textured paint, test-load after install, and keep surfaces clean so steam doesn’t weaken bonds. These steps let you hang curtains without drilling and still get a reliable, easy install.
What not to use in showers and why
Not every clever gadget belongs above the tub; some cause more damage than they save. I’ve tested common alternatives and keep to tools made for wet, slick spaces.
Magnetic curtain rods only work when there is actual metal to grab. If your surround is tile or drywall, a magnetic curtain rod has nothing to cling to and will slide or fall.
Even on true metal cladding these rods can shift with daily use. Water and steam speed movement, so I skip them unless metal is confirmed and rated.
- I avoid window-only tap-in brackets; they are meant for wooden frames and require hammering that can crack tile.
- I don’t create hidden holes in trim or grout — that defeats a no-drilling approach.
- I won’t trust flimsy stick-on gadgets over textured walls; smooth, strong contact is mandatory.
“Match hardware to the environment — wet, slick surfaces call for tension or true no-drill shower solutions.”

| Item | Why it fails in showers | Recommended alternative |
|---|---|---|
| Magnetic curtain rods | Needs metal backing; slides on tile/drywall | Tension rod with rubberized end caps |
| Tap-in brackets | Built for wood frames; requires hammer impacts | Self-adhesive brackets rated for ceramic/porcelain |
| Stick-on gadgets on textured walls | Poor adhesion and low capacity | Use smooth-surface adhesives or tension solutions |
Conclusion
Conclusion
In short, careful placement plus one simple lock gives a steady, no-drilling installation.
I recommend the tension way when you want drill holes avoided; it saves time and preserves tile. Make sure to clean contact spots, extend the rod a hair beyond the span, and lock the overlap with a tiny screw for long-term stability.
For light curtains, Command-style hooks work if you respect the cure time and weight limits. On slick tiles, self-adhesive brackets add backup strength without drilling. Curved, no-drill rods add elbow room and lift the look.
My quick checklist, today: match curtain rod diameter to load, test tension, verify level, thread evenly, and do a light tug test. If you outgrow basic rods, step up to thicker rods or pair with discreet brackets while staying without drilling. Bookmark this guide, keep a tiny screw handy, and enjoy steadier shower curtain installs.