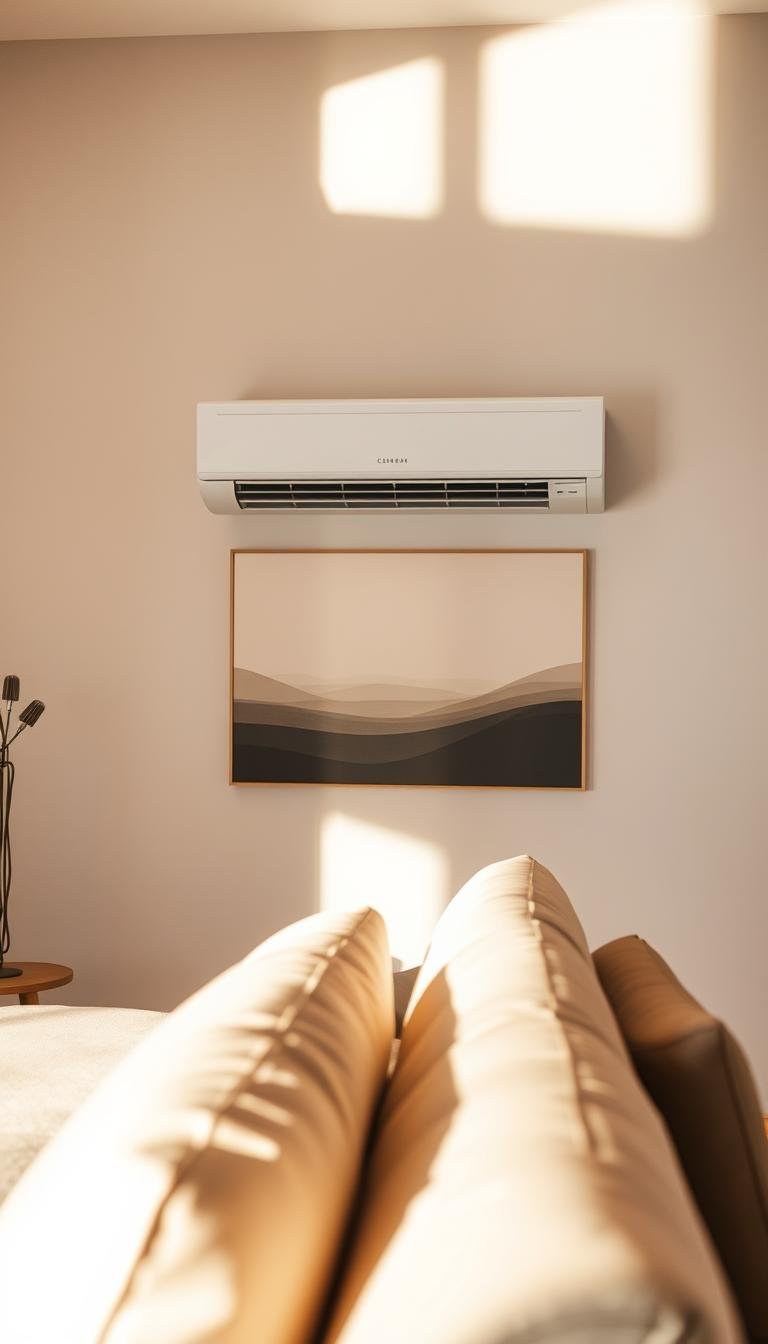
How can I hide a wall-mounted AC unit behind art?
I love a well-styled room, but my indoor unit still needs to move air freely. Before any build, I follow two hard rules from HVAC pros: don’t block airflow and keep service access easy.
Indoor mini-splits draw air from the top and push it forward, so I leave at least 6–8 inches above and keep vents clear. That simple step protects comfort and avoids extra wear on the system.
My plan explores creative ways to disguise an air conditioner on the wall without choking vents. I look at slatted wood panels, perforated metal grilles, and swing-open frames that act like artwork but still breathe.
I prefer solutions with hinges, tracks, or magnets so I actually change filters and let techs service the unit. I’ll cover DIY builds, low-effort fixes, and design choices that match my home’s interior and keep the room looking intentional.
By the end, I’ll have practical options that respect HVAC basics and lift the room’s aesthetics.
Key Takeaways
- Keep at least 6–8 inches of clearance above the indoor unit for proper airflow.
- Use perforated or slatted covers that look like art but allow air movement.
- Choose hinged or sliding access so filter changes and service stay easy.
- Select materials and finishes that match your interior and protect the unit.
- Balance aesthetics with HVAC rules to maintain comfort and system life.
Why I’m hiding my mini-split air handler and the ground rules I refuse to break
I aim to tuck the air handler out of view while making sure performance and maintenance stay easy.
I want the space to feel intentional and the interior to focus on artwork or a statement wall. At the same time, the unit must not sacrifice airflow or service access.
My first hard rule: keep the indoor unit able to breathe. That means no solid covers over the top intake and nothing blocking the front discharge so heating and comfort remain steady.
I always leave the recommended 6–8 inches above the unit and never place objects on top. The indoor unit ties back to an outdoor unit, so linesets and drain routing must stay accessible.

Fast service beats clever looks: choose covers that open, slide, or lift off so filter cleaning takes minutes, not a teardown.
- I pick durable solutions that hold up to kids, pets, and daily traffic.
- I balance a decorative screen versus a vented cabinet by preserving air patterns.
- I follow basic hvac guidance so the air conditioner and mini split keep running efficiently.
Plan first: airflow clearances, service access, and interior design fit
Before I build anything, I sketch clear offsets so the indoor unit breathes and service stays simple. That practical first step keeps heating cooling performance steady and saves time on future repairs.

Airflow essentials
I always keep a 6–8 inch gap between the ceiling and the top of a high-wall indoor unit. Never cover the top intake or block the front discharge; perforated or slatted covers let air move while still looking finished.
Easy access for filters and HVAC service
Design covers to open—hinges, tracks, or magnets make filter changes and minor servicing quick. That prevents awkward teardown and keeps the outdoor unit and air handler reachable.
Wall, weight, and heat
Find studs, check drywall, and choose materials that tolerate warm airflow. Slatted wood, perforated metal, or cane resist warping and keep the space safe for long-term use.
Quick test: run the system with the cover closed and open to confirm airflow and room comfort before final installation.
How can I hide a wall-mounted AC unit behind art? Creative ways that still let it breathe
Practical, decorative options let the device fade into the room without choking airflow. I prefer covers that look like real wall decor but still respect clearances and service access.

Here are creative ways I use:
- Hinged picture frame cover: a deep frame with side vents or slats that swings open so I can effectively hide the box and reach the filter in seconds.
- Sliding art panel: mounted on a low-profile track, it reveals the indoor unit for cleaning without blocking the intake or discharge when closed.
- Perforated metal grille: pick a pattern and color that matches your style; perforation percent matters to keep proper air flow.
- Die-cut wood or lattice with fabric: a breathable backing softens the look while keeping the face open—avoid solid backers.
- Magnetic canvas or lightweight frame: pops off for fast filter access; magnets or French cleats make removal neat and repeatable.
Rule of thumb: leave at least 6–8 inches above the unit, keep front discharge clear, and test the fan with the cover in place.
I size frames to line up with nearby shelves and other pieces so the solution blends seamlessly with the walls and overall color palette. Small felt bumpers stop rattles and keep the cover quiet when the fan runs at higher speeds.
Design tricks beyond art: blending your indoor unit into the room
I use scale, trim, and matching finishes so the indoor piece reads like furniture rather than equipment. This keeps the focus on the room while preserving airflow and easy service.

Bookshelves and cabinet solutions
Built-in bookshelves with vented fronts work well. I design a bookcase around the unit with slatted doors or grille inserts to blend seamlessly and keep filters accessible.
Shallow cabinets that line up with nearby furniture make the mini-split unit feel intentional. Removable panels and magnetic catches let service stay quick.
Decorative screens and floating shelves
Decorative screens are movable and easy. I use floating shelves to redirect the eye and place objects so vents remain clear.
Tip: keep tall books and plants away from the top clearance so airflow is not compromised.
Color, finishes, and plantscaping
I match the housing to wall color for subtlety or pick a bold tone to make the device part of the aesthetics.
Plants soften the view but must stay clear of louvers. Matte metals suit modern interiors; warm wood tones fit traditional homes.
| Option | Visual effect | Airflow | Access |
|---|---|---|---|
| Vented built-in bookshelf | Seamless, integrated | High (slatted or grille) | Easy (removable panel) |
| Shallow cabinet with perforation | Cohesive with furniture | Good (perforated face) | Moderate (hinged door) |
| Decorative screen + shelves | Flexible, movable | Varies (keep vents clear) | Very easy (remove screen) |
DIY walk-through: build a vented, hinged artwork cover for a ductless mini-split
I’ll guide you through a practical DIY build for a vented, hinged cover that balances looks with HVAC needs. This keeps the indoor unit accessible while preserving airflow and service access for the outdoor unit and techs.
Measure twice: check ceiling-to-unit clearance so you preserve the required 6–8 inches above the unit. Mark stud locations so hinge screws and a French cleat carry the load without stress.

Choose breathable materials
Use slatted wood, perforated metal, or acoustic cane for the face. Keep open area high so air can circulate freely and never block the top intake or front discharge.
Hardware that holds up
Mount a continuous piano hinge for strength and low sag. Hang the panel on a French cleat for easy removal. Add soft-close magnets or catches to stop rattles and make filter checks quick.
Finishing touches
Route visible cables in paintable raceways and pre-drill any extra ventilation holes away from louvers or sensors. Fit mechanical stop-limits so the door won’t hit trim or shelves when it swings.
Quick checklist: verify screws anchor in studs, finish with low-VOC paint without sealing perforations, and run the fan on high with the cover closed to test for restricted air flow.
- I document the setup with photos so any HVAC tech understands access.
- Test and adjust the pattern or add more perforation if warm spots appear.
Common mistakes I avoid so my air conditioning still delivers comfort
Simple mistakes ruin comfort, so I always check clearances and access before installing any cover.
Blocking the top intake or the front discharge is the fastest way to lose performance. I never seal the indoor unit behind a thick canvas or solid door. That restriction reduces airflow and hurts heating cooling efficiency.
I always preserve the 6–8 inch gap from the ceiling. I avoid pushing the cover up to the ceiling or stacking tall décor above the unit. Keeping that space clear protects room air flow and comfort.
Quick rule: make sure vents remain open and filter access is simple so maintenance doesn’t get skipped.
- I plan access so filter changes are fast; if I can’t reach it, maintenance gets delayed and performance drops.
- I avoid heavy frames or dense materials that stress studs; light slatted panels or perforated screens are better for long-term safety.
- I keep heat-sensitive fabrics and glued finishes away from warm discharge to prevent warping or odors.
- I watch for vibration and rattles—felt pads and snug hardware stop noise without blocking airflow.
- I don’t let plants, curtains, or furniture drift into the airstream; even temporary blockage reduces comfort.
| Mistake | Why it harms the unit | Better option |
|---|---|---|
| Sealing with solid door or thick canvas | Blocks intake/discharge, reduces airflow | Slatted or perforated panel |
| Removing ceiling clearance | Overheats and lowers efficiency | Keep 6–8 inch gap |
| Heavy, unsupported frames | Strains anchors, risks collapse | Lightweight materials, stud-mounted hardware |
| Placing heat-sensitive items nearby | Warping, discoloration, smells | Use tolerant finishes and safe distance |

Conclusion
Good concealment starts with two simple rules: keep the air path open and make service access painless.
Practical creative ways—hinged frames, sliding panels, perforated metal, die-cut wood with a breathable backing, or movable decorative screens—let a mini-split blend with furniture and color while protecting performance.
Respect the 6–8 inch ceiling clearance, avoid sealed covers, and test the design by running the mini-split on high with the cover in place. Listen for rattles and feel for strong throw.
The best solution fits the room, keeps heating and HVAC work simple, and holds up in daily life. Do that, and the indoor unit becomes part of the interior rather than an eyesore.