What’s the trick to hanging curtains 6 inches above the window frame?
I mount my curtain rod so panels sit about six inches above the trim. That simple move lifts the eye, makes a window feel taller, and gives rooms a cleaner, more polished look fast.
I’ll walk you through the tools I use, quick measurements, and a few renter-friendly options that avoid drilling. I explain when I push the rod higher for a dramatic floor-to-ceiling feel and when six inches is just right for balance.
Expect clear tips on width, fabric fullness, and when to add a center support so a long rod won’t sag. I share easy ways to extend the rod past the opening so panels stack off the glass and keep light in the room.
Key Takeaways
- Mounting a curtain rod above trim makes ceilings feel taller.
- Extend the rod beyond each side so curtains stack off the glass.
- Use a stud finder or anchors and add center support for heavy spans.
- No-drill options give a polished look for renters.
- I provide real measurements and step-by-step tips to save time.
Why I hang curtains higher: the polished look and room-enhancing benefits
Raising a rod above trim instantly stretches a room and gives windows a grander presence. I mount rods higher when I want ceilings to feel taller, especially in spaces with low ceiling height. This simple shift lengthens the eye line from floor to top and makes the whole space read larger.
I usually leave 4–6 inches above trim for a classic, balanced look. If there’s more than a foot of wall between trim and ceiling, I often place the rod halfway up or closer to the ceiling to maximize height.

I also widen the rod beyond each side—about 4–10 inches—so panels stack off the glass and more light floods the room. For heavy fabric I pick sturdier rods; for sheer panels I go slimmer. This keeps the curtain hang graceful and prevents sag.
- I raise the rod to stretch walls visually and give narrow rooms a more open feel.
- I match hardware to fabric weight so longer lengths drape cleanly and last.
- I use higher mounts to hide shades or blinds behind panels for a neater silhouette.
Measurements that matter: height, width, depth before you hang curtains
I measure with a plan so the result looks intentional and fits the opening. I focus on three key measurements: height above trim, how far the rod extends, and bracket projection.

Height rules
I typically place the rod 4–6 inches above the window frame. If I have ample space, I move the mount closer to the ceiling or midway up the wall for a taller look.
Width rules
I extend the rod 4–10 inches past each side so curtains stack off the glass and the opening reads wider. I measure the width window, then plan panel fullness at about 2–2.5 times width for a luxurious drape.
Depth and bracket projection
Brackets must project far enough to clear trim and any blinds. Grommet styles need more depth than rod-pocket curtains, and I note curtain rod inches and diameter so hardware fits.
- I mark screw locations and confirm inches window frame for anchors.
- I re-check all measurements before buying panels to avoid returns.
What’s the trick to hanging curtains 6 inches above the window frame?
A tiny lift at the top of a curtain can change how a whole room feels. I use small moves to create a taller look and cleaner lines without expensive work.

The design logic: taller ceilings and larger windows
I place the rod so the curtain top sits about 6 inches above the frame because it lengthens the sightline from floor to top for a taller look. This small height change makes windows read larger and rooms feel more open.
When I choose 6 inches vs. mounting near the ceiling
I keep at least 2 inches of clearance above the casing as a basic rule. If ceilings are low, I often mount the rod closer to the ceiling for drama and to use extra-long panels.
Real-world examples by size and trim
“On an 8-foot ceiling I stay near 6 inches; on 9–10-foot ceilings I pull the rod higher toward the top line.”
- I extend rods 4–10 inches past each side so windows read wider.
- I check projection when blinds are present to avoid rubbing.
- I keep the top line consistent across a wall of windows for a custom, unified look.
Step-by-step: how I place brackets and install the curtain rod
I start with clear marks and a level so every bracket sits exactly where it should. I gather my tools first: tape measure, level, stud finder, drill, screws, anchors, and a pencil. That saves time and prevents trips back to the toolbox.
Tools I use
My go-to gear includes a tape measure, level, stud finder, drill, and anchors. I also keep a spare set of screws and a pencil for marks.

Mark, level, and pre-drill
I measure and mark bracket locations, then use a level to align marks across both sides of the window. I pre-drill pilot holes and install anchors when I can’t hit a stud. This keeps brackets locked in solidly over time.
Center supports and span limits
For long rods I add a center support. As a rule I place supports every 30–36 inches and always when the span is over 8 feet. That prevents sag and keeps curtains hanging straight.
Slide on panels and final leveling
I slide panels onto the curtain rod, rest the rod in the brackets, and check that hems line up. I make small bracket tweaks until everything is level. Finally, I tighten set screws and test the travel so the curtains move smoothly.
Curtain length, fabric, and fullness for a tailored finish
I focus on how curtain length and fabric work together to finish a room. Small choices at the hem change the whole silhouette and keep a space feeling intentional.

Float, kiss, or puddle: choosing the right length to the floor
Float hangs less than one inch above the floor for a neat, modern look.
Kiss just touches the floor and is my go-to for a crisp, tailored finish.
Puddle extends a few extra inches for drama and a traditional feel.
Fullness guide: 2–2.5 times width for lush panels
I size fullness at about 2–2.5 times width so panels drape richly and avoid a skimpy look. Lighter fabric often benefits from extra fullness compared with heavy drapery.
- I measure from mounted rod to floor so hems match the real drop.
- I pick fabric with function in mind: sheers for soft light, heavyweight for privacy.
- I check clearance around radiators and vents to prevent staining.
| Style | Hem gap | Best use |
|---|---|---|
| Float | <1 inch above floor | Contemporary rooms, easy cleaning |
| Kiss | Touching floor | Tailored looks, most interiors |
| Puddle | 2–6 inches on floor | Formal or classic spaces |
Choosing the right curtain rod, brackets, and finials
Choosing the right hardware makes installation easier and keeps panels looking intentional. I start by matching function to form so my setup glides and lasts.

Common rod types and bracket sizes
I pick a curtain rod type based on how I want the window to behave. For simple installs I use a standard adjustable rod. For layered looks I choose a double rod so sheers and blackout panels can live together.
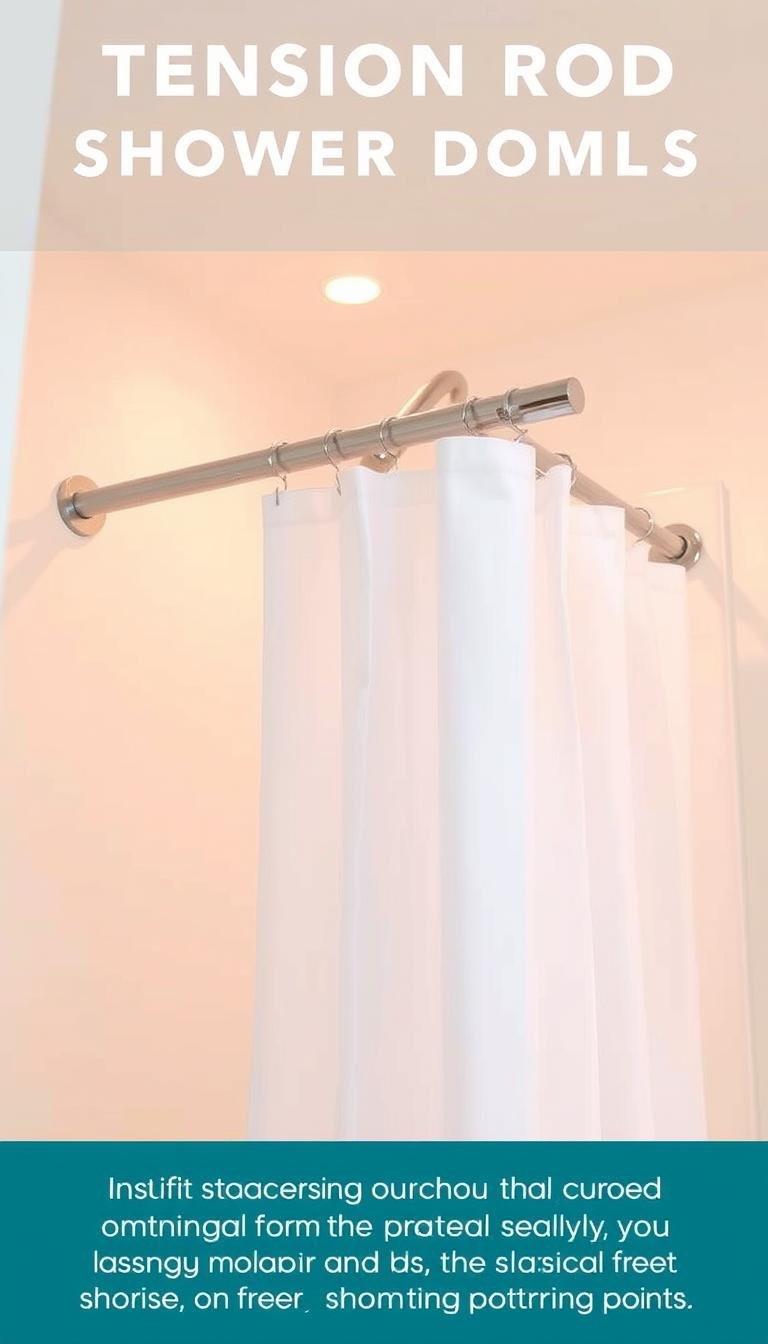
Wraparound rods help block light at the edges. Tension rods work well in rentals when I cannot drill.
Bracket cradles normally match rod diameter. Common sizes are 5/8″ and 1″. For heavy fabrics I always step up to larger diameter metal and heavy-duty brackets.
Style cues: pairing hardware with fabric and room design
I pair finials and finishes to the room so hardware reads like a planned detail, not an afterthought. Thicker velvet or woven panels need stout rods and a center support to avoid sag. Lighter cottons and sheers slide happily on slimmer profiles.
- I confirm total width so I can plan center supports on long spans.
- I match bracket projection to clear trim and any shades below.
- I test glide with rings, grommets, or clips before final install.
Pro tips, common mistakes, and no-drill options I recommend
Small choices make a big style impact. I keep installs simple and long-lasting by following a few clear rules. These cut mistakes and help your windows read intentional, not rushed.
Do’s
- Measure carefully: I measure twice and level once so brackets sit straight.
- Use enough fabric: I size panels at about 2–2.5× window width for full drape.
- Invest in sturdy hardware: I pick a rod and brackets rated for the fabric weight and add center supports on wide spans.
Don’ts
- Don’t skimp on widths or pick undersized rods that will sag.
- Don’t stop hems several inches short; I aim for kiss-length so rooms feel finished.
- Don’t let panels block light—extend the rod past the trim so glass stays exposed.
Renter-friendly fixes

I use tension rods when I need a simple option for lightweight curtains. Adhesive brackets work well for moderate weights—always check weight limits first. Trim-mount brackets let me tap into casing without full drilling and still hold up a curtain panel.
- I make sure anchors and small tools live in a kit so I can fix any issue fast.
- I clean the stack-back so panels don’t cover valuable glass during the day at home.
Conclusion
A well-placed curtain rod can turn modest windows into a room’s strongest design moment.
I keep installs practical: mount the rod about 4–6 inches over the casing or higher for extra height, and extend it 4–10 inches beyond each side window so panels stack off the glass and light flows in.
I size fullness at 2–2.5× width, pick a curtain length that kisses the floor, and match rod diameter and brackets to the fabric and span.
Before any drill, I follow one checklist: measure, mark, pre-drill or pick no-drill options, add center supports every 30–36 inches on long spans, set the rod, hang panels, then test movement. Do that and your windows will look taller, cleaner, and custom.