How can I make my rental kitchen backsplash magnetic?
I set out to add a renter-friendly magnetic backsplash that lets me use strong storage without permanent changes. I found simple paths that work on painted walls and on tile.
One budget option was ductwork metal sheets that cost about $9.34 each, cut with tin snips. I always bring a small magnet to the store to confirm the sheet is magnetic.
There are also pre-cut stainless panels in 22 ga (.031″) thickness. They arrive with a protective film and may include hemmed edges or pre-drilled holes for an easy, neat look.
For no-drill installs on tile, I used heavy-duty double-sided tape rated roughly 1 lb per 2 inches after cleaning with isopropyl alcohol and letting surfaces dry for an hour. That simple prep keeps the panels secure and removable.
Key Takeaways
- Budget metal sheets are cheap and cuttable with tin snips.
- Pre-cut stainless panels arrive ready with protective film.
- Test magnetism in-store before you buy.
- Use heavy-duty tape after alcohol prep for a no-drill install.
- Choose the option that fits your lease and small space needs.
Before you start: renter-friendly rules, safety, and planning
I always begin by checking the lease and asking the landlord for written approval when needed. That step saved me from unexpected fines and kept the project renter-friendly.

Permissions, placement, and safety
Map the area first. Measure the wall and backsplash space where storage would sit. Keep placement away from the sink and stove to avoid splash or grease risks and to stop items from falling into metal sinks.
- Prioritize removable installation methods and note any landlord rules.
- Decide what small things you’ll hang—light tools, notes, spice tins—and avoid overload.
- Mark level lines with masking tape, wipe both surfaces with isopropyl alcohol, and let them dry about an hour before applying heavy-duty tape.
- Check clearances for switches, outlets, and cabinet doors to prevent snags.
- Keep wiring away from panel edges and plan for future expansion if you want more magnetic area.
For renter-friendly upgrade ideas and permission tips, I also looked at best renter-friendly upgrades to compare safe options.
No-drill, removable ways to add a magnetic backsplash on tile or painted walls

A no-drill approach keeps tiles intact while giving you strong, removable storage. I prefer methods that protect grout and let me change the layout without damage.
Clean and prep: isopropyl alcohol wipe-down and dry time
Prep matters most. I wipe both the tile or painted wall and the back of the mount with isopropyl alcohol, then let them air dry about 1 hour. That short time improves adhesion and cuts peel risk.
Heavy-duty double-sided tape: weight ratings, strip placement, and curing time
- I choose tape rated roughly 1 lb per 2 inches as a solid example.
- Apply two full-length strips—one above and one below the internal metal bar—so load spreads evenly.
- Test placement with masking paper or tape and a level before committing.
- Follow the tape’s cure instructions; some require no weight for 24 hours after installation.
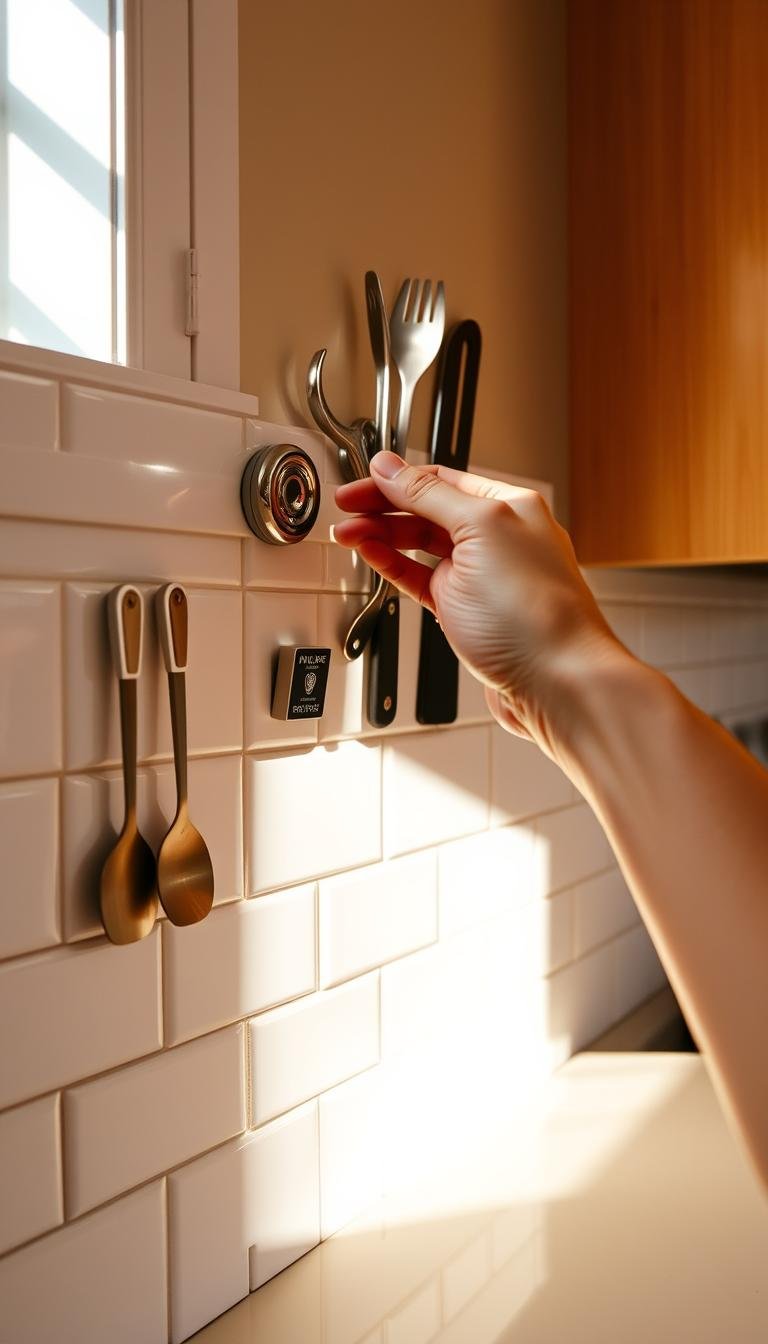
Mounting knife bars and panels without holes
For knife bars I press the mount to the tile and let the tape cure. I keep heavier knives near the strips to reduce leverage. This saves drilling and avoids cracked tile.
When to choose tape vs. anchors
Avoid tape near the stove; heat softens adhesives. Use anchors if you need permanent hold or heavier loads. For most small spaces, no-drill tape installation is the easiest, least invasive place to start.
DIY sheet metal panels: the low-price ductwork sheet solution for a magnetic wall
One straightforward option was a flat duct metal sheet that cost about $9.34 each and cut cleanly with tin snips. I always bring a small magnet to the store to confirm the sheet is actually magnetic before buying.

Materials
- Thin ductwork sheet metal, tin snips, gloves
- Ruler, pencil, painter’s tape (as a little paper third hand)
- Drill with a metal bit, self-drilling hex washer screws, hammer
- Strong magnets to test hold, primer and chrome paint for covers
Steps and safety
Measure the area, transfer marks to the sheet, and cut slowly. Mark outlet locations, drill starter holes, then snip openings so the panel doesn’t press on the box.
Use painter’s tape to hold the sheet while you test fit. Keep the metal clear of wiring; shut power off if you see exposed wires and tuck them into the box.
Finishing touches
Flatten bent edges with a hammer, align seams so edges sit tight, and touch up outlet covers with primer and paint for a clean look. For a lease-friendly install, use removable mounting strips; reserve screws only when you have permission.
Pre-cut stainless steel kitchen backsplash panels for magnets: fast, clean, customizable
Pre-cut stainless panels offer a fast, polished route to add strong, magnet-ready surfaces. I picked this approach when I wanted a clean finish without heavy shop work.
Thickness and finish matter. Many vendors list 22 ga (.031″) as a balanced steel option that stays flat but stays light enough for easy handling. Panels arrive with a protective film on the front; scratches tend to show on the back instead.

Choosing cuts, edges, and grain
I order panels cut to exact size and choose hemmed edges for a finished look. I also specify grain direction so multiple pieces match across the space beside cabinets and tile.
Mounting: tape, holes, and heat-prone areas
For cool zones I use heavy-duty tape temporarily, then finish with either anchors and screws through pre-drilled holes where heat or steam near a stove might loosen adhesive. That option avoids glued installs that have failed for others.
| Feature | Typical Choice | Why it matters |
|---|---|---|
| Thickness | 22 ga (.031″) | Balance of rigidity and weight |
| Edges | Hemmed | Finished look and safer handling |
| Mount | Tape or screws | Tape for low-grease, screws for heat-prone spots |
Conclusion
Ultimately, the best route depends on whether you want a quick fix, a budget DIY, or a polished panel. I chose options that fit my space and lease: tape-mounted bars for a quick solution, cut sheet metal for low cost, or pre-cut 22 ga panels for a clean finish.
Prep and placement matter. Wipe with paper and isopropyl alcohol, allow about one hour to dry, and use full-length strips rated near 1 lb per 2 inches for reliable hold. Keep cuts and screws clear of wiring, use the right bit for metal, and prefer anchors near heat. This approach freed counter space, kept things reachable, and left room to add more panels later without permanent holes.