How do I add a fold-away ironing board inside a laundry closet?
Ironing used to be my least favorite chore. I wasted time searching for my iron and board. The cord was always tangled. My board would often tip over. It felt like a never-ending battle.
Then I discovered a brilliant solution. A built-in station changed everything. No more hunting for supplies. My ironing routine became quick and easy. This setup saves so much space.
Traditional wall-mounted cabinets did not work in my home. They felt outdated and bulky. My new system fits perfectly in the closet. It stays hidden but ready when needed. The transformation was incredible.
This idea works beyond the laundry room. You can adapt it to various spaces. I have seen amazing installations in homes. Prepare to make ironing a simple task.
Key Takeaways
- A built-in ironing station eliminates daily searches for your iron and board.
- Traditional wall-mounted cabinets often don’t suit modern home layouts.
- Having a permanent spot makes ironing quick and convenient.
- Installation options can be adapted to various spaces beyond laundry rooms.
- Real-life examples show successful and space-saving installations.
- This solution transforms ironing from a chore into an efficient task.
- Consider different designs like pull-out ironing boards for optimal space use.
Why a Fold-Away Ironing Board Transforms Your Laundry Experience
Finding my ironing supplies was like a daily treasure hunt I never wanted to win. The frustration of searching for missing equipment made simple tasks feel overwhelming. My transformation began when I discovered the power of a dedicated station.

Solving the eternal ironing board hunt
I tracked my iron’s location for a month with shocking results. The device was only found 37% of the time when needed. This constant searching wasted precious minutes every day.
A permanent spot changed everything. No more digging through closets or checking random rooms. Everything now stays in one convenient location.
Different families benefit from various installation spots. Some prefer near the washing machine. Others want it closer to bedrooms where clothes are stored.
Eliminating clutter and falling hazards
My old board constantly tipped over in whatever closet I stored it. This created dangerous falling hazards throughout my home. The fear of it crashing down haunted my laundry routine.
Traditional wall-mounted cabinets measure 16x48x8 inches. They consume valuable wall space while looking bulky and outdated. These units simply don’t work in modern home designs.
Safety improved dramatically with my new system. No more loose boards waiting to trip someone. The folding mechanism keeps everything secure and out of the way.
“A well-organized space doesn’t just look better—it functions better and keeps your family safer.”
The convenience of permanent ironing station
My built-in outlet keeps the iron always ready yet safely turned off. This eliminates hunting for power sources while moving hot appliances. The convenience truly transforms the entire experience.
Everything remains in one spot now. No more carrying dangerous hot irons across rooms. The risk of burns or accidents has dropped significantly.
This change made me actually enjoy pressing clothes instead of dreading it. The efficiency turned a chore into a quick, satisfying task. My entire laundry routine flows smoothly now.
Different storage options work for various needs. Drawer systems offer hidden convenience. Recessed installations save the most space while maintaining accessibility.
Planning Your Perfect Ironing Board Installation
Strategic positioning of your garment care center can dramatically improve your household workflow. I learned that the right placement makes all the difference between a chore and a convenience.
Careful planning ensures your setup works seamlessly with your daily routine. Let me walk you through the key decisions that create an efficient system.

Choosing between laundry closet and other locations
Your ironing habits should guide your location choice. I discovered that frequent users benefit from proximity to where clothes are stored.
Near the bedroom works well for daily touch-ups. The laundry area suits those who press after washing. Consider your movement patterns throughout the home.
Some creative spots include hallway niches or pantry corners. Even a dedicated cabinet in the bedroom corridor can work beautifully.
Drawer vs. wall-mounted vs. recessed options
Each installation method offers unique advantages. Drawer systems provide hidden convenience while maintaining accessibility.
I explored Ronda Batchelor’s recessed cabinet method. This involves cutting into existing cabinet backs for a flush installation. It creates a seamless look that saves valuable space.
Amy Storm’s roll-out shelf design works wonders in compact areas. These slide out smoothly when needed then disappear from view.
Appliance companies like ASKO offer integrated pullout shelves. These coordinate perfectly with your washer and dryer setup.
Swivel-out under-counter boards tuck away neatly. Foldable drawer systems that collapse in two sections are another smart solution.
“The right storage solution should work with your space, not against it. Customization is key to functional home organization.”
Measuring your available space accurately
Precise measurements prevent installation headaches. Standard fold-out boards measure 11.8 inches wide by 37.7 inches long.
These typically support up to 150 pounds of weight. Always verify your specific model’s dimensions before planning.
I recommend measuring twice and cutting once. Account for clearance space around the unit for comfortable use.
Check depth requirements for recessed installations. Ensure adequate room for the folding mechanism to operate smoothly.
Don’t forget to measure electrical outlet placement. Proper planning creates a station that feels custom-built for your needs.
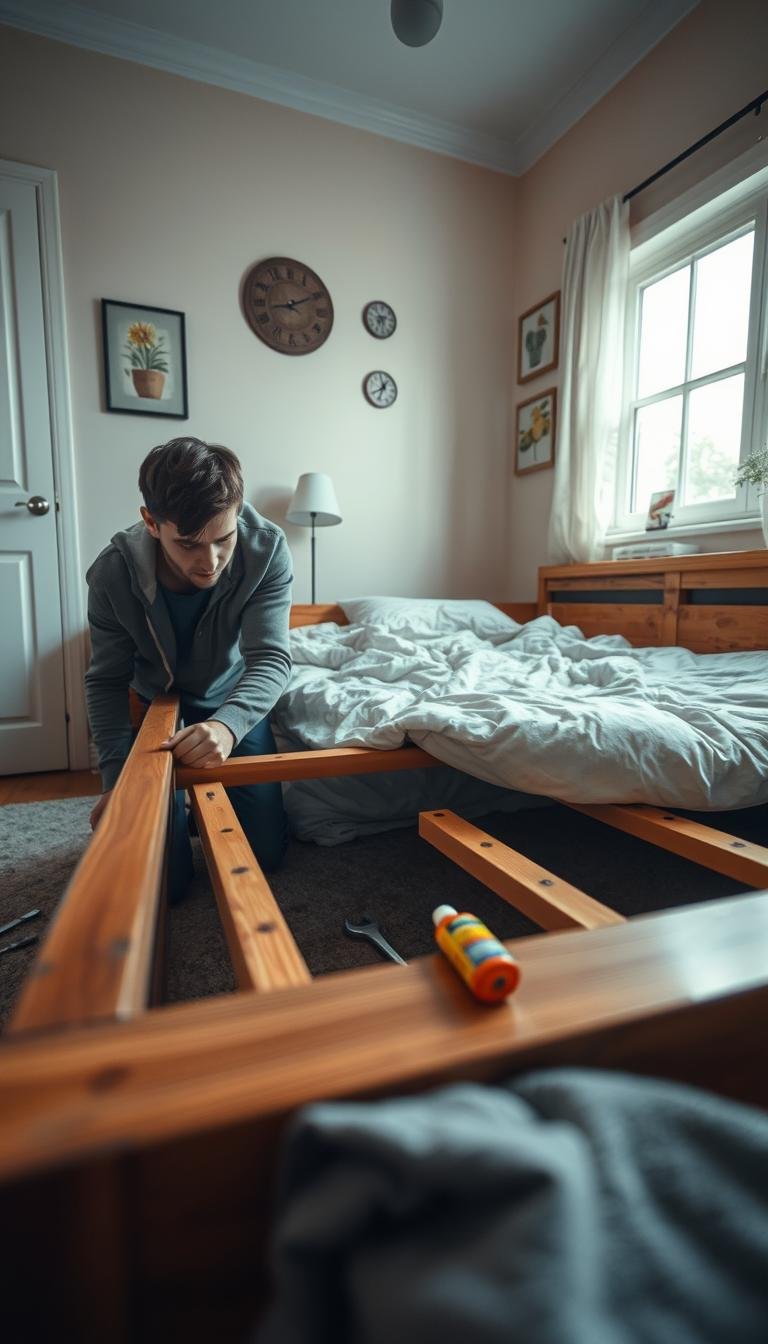
How Do I Add a Fold-Away Ironing Board: Step-by-Step Installation
My journey to garment care bliss began with selecting the perfect system. I chose a folding drawer unit for my master bedroom closet. This approach transformed my pressing routine completely.

Selecting the right ironing board cabinet system
I opted for a simple drawer system without complex folding fronts. The mechanism works beautifully: pull the drawer out, then extend the top section. It folds neatly above the drawer front when in use.
This design keeps everything accessible yet completely hidden. I integrated it into my existing built-in armoire piece. The result feels custom-made for my space.
Different cabinet styles suit various needs. Some homeowners prefer wall-mounted units. Others choose recessed installations for a seamless look.
Preparing your laundry closet space
Clear measurements ensure your new station fits perfectly. Standard boards measure about 12 inches wide by 38 inches long. Always verify your specific model’s dimensions first.
I cleared the area completely before starting. This meant removing shelves and checking for obstructions. Proper preparation makes installation much smoother.
Consider electrical needs during this phase. I planned for a built-in outlet right beside the drawer. This allows for permanent iron storage with safe power access.
Mounting and securing the unit properly
Safety anchors prevent any wobbling during use. I used heavy-duty brackets for maximum stability. The unit now feels rock-solid when extended.
Follow manufacturer instructions for your specific model. Different systems require unique mounting approaches. Proper installation ensures years of reliable service.
My DIY solution avoided complicated mechanisms. The simple design means fewer parts that could break. It’s been working flawlessly for over two years now.
“Proper installation isn’t just about following instructions—it’s about creating something that will serve your family safely for years to come.”
The transformation amazed me most. What was once a cluttered corner became an organized garment care center. My pressing routine now takes half the time it used to.
Essential Electrical Considerations for Your Ironing Station
Electrical planning became my secret weapon for creating the perfect garment care center. I discovered that proper power placement transforms a good installation into a great one. The right electrical setup makes ironing feel effortless and safe.

Adding a built-in outlet for permanent iron storage
My game-changing solution involved installing an outlet right beside the drawer. This allows my iron to stay plugged in yet safely turned off when not in use. No more searching for power sources or dealing with tangled cords.
Different placement options work for various installations. Some homeowners prefer outlets inside the cabinet itself. Others choose adjacent wall placement for easier access.
The convenience of permanent iron storage cannot be overstated. Everything stays in one organized spot. My pressing routine became dramatically faster and more enjoyable.
Safety considerations for electrical installation
Proper electrical safety is non-negotiable in cabinetry spaces. I learned that enclosed areas require special attention to heat and ventilation. Always follow local electrical codes for in-cabinet installations.
Consider these critical safety factors:
- Use GFCI outlets near water sources like laundry areas
- Ensure adequate clearance around heat-producing appliances
- Choose professional installation for complex electrical work
- Regularly inspect cords and connections for wear
I recommend hiring a licensed electrician for built-in installations. The peace of mind is worth the investment. Safety should always come before DIY ambitions with electrical work.
Proper cord management solutions
Smart cord management eliminates tripping hazards and frustration. I used simple adhesive clips to keep the iron cord neatly organized. This prevents tangles and makes the station look professionally designed.
My favorite solutions include:
| Solution Type | Best For | Installation Difficulty |
|---|---|---|
| Cord wrap clips | Drawer installations | Easy (peel-and-stick) |
| Retractable reel | Wall-mounted units | Moderate (requires mounting) |
| In-cabinet organizers | Recessed cabinets | Easy to Moderate |
| Magnetic holders | Metal cabinets | Very Easy |
Proper cord length matters too. I chose a six-foot cord that reaches comfortably without excess slack. This eliminates the danger of too-taut cords or hazardous loops.
The right electrical setup transformed my experience. No more moving hot irons across the room. Everything stays contained in one safe, organized space.
“Electrical safety in home organization isn’t just about codes—it’s about creating systems that protect your family while making daily tasks simpler.”
My station now feels completely professional. The built-in outlet and smart cord management work together perfectly. Ironing became a quick, safe task rather than a dreaded chore.
Conclusion: Enjoying Your New Streamlined Ironing Routine
What began as a simple storage solution evolved into a complete lifestyle upgrade. My relationship with household tasks transformed completely.
I never hunt for my iron anymore. The board stays securely in place without tipping over. Everything has its permanent spot in the closet.
This convenient setup saves precious time each week. The stress of searching for supplies vanished completely. Ironing became almost enjoyable instead of something to avoid.
The key benefits are undeniable – safety, space savings, and incredible convenience. This small change makes a big difference in daily life.
Consider your own needs and available space. Then create a system that works perfectly for your home. You’ll wonder how you ever managed without it.