What are the cutest doorbell covers that hide ugly buttons?
I wrote this guide to help you find a simple, stylish solution that hides an old doorbell button and lifts your home’s curb appeal fast.
I’ll show which cover types and finishes pair well with modern smart rings like Ring and Nest, and how a slim plate can sit clean on your wall without looking tacked on.
Expect clear measuring tips, low-profile options I love, and quick install paths whether you keep a basic button or switch to a camera doorbell.
Along the way I point out small details that make a big visual difference. I also include DIY ideas to disguise chime boxes while letting sound travel. Think of this as your start-to-finish plan to pick the right cover, hide the button neatly, and get a polished look on day one.
Key Takeaways
- Choose materials and finishes that blend with your entry, not fight it.
- Measure twice so a slim plate fits without gaps or overhang.
- Low-profile covers keep a neat look with smart doorbells and old chimes.
- Small trim tweaks can change the whole curb appeal.
- DIY options let you hide a chime while preserving sound.
Why I wanted a cuter doorbell cover and what this guide will help you do
A plain plastic doorbell on my entry made the whole wall look unfinished. I tried painting the piece to match the wall, and it still read like a cheap add-on.
That pushed me to find small upgrades—a brass-toned plate or a more intentional-looking cover that reads like decor, not a quick fix. A simple metal plate instantly makes the area feel finished without rewiring or a big home improvement project.
Until I was ready for an electrician, I used low-cost items like a decorative basket and framed art to mask a boring plastic chime. These temporary options keep the doorbell chime working while improving the overall look from across the room.
- I’ll show how to assess your current chime and cover so you order a solution that fits.
- You’ll get a weekend plan: what to measure, what to buy, and which items give the biggest payoff.

| Problem | Quick fix | When to upgrade |
|---|---|---|
| Scuffed wall and plastic cover | Decor plate or artwork | When you want a lasting finish |
| Painted cover still looks cheap | Metal or brass-toned plate | Before wiring changes |
| Loud chime but ugly cover | Shallow shelf or woven basket | If you plan future remodeling |
Start here: how to pick the right doorbell cover for your wall and button
Before buying anything, I take a few simple measurements so the new plate fits cleanly and looks like it belongs.
Measure your box size and screw spacing before you shop
I measure the electrical box opening and the center-to-center screw spacing with a rigid ruler. Common spreads are 4.5″, 5.25″, and 6.58″.
Use a metal tape or ruler; cloth tapes can stretch and ruin the dimensions when marking hole locations.
Surface-mount vs partially recessed: which unit sits behind the plate?
- Surface-mount wireless: choose a blank plate and drill bracket holes to match your device.
- Surface-mount hard-wired: pick a plate with a small center hole so wiring passes cleanly through.
- Partially recessed units: get a plate with a large rectangular cutout so the back of the unit sits into the wall.
Wired vs wireless and what that means for holes and wiring
Drilling is required to match each brand’s bracket pattern. Check that screw holes on the plate don’t block the chime or button on your unit.

| Type | Plate need | Key detail |
|---|---|---|
| Wireless surface-mount | Blank plate | Drill bracket holes |
| Hard-wired surface | Small round hole | Feed wiring cleanly |
| Partially recessed | Large cutout | Unit nests into wall |
What are the cutest doorbell covers that hide ugly buttons?
I pick plates and finishes that make a small product read like a planned design detail on your entry.
Materials that elevate the look
Metal, punched metal, wood, and aluminum
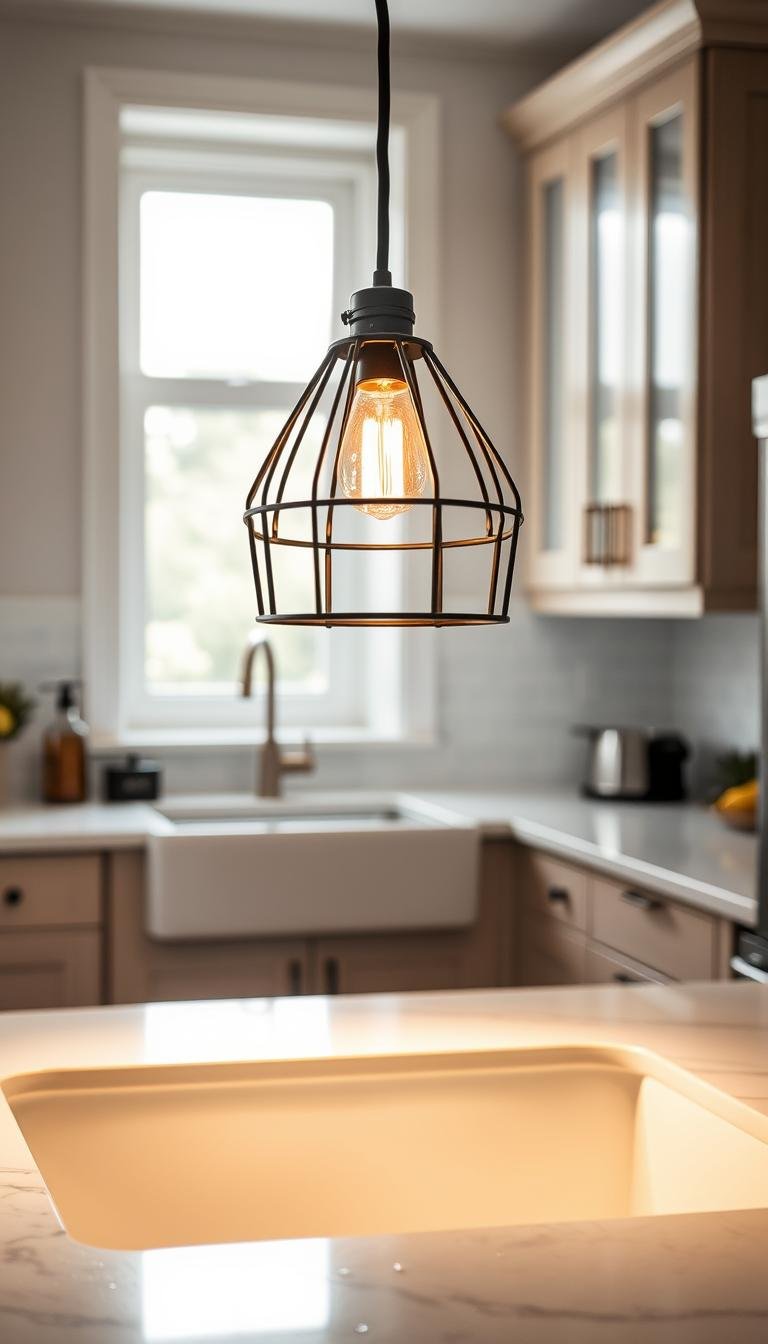
I gravitate to metal and aluminum plates because they read like architectural details. They give a clean, durable finish that suits many styles.
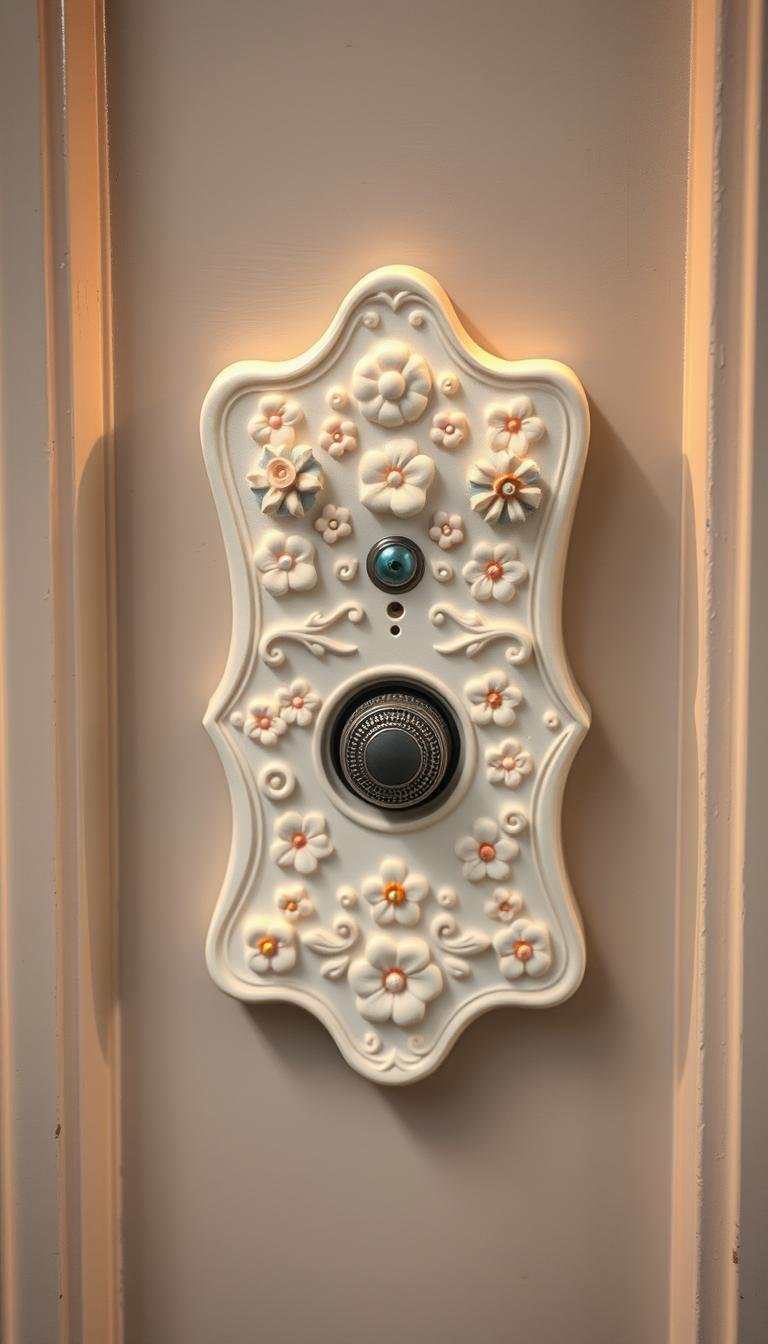
Punched metal and wood feel handcrafted and charming. These work well with cottage or classic front entries.

Finishes and color ideas
Attractive, ready-made wall plates come in bronze, black, white, ivory, almond, and aluminum. Satin nickel pairs nicely with camera units like Ring.
Styles I love and low-profile picks
I favor modern plates for minimal homes, classic chime covers for traditional doors, and artisan pieces when I want personality.
- Low-profile: slim plates that sit close to the wall so the unit doesn’t protrude.
- Mix-and-match: match the plate finish to a handle set or house numbers for a cohesive look.
- Fit notes: large cutouts suit recessed models; blank or small-center-hole plates work for surface-mount units.
| Material | Finish | Best for |
|---|---|---|
| Aluminum/metal | Satin nickel, bronze | Camera units, modern entries |
| Punched metal | Black, bronze | Cottage or artisan style |
| Wood | Painted or stained | Classic homes, warm tones |
DIY ways I conceal an ugly doorbell or chime without moving wiring
A few small DIY moves can cover an eyesore while keeping the chime functioning and easy to access. I use renter-friendly tricks so I can remove a piece quickly for service or sale.
Canvas artwork with spacers
I often pop off a plastic chime cover (optional) and hang an unframed canvas so the doorbell stays audible. I measure how far the chime projects, then add wood spacers to the stretcher bars for 0.25–0.5 inches of air space.
I mark level points, use nails or anchors based on weight, and hang the canvas so sound carries and access remains simple.

Light decorative covers and shelves
A woven basket or sculptural wall art works well for a small room. Lightweight pieces let sound travel and remove easily.
For a ledge look, pick a shelf at least 2″ deeper than the chime projection. Fasten brackets into studs or use anchors suited to your wall type.
| Method | Best for | Key tip |
|---|---|---|
| Canvas with spacers | Indoor entries | Keep 0.25–0.5″ gap |
| Decorative basket | Renter-friendly | Lightweight, removable |
| Shallow shelf ledge | Styled vignette | Depth = chime projection + 2″ |
Measure twice, order once: dimensions, hole locations, and fit
I start by measuring the box, screw spacing, and projection so the finished install sits flush on the wall.
Accurate measuring methods
I measure the electrical box height and width, then the center-to-center screw spacing with a hard, flat ruler. Typical spacings include 4.5″, 5.25″, and 6.58″.
For depth, I note how far the device or chime projects from the wall. That tells me whether I need a low-profile plate or a deeper cover to avoid gaps.

Choosing the right wall plate
- Blank plate — best for wireless surface-mount devices.
- Small round hole — use for hard-wired surface units to feed wires cleanly.
- Large rectangular cutout — needed for partially recessed models so the device nests into the opening.
I also sketch a paper template from the old plate, mark screw hole locations, and double-check against product specs. If the recessed opening is slightly larger than the plate, I plan a thin gasket or weatherstrip behind the cover to hide visible edges.
Installation methods by doorbell type for a seamless look
A neat install starts with matching plate type to your specific device bracket and screw pattern. I check bracket layouts and plan holes before any drilling so the finished plate reads like intentional trim, not an afterthought.

Surface-mount wireless
For wireless units I pick a blank plate and mark bracket holes on the face. I dry-fit the bracket, then drill pilot holes so the screw heads sit flush.
Tip: If your model uses a battery pack, confirm clearance behind the plate before final mounting.
Surface-mount hard-wired
Hard-wired installs need a plate with a small round center hole to pass wiring cleanly through the cover. I route wires first, tighten the bracket, then mount the device so the wiring sits flat and tidy.
Partially recessed models
Recessed units such as Ring Elite require a large rectangular cutout so the back of the device passes into the wall. The bracket and faceplate then anchor to the plate while the body nests inside the opening.
With common 4.5″ screw spacing you may shift the bracket slightly for access; angle kits help when you need to tweak view or alignment.
- Dry-fit everything before drilling to avoid blocked screw holes.
- Pre-drill pilot holes and use manufacturer screws for secure bites.
- Turn power off for low-voltage wiring and confirm polarity per the manual.
- Keep the doorbell button area free of plate screws so presses feel natural.
- Test chime and camera angle, adjust, then tighten all screws.
| Type | Plate need | Key action |
|---|---|---|
| Wireless surface-mount | Blank plate | Mark bracket, drill pilot holes |
| Hard-wired surface | Small center hole | Route wiring, secure bracket |
| Partially recessed | Large rectangular cutout | Slot body into wall, mount face |
Final note: clean routing, correct screw placement, and a careful dry-fit make the whole wall finish look professional and cohesive.
Specs that matter: screw holes, dimensions, and alternate mounting solutions
Before I order, I double-check screw spacing, box size, and whether trim or brick will interfere with the new plate. These quick checks stop most fit issues before they start.

My quick-buy checklist: location, product dimensions, finish, material, and screw spread
Start with the exact location. Measure the wall opening and note nearby trim or masonry that could block a screw or bracket.
- I confirm product dimensions for both the plate and the device bracket so nothing overlaps.
- I verify screw spread (center-to-center). Common spreads are 4.5″, 5.25″, and 6.58″.
- If spacing is off by about an inch, I use triangle adjustment straps to gain or lose ~1″ by angling the slots.
- Plates rarely arrive predrilled for a specific brand, so I mark and drill bracket holes with a level to keep things square.
- For recessed devices I check large cutout needs — typically ~2-1/8″ W x 3-3/4″ H (clearance ~1-7/8″ x 2-15/16″).
- When the box is larger than the plate, I add a thin gasket or weatherstrip to mask edges for a tidy perimeter.
- I keep a short note on my phone with these details so I can order the right product while standing at the door.
| Spec | Common value | Quick fix |
|---|---|---|
| Screw spread | 4.5″, 5.25″, 6.58″ | Triangle straps or angled slots |
| Large cutout | 2-1/8″ W x 3-3/4″ H | Confirm device clearance |
| Box too large | Any slight overlap | Thin gasket or weatherstrip |
| Chime access | Surface or recessed | Pick plate allowing easy access |
A few minutes with this list prevents ordering the wrong part and saves time on install. When everything matches, the final fit looks like it belonged to the house from day one.
Extra pro tips for a polished exterior
A few simple hardware moves let me turn a mismatched opening into a neat, professional detail. These quick fixes save time and make the final installation read like a planned improvement, not a patch job.

Angle kits, triangle straps, and gasket tricks for tricky screw spreads
Triangle straps can gain or lose about an inch by angling slots. I use them when a plate with 4.5″ spacing must fit a 3.5″ or 5.5″ box.
Thin gaskets or weatherstripping hide a slightly oversized recess and give a tidy seal against textured wall surfaces. That also keeps chime access simple.
If screw heads or bracket holes conflict, I nudge the bracket up or down to clear holes without reworking the wall.
When to paint, match finishes, or call an electrician
I match finishes to existing hardware for a quiet, upscale look. I paint only when I need to minimize contrast on the wall.
Ring angle kits help aim a camera for the best path to the door. For wiring moves, relocating a transformer, or code questions, I call a licensed electrician.
- I keep screws snug but avoid overtightening into thin metal to prevent stripping.
- For a truly flush install you need a custom substrate; most plates sit slightly proud by design.
Conclusion
A tidy fit, careful drilling, and the right finish are the fastest path to a smarter looking entry. I recommend picking a plate type that matches your box: blank for surface-mount, a small-center-hole for wired units, or a large cutout for recessed models. This keeps the new piece sitting flush on the wall and consistent with your home’s style.
Measure twice so screw holes and bracket placement line up. If spacing is off, I use triangle straps. If the opening is a touch too big, a slim gasket hides edges without custom work.
For camera installs like Ring, an angle kit refines view and fixes alignment issues. Indoors, a canvas or shallow shelf makes a tasteful chime cover while leaving enough air space so the chime sings clearly.
My simple method: measure, mark, drill, mount, and test the button and chime. Follow that sequence and you’ll finish this home improvement with confidence and a neat, cohesive result.