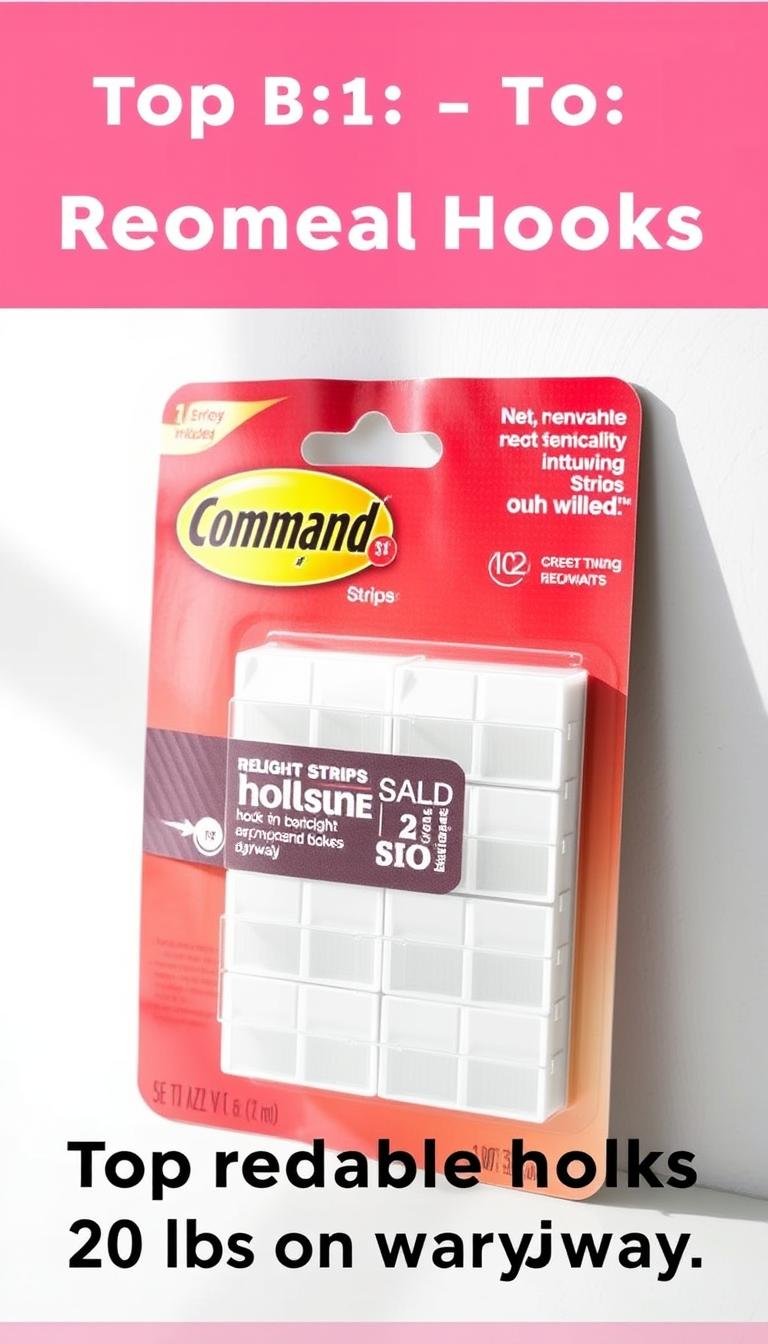
What are the top removable hooks that hold 20 lbs on drywall?
I set out to find picture hanging solutions and products that truly support twenty pounds without wrecking paint. I test how well Command strips and similar systems perform on typical American drywall, and I share clear, hands-on results.
I visualize that weight as four 5 lb bags of potatoes to make capacity feel real when I pick hardware. That simple mental check helps me choose a product for framed art, clocks, or heavier decor with confidence.
My roundup favors safety and verified performance over marketing claims. I separate strong contenders from gimmicks by checking adhesive tech, real-world hanging tests, and whether manufacturers list clear capacity and frame size guidance.
I focus on drywall because it’s the most common wall in U.S. homes, and I note when tile, glass, or other surfaces need different solutions. Renters and students benefit most from damage-free options that remove cleanly.
Key Takeaways
- I test real loads and time to confirm capacity claims.
- Visualizing twenty pounds as four potato bags makes decisions easier.
- Command strips rank high for clean removal and consistent holding power.
- Surface prep and cure time are essential to meet rated capacity.
- I include picks for large frames, low-profile looks, and value multipacks.
My current picks for damage-free, 20 lb hanging on drywall
I tested a selection of picture hanging systems to confirm which items safely support heavier frames without harming paint. I only kept products with clear capacity labels, solid user feedback, and installation instructions that match drywall best practices.
How I chose:
- I prioritized product packs that state a 20 lb capacity and show required number per frame.
- I favored brands that publish guidance for frame size and offer consistent adhesive quality across packs.
- I checked ease of installation, alignment aids, and compatibility with wire, D-rings, and sawtooth hangers.
Why damage-free matters
Renters and homeowners benefit from options that remove cleanly so painted walls stay intact. I validated claims with static load tests and time-on-wall checks before recommending anything for a true 20 lb capacity.

What I look for in each product: clear piece counts, system completeness (strips, hooks, accessories), U.S. availability, and notes when you must step up size or add extra strips to meet rated capacity.
What are the top removable hooks that hold 20 lbs on drywall?
For large framed art and mirrors, I focused on adhesive systems that promise real-world security. I picked options rated for frames up to 24″ x 36″ and a full 20 lb capacity.

Best for large frames up to 24″ x 36″ and 20 lbs
Heavy-duty picture hanging strips I tested advertise about 40% more adhesive than Command Large Picture Hanging Strips. That boost translates to steadier holds for big mirrors, clocks, and gallery prints.
Best value for multi-room decorating projects
My budget pick balances cost per frame with reliable performance. Look for packs that list the exact number of strip pairs and guidance on how many pairs meet a 20 lb capacity.
Best clear/low-profile look for modern spaces
Clear strips almost disappear behind frames and keep a low visual impact on light walls. I recommend strips over single hooks for framed art because multiple attachment points cut tilt and keep frames flush.
- Check the package: stated frame size, weight capacity, and included strip pairs.
- Match hardware: wire-mounted frames usually need more strip pairs than sawtooth-hung pieces.
- Prep and cure: clean surface and wait the recommended cure time for full holding power.
Key buying criteria: weight capacity, surface type, and removal method
I translate a manufacturer’s capacity into something you can feel at home. A standard 5 lb bag of potatoes is labeled right on the front, so four of those bags give a clear sense of 20 pounds.
Four 5 lb potato bags ≈ 20 pounds — a simple reference when choosing strips or hooks.
Understanding a 20-pound label in real life
I decode capacity labels so you can compare apples to apples. When a pack states 20 pounds, check the number of strip pairs required to reach that capacity.
Capacity only holds when you follow installation steps and use the correct number of pieces. Underbuilding is a common cause of failure.
Drywall versus tile, glass, and painted surfaces
Smoother, non-porous surfaces like glass and tile often yield stronger adhesion than textured drywall. Dusty or rough paint lowers bonding strength.
Temperature and humidity change how a product bonds. For bathrooms or sunlit walls, choose strips rated for those conditions.

| Surface | Suggested product | Notes |
|---|---|---|
| Smooth painted drywall | Large adhesive strips | Clean, dry, and wait recommended cure time |
| Tile or glass | High-bond clear strips | Usually stronger hold; verify packaging |
| Textured or dusty walls | Mechanical anchors or specialist adhesive | Adhesives perform poorly; consider screws |
| Wallpaper or brick | Avoid pull-tab strips | Check exclusions on packaging |
- Choose hooks for clocks and items with concentrated load points.
- Choose strips for picture frames and mirrors to spread weight.
- Always test an inconspicuous spot on fresh paint and wait recommended paint cure time before hanging.
Removal method matters: look for a pull-tab stretch-release system for paint-safe removal. And remember: listed capacity assumes static vertical loads; swinging items need stronger mounts.
Top picture hanging strips for heavy frames and mirrors
My tests zero in on adhesive strips built to secure large frames and mirrors safely. I focus on products rated for up to 20 lb and frames as big as 24″ x 36″.

Enhanced-adhesive strips: up to 20 lb and 24″ x 36″ frames
Enhanced-adhesive products claim about 40% more adhesive than command large picture hanging options. That boost gives extra margin for heavy-duty picture frames, mirrors, clocks, and boards.
When to choose large vs. medium picture hanging strips
Use large strips for a large picture or heavy mirror. Medium strips suit smaller, lighter frames. If a frame nears rated capacity, add an extra pair for safety.
Matching strip size and number to the frame’s wire or sawtooth
Align strips so the load spreads across wire, D-rings, or sawtooth hangers. Multiple attachment points cut tilt and keep the piece flush.
“Always clean and degrease attachment points; oils cut adhesive performance.”
| Use | Recommended strip size | Typical number to reach 20 lb |
|---|---|---|
| Large glass-fronted art | Large | 2–3 pairs |
| Medium framed prints | Medium | 1–2 pairs |
| Mirrors (flat backing) | Large | 3 pairs for extra margin |
Removable hooks vs. strips: which should I use?
I split heavy-duty picture hanging into two camps: single-point hooks for concentrated loads and multi-point strips for spread-out weight. That distinction makes choosing a product simple for clocks, signs, and dry erase boards versus framed art and mirrors.

Hooks for clocks, signs, and boards
Hooks work best when an item uses one keyhole, wire loop, or sawtooth. Match hook depth and shape to the hardware so the load seats firmly and won’t slip.
Step up to heavy-duty hooks or add a second hook for dynamic loads like swinging pendulums. That reduces stress and keeps the listed capacity honest.
Strips for frames and mirrors
Hanging strips spread weight across multiple attachment points. For large frames, use several strip pairs to keep edges flat and avoid a crooked picture over time.
- Use a central hook plus bottom-corner strips to stop shifting.
- Plan exact positions with painter’s tape and test-fit before peeling liners.
- Count the number of pieces needed to conserve packs when you hang multiple rooms.
“Both hooks and strips come in removable, damage-free formats; follow the pull-tab to protect paint.”
| Weight bracket | Attachment points | Recommendation |
|---|---|---|
| Up to 5 lb | 1 hook or 1 strip pair | Single hook for clocks; one strip pair for small frames |
| 6–15 lb | 2–3 strip pairs or 1–2 hooks | Spread strips across back; consider redundancy for swinging items |
| 16–20 lb | 3+ strip pairs or heavy-duty hooks + stabilizers | Prefer multiple strips or mixed setup to meet capacity |
Note humidity and temperature: some hook adhesives fare better in humid rooms, while standard strips excel in climate-controlled spaces. Always follow product cure time for full capacity.
Installation that actually holds: my step-by-step process
Before I hang anything heavy, I follow a strict routine so strips and hooks perform like the label promises. This short checklist keeps installs repeatable and damage-free.

Prep: clean, dry, and smooth walls for maximum adhesion
I wipe walls and the back of frames with isopropyl alcohol and let them dry. Clean, smooth surfaces dramatically increase grip for any product.
Placement: leveling, spacing, and using multiple strips or hooks
I map positions with painter’s tape and a level so picture lines stay straight. I count the number of strip pairs or hook points per item based on weight and size.
Cure time: why waiting improves holding power
After I mate the halves, I press firmly and then remove the frame for the recommended cure time. I set a timer and only hang after adhesive has set.
Safe removal to protect paint and drywall
Pull the tab straight down slowly to stretch-release the bond. Never yank outward. For related anchor advice see anchor screws.
- Tip: use a small level or laser line for gallery rows.
- Keep spares: store extra pieces in a labeled box to speed future hangs.
Testing and verification: how I confirm 20 lb performance
I run repeated load trials to confirm a product really supports a heavy frame, not just a marketing claim. I hang a calibrated 20-pound equivalent and monitor it over weeks to spot creep, tilt, or failure.

Static load checks and time-on-wall results
I stage identical picture, mirror, clock, and board setups and count the number of strips or hook points used. I log when adhesives reach full capacity and whether edges stay flush as days pass.
Environmental factors: humidity and temperature
I run trials in bathrooms and near sunny windows to stress hanging strips with moisture and heat swings. Some products held firm; others showed edge lift after cycling.
- Marketplace signals: I cross-check stars and reviews across the United States; one category shows 4.5 out of 5 stars with 71 reviews and 713 questions — a useful consistency check.
- Failures studied: when a piece slipped, I traced it to prep, underbuilt capacity, or true product limits.
- Reapplication: strips are mostly single-use; retests confirm reduced capacity after reuse.
My comfort zone: properly installed, cured, rated picture hanging strips and matched hooks keep a 20‑pound load secure over time, even with modest environmental change.
Value and pack sizes: getting the most from your budget
A careful tally of frame weights and sizes turns a confusing aisle into a smart purchase plan. I start by listing each picture, its weight, and the recommended number of strips or pairs needed to meet rated capacity.
Cost-per-hang matters. For a gallery wall, multi-pack bundles usually cut price per pair and reduce repeated trips to the store.

Buy a mix of large and medium size packs to limit waste. That simple blend reduces leftover odds-and-ends while still matching capacity needs.
How I compare real value
- I calculate price per pair, then the effective cost to reach a 20‑pound rated capacity.
- I favor products that include alignment tools or alcohol wipes—those extras save time and improve results.
- I avoid unknown third-party refills; mismatched components can void capacity claims.
| Buy situation | Best pack choice | Why it saves |
|---|---|---|
| Many frames | Multi-pack mixed sizes | Lower cost per hang, less waste |
| One or two pieces | Single pack or small value pack | Avoid excess leftovers |
| Whole-home project | Bulk bundles with tools | Consistent adhesives, predictable results |
Finally, I watch for sales and keep a small buffer of extra pairs. The hidden value of reliable products often outweighs tiny upfront savings.
Common mistakes to avoid with heavy-duty, damage-free hanging
I learned fast that small mistakes, not product flaws, cause most failures when hanging heavy art.
Avoid poster strips for heavy frames. Poster strips suit lightweight decor and won’t meet a 20‑pound need. Use rated picture hanging strips or a command-style product designed for that capacity.
Don’t substitute general purpose adhesives. They lack predictable bond tests and can fail under sustained weight. Match the product to the job.

- Size matters: small, medium and large pieces aren’t interchangeable. Using a smaller strip reduces capacity and invites failure.
- Center the load: align with a sawtooth picture hanger or wire so the frame doesn’t cantilever off one point.
- Match hardware: a picture hanger or wrong hook shape can slip—pair hooks to the frame’s mount.
- Prep and patience: clean walls, wait cure time, and use the correct number of pairs—skipping steps kills performance.
- Removal & reuse: pull the tab straight down to stretch-release; never yank outward. Don’t reuse stretched strips—holding power drops.
- Environment: high humidity and textured or dusty walls reduce adhesion; consider mechanical anchors if the surface is poor.
“Count the pieces, follow cure time, and match hardware—these avoid most picture hanging failures.”
Conclusion
Conclusion — a short, practical checklist
I close with a simple plan: match the right system to each item. Use hooks for single-point loads like clocks and boards, and use strips for framed art and mirrors.
Build to the rated capacity by counting the correct number of pieces, prepping walls, pressing firmly, and allowing full cure time. Visualize four 5‑lb potato bags to judge actual weight and err toward extra margin for safety.
Pick well-reviewed products in the United States, scan stars and reviews for long-term hold and clean removal, and buy the right pack mix by room. Avoid mixing poster or general purpose strips into heavy-duty hangs.
Start with one gallery wall, follow these steps, and enjoy secure, damage-free hanging.